
How to Increase the PHP Memory Limit in WordPress
Few things are more confusing than a WordPress site that worked perfectly yesterday and now shows a cryptic fatal error. If you’ve seen the dreaded “Allowed memory size of X bytes exhausted” message, your site has hit its PHP memory limit. The good news: fixing it takes about five minutes, and you don’t need to be a developer to do it.
In this guide, I’ll show you how to check your current memory limit and walk you through four proven methods to raise it — starting with the easiest one. I’ve done this fix on dozens of WordPress sites over the years, and the first method solves it for most people.
What Is the PHP Memory Limit and Why Does It Matter?
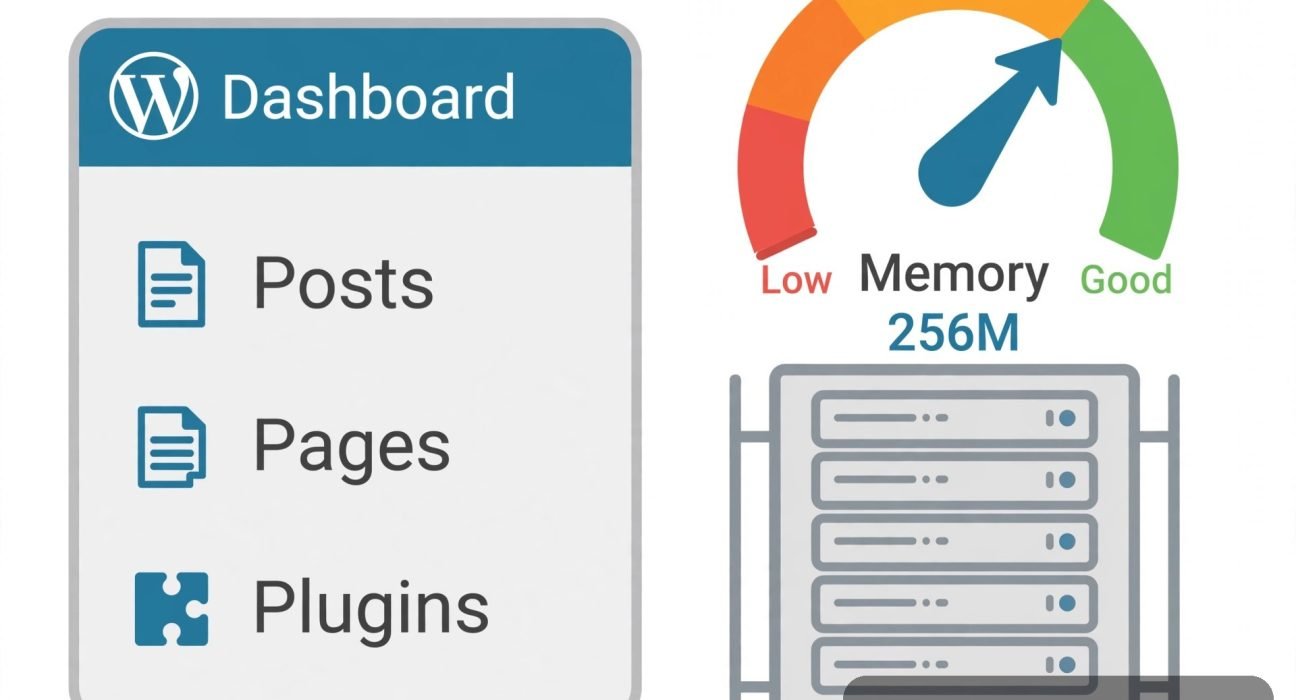
PHP is the scripting language WordPress runs on, and every PHP script on your site is allowed to use only a fixed amount of server memory. That ceiling is called the PHP memory limit. Think of it like a budget: WordPress, your theme, and every active plugin all draw from the same pool of memory. When their combined usage crosses the limit, PHP kills the process and your site breaks.
WordPress sets its own default limit of 40M for single sites and 64M for multisite networks, but most hosting plans set the server-level limit higher — typically 128M or 256M. The catch is that many feature-rich themes and plugins (page builders, backup tools, security scanners) can easily push past 128M, especially during heavy tasks like running a backup, importing demo content, or regenerating image thumbnails.
When the limit is too low, you’ll see one of these symptoms:
- A fatal error saying “Allowed memory size of X bytes exhausted (tried to allocate Y bytes)” on the front end or in the admin panel
- White screens or blank pages when you visit certain pages or run certain tools
- Intermittent 500 Internal Server Errors during memory-heavy operations like plugin updates
- The admin area crashing when you open the media library, theme customizer, or an update screen
The fix is almost always the same: raise the limit. Let’s first find out what yours currently is.
How to Check Your Current PHP Memory Limit
Before you change anything, check the current value. WordPress shows it right in the dashboard:
- Log in to your WordPress admin area.
- Go to Tools → Site Health → Info.
- Click the Server tab.
- Look for the row labeled PHP memory limit. You’ll see a value like 40M, 128M, or 256M.
If the value is 40M or lower, you’re almost certainly running on WordPress’s bare default, and raising it is a sensible first step. If it’s already 256M and you’re still getting memory errors, the problem is more likely a plugin or theme consuming an unreasonable amount of memory — I’ll cover that near the end.
You can also ask your hosting provider’s support chat for your account’s maximum allowed memory limit. They’ll tell you the ceiling you can’t cross, which matters because setting a value above your plan’s limit does nothing (I’ll explain why in Method 1).
Before You Start: Back Up Your Site
Every method below involves editing a configuration file or changing a server setting. A single misplaced character in the wrong file can take your site offline. Before you touch anything:
- Take a full backup (files + database) with your host’s backup tool or a backup plugin.
- If you can, make the edits during a low-traffic period so any mistake affects fewer visitors.
- Keep a copy of each file you edit so you can restore it if something goes wrong.
I’ve seen sites break because someone edited wp-config.php in a phone app that added curly quotes. Use a plain-text editor or the hosting file manager, never a word processor.
Method 1: Edit wp-config.php (Easiest and Most Reliable)
This is the method I recommend first. It’s quick, it works on almost every host, and it’s easy to undo. The wp-config.php file lives in your site’s root directory — the same folder as wp-admin, wp-content, and wp-includes.
- Open your hosting account’s file manager (cPanel → File Manager, or hPanel → File Manager) and navigate to the
public_htmlfolder (or your site’s root if it’s a subdirectory install). - Right-click
wp-config.phpand choose Edit (or download it, edit it locally, and re-upload). - Scroll down until you find this line:
define( 'WP_DEBUG', false );- Just above the line that says
/* That's all, stop editing! Happy publishing. */, add the following:
define( 'WP_MEMORY_LIMIT', '256M' );- Save the file.
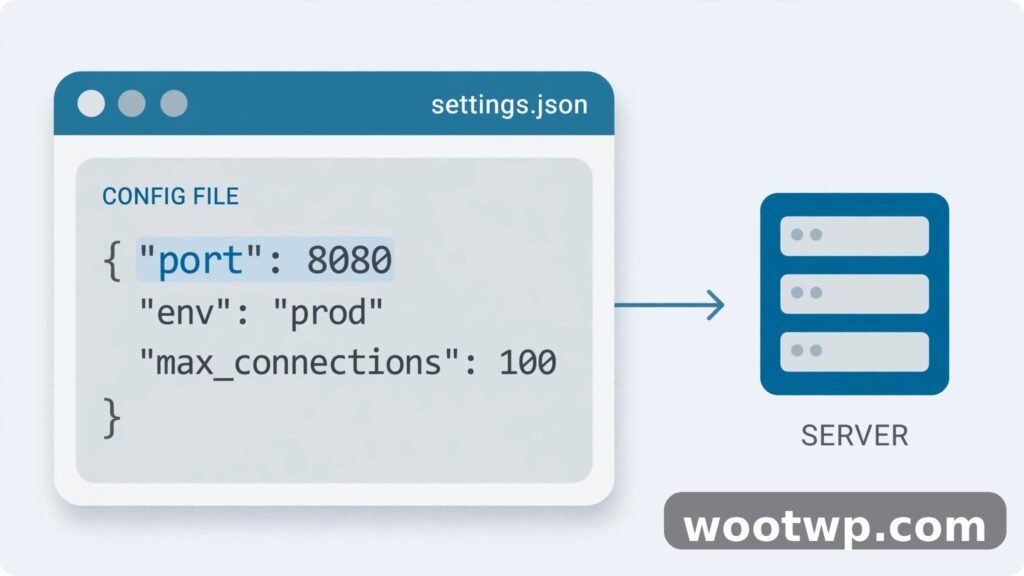
Your wp-config.php should now contain something like this:
define( 'WP_DEBUG', false );

/* Add any custom values between this line and the "stop editing" line. */

define( 'WP_MEMORY_LIMIT', '256M' );

/* That's all, stop editing! Happy publishing. */
A few important notes about this method:
- WP_MEMORY_LIMIT controls the front end and most admin pages. If your memory errors happen during heavy admin tasks (running a backup, importing content, regenerating thumbnails), you can also raise the admin-side limit by adding a second line:
define( 'WP_MAX_MEMORY_LIMIT', '256M' );WP_MAX_MEMORY_LIMIT applies only to the WordPress admin area, so it gives dashboard tasks extra headroom without raising the limit for every visitor page load.
- Don’t set a value higher than your hosting plan allows. If your plan caps PHP memory at 256M, writing
define( 'WP_MEMORY_LIMIT', '512M' );won’t give you 512M — PHP silently ignores values above the server’s hard cap. Ask your host what the maximum is if you’re unsure. - Keep it simple: 256M is the right target for the vast majority of sites. Large WooCommerce stores or sites with heavy page builders sometimes need 512M, but if you’re tempted to go that high, read the “what to do if the error persists” section first — there may be a misbehaving plugin behind the spike.
Method 2: Edit php.ini or Use the MultiPHP INI Editor
If editing wp-config.php feels too low-level, or your host restricts it, the php.ini route works just as well. php.ini is the server’s master PHP configuration file, and most shared hosts let you edit its values through a control-panel tool.
Option A: MultiPHP INI Editor in cPanel
- Log in to cPanel and scroll to the Software section.
- Open MultiPHP INI Editor.
- In the Configure PHP INI basic settings dropdown, select your domain.
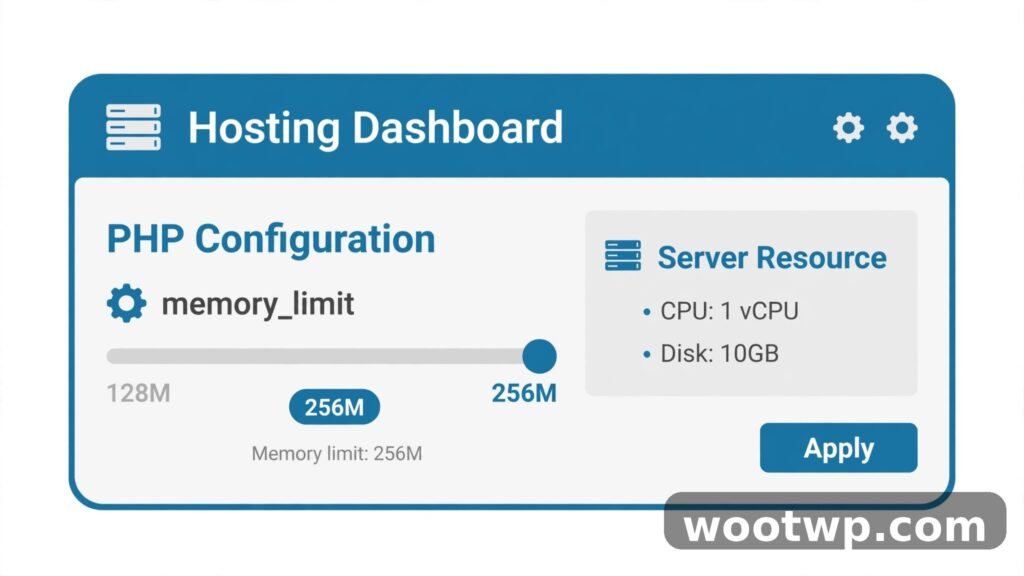
- Find the memory_limit field and change it to
256M. - Click Apply.
Option B: MultiPHP INI Editor in hPanel (Hostinger)
- Log in to hPanel and go to Websites → Manage → Advanced → PHP Configuration.
- Open the PHP Options or MultiPHP INI Editor area.
- Locate memory_limit, set it to
256M, and save.
Option C: Edit php.ini manually
If your panel doesn’t offer an editor, look for a file named php.ini in your site’s root (same folder as wp-config.php). Some hosts let you create one if it doesn’t exist. Open it and add or change this line:
memory_limit = 256MSave the file, then re-check your limit under Tools → Site Health → Info → Server. Changes to php.ini usually take effect immediately, but on some hosts you may need to wait a few minutes for the server to reload.
One gotcha: on hosts running PHP as CGI or FastCGI, a php.ini file in your site root may only affect that folder, not wp-admin. If Site Health shows your new value on the front end but the admin panel still reports the old one, put a copy of the php.ini in the wp-admin folder too — or just switch to the wp-config.php method instead.
Method 3: Edit .htaccess (Apache Servers Only)
This method adds one line to the .htaccess file in your site’s root. It works on Apache servers, but comes with a warning — so read the whole section before using it.
- Open your file manager and go to your site’s root folder (
public_html). - If you don’t see
.htaccess, enable Show Hidden Files (dotfiles) in the file manager settings — files starting with a dot are hidden by default. - Right-click
.htaccessand choose Edit. - Add this line at the very top of the file:
php_value memory_limit 256M- Save the file and immediately load your site in a private browser window.
The warning: php_value directives only work when PHP runs as an Apache module (mod_php). Many modern hosts run PHP as CGI, FastCGI, or PHP-FPM instead, and on those setups this line triggers an instant 500 Internal Server Error across your whole site. If your site breaks the moment you save the file, just delete the line and everything returns to normal — then use Method 1 or 2 instead.
Also skip this method entirely if your host uses Nginx or LiteSpeed as the web server, because .htaccess isn’t processed there at all. When in doubt, ask your host which method they support before touching .htaccess.
Method 4: Ask Your Hosting Provider to Raise It
If none of the above works — or if you’d rather not edit files at all — your hosting provider can raise the limit for you in under a minute. This is also the only option on some managed WordPress hosts and entry-level shared plans where memory settings are locked at the account level.
- Open your host’s live chat or support ticket system.
- Say: “Could you please raise the PHP memory_limit for my account to 256M? My WordPress site is hitting the memory ceiling.”
- Wait for confirmation, then verify the change in WordPress under Tools → Site Health → Info → Server.
Support agents do this dozens of times a day and usually need no further explanation. While you have them, ask what the maximum allowed value on your plan is — that tells you whether 256M is your ceiling or just a starting point. If your plan caps you at 128M and your site genuinely needs more, that’s a sign it may be time to upgrade the plan rather than keep fighting the limit.
How Much Memory Should You Set?
Here’s the practical guidance I give on every site I touch:
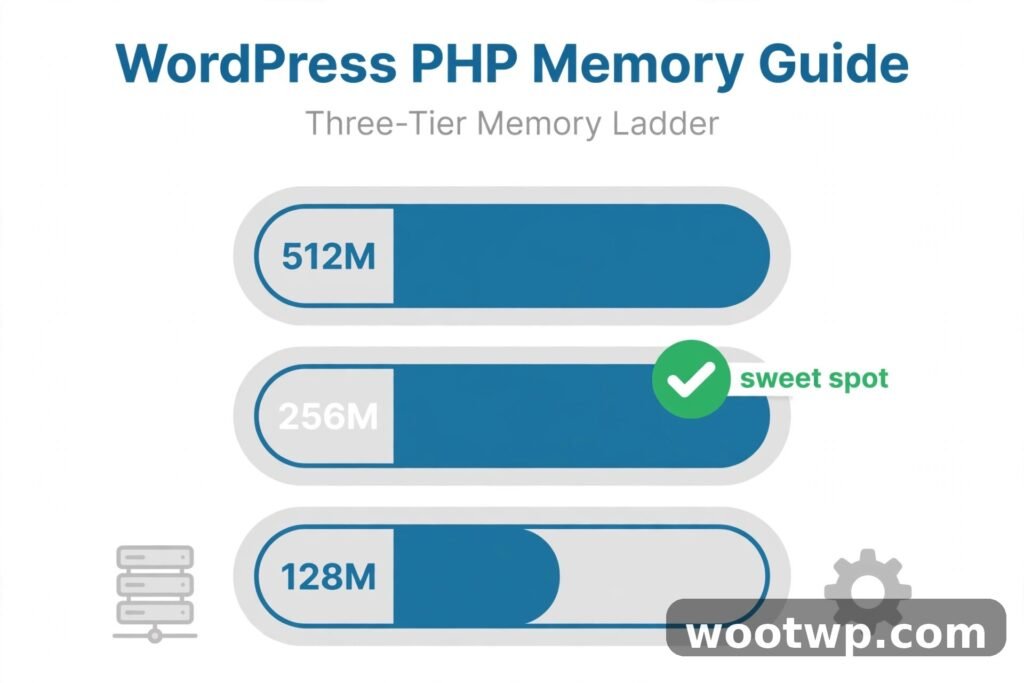
- 128M: the bare minimum for a simple blog with a lightweight theme and a few plugins.
- 256M: the sweet spot for most WordPress sites — blogs, business sites, and sites running a page builder. Start here.
- 512M: reserved for large WooCommerce stores, membership sites, or sites running heavy admin tasks (big imports, full-site backups, media regeneration).
- Above 512M: almost never necessary on shared hosting. If your site needs more, the smarter move is usually to fix the underlying cause (see the next section) or move to a plan with more resources.
Two rules of thumb: never set the limit higher than your hosting plan actually provides, and never treat a higher number as a substitute for fixing a resource-hungry plugin. Memory limits exist to protect the server — one runaway script on an unlimited budget can take down every site on a shared server.
How to Verify the New Limit Took Effect
After any of the four methods, confirm the change actually applied:
- In WordPress, go to Tools → Site Health → Info → Server.
- Check the PHP memory limit row. It should now show your new value (e.g. 256M).
- Revisit the page or admin screen that was showing the memory error and confirm it’s gone.
If Site Health still shows the old value, the most common causes are: a server-level cap overriding your setting, a typo in the file you edited (check for curly quotes or extra spaces), or an aggressive server cache — wait 10 minutes and check again.
What to Do If the Memory Error Persists
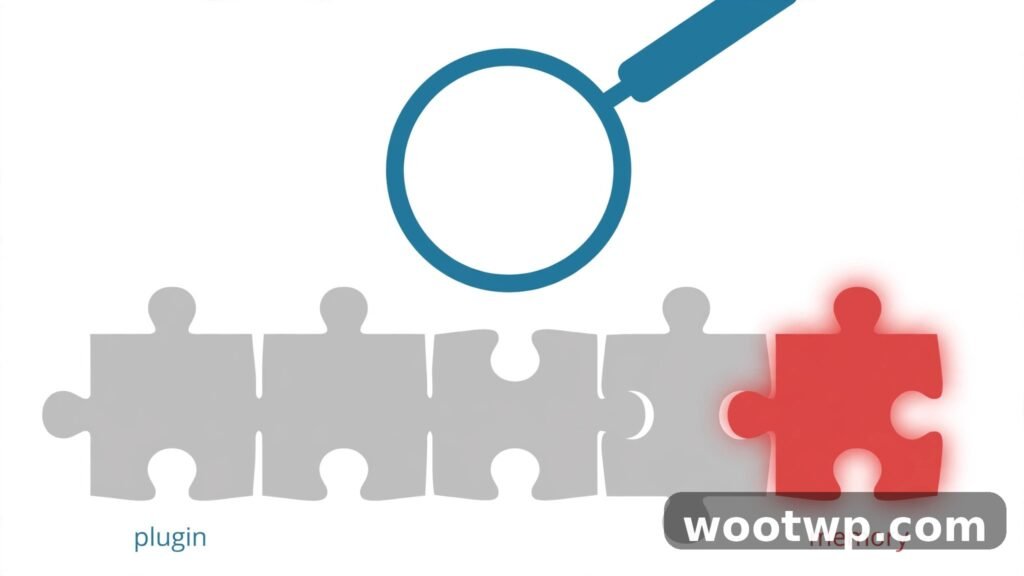
Sometimes you raise the limit and the fatal error keeps coming back. In my experience, that almost always means one plugin or theme is consuming a wildly unreasonable amount of memory, and no limit increase will paper over it forever. Here’s how to track it down:
- Deactivate all plugins, then re-check the page that was erroring. If the error disappears, reactivate plugins one at a time (clearing any cache between each) until the error returns. The last one you activated is your culprit.
- Switch to a default theme (like Twenty Twenty-Five) temporarily. If the error stops, your theme is the problem — check for an update or contact the theme author.
- Check your error log. Many hosts provide an error log in the control panel; it often names the exact plugin file and line where memory ran out, which saves you the one-by-one guessing game.
- Update everything. Outdated plugins are the single most common source of memory leaks I’ve seen. Update WordPress core, themes, and plugins to their latest versions first.
If one specific plugin keeps causing the error even when updated, look for a lighter alternative or contact its developer with the error message. Throwing more memory at a leaking plugin is like buying a bigger bucket for a leaking roof — it works until it doesn’t.
Frequently Asked Questions
What is the recommended PHP memory limit for WordPress?
256M is the recommended value for the vast majority of WordPress sites. WordPress’s own default is only 40M (64M for multisite), which is too low for modern themes and plugins. Large stores or heavy sites may need 512M, but never set a value above what your hosting plan actually provides.
Will increasing the memory limit make my site faster?
Not directly. The memory limit only controls how much memory PHP scripts may use before PHP stops them — it doesn’t speed up code or reduce load times. It does fix crashes, white screens, and failed updates caused by memory exhaustion, which can make the site feel faster simply because it stops breaking.
Why does my site still show the memory error after I increased the limit?
Three common reasons: your hosting plan caps memory below the value you set (the server silently ignores higher values), there’s a typo in the file you edited, or a plugin/theme has a memory leak that will blow through any limit. Deactivate plugins one by one to find the offender, as described in the troubleshooting section above.
Is it safe to set the memory limit to 512M or higher on shared hosting?
It’s safe in the sense that it won’t break anything by itself, but it often accomplishes nothing — most shared plans cap PHP memory at 128M or 256M regardless of what you configure. Setting 1G on a 256M plan doesn’t give you 1G. Check your plan’s actual ceiling with your host first.
Where is the wp-config.php file located?
In your site’s root directory — the folder that also contains wp-admin, wp-content, and wp-includes. On cPanel hosts this is usually public_html; on hPanel it’s the same root folder your domain points to. Access it through your host’s file manager or an FTP/SFTP client.
Can I increase the PHP memory limit from inside the WordPress dashboard?
Not directly — there’s no built-in setting for it. The wp-config.php constant (Method 1) is the closest thing to a “WordPress-side” fix. Some hosts provide a control-panel tool like MultiPHP INI Editor (Method 2) that achieves the same result without editing files by hand.
Conclusion
The PHP memory limit sounds technical, but fixing it is one of the simplest maintenance tasks in WordPress. Check your current limit under Tools → Site Health → Info → Server, add define( 'WP_MEMORY_LIMIT', '256M' ); to wp-config.php (and WP_MAX_MEMORY_LIMIT if the admin area is the problem), verify the change, and you’re done. If the file-based methods don’t stick, the php.ini editor or a quick message to your host will finish the job.
One last piece of advice from experience: treat the memory limit as a safety net, not a target. If you find yourself raising it again and again, something on the site is consuming too much — find that plugin or theme and deal with it. A healthy WordPress site runs comfortably on 256M, and keeping it that way means fewer surprises down the road.