
How to Update PHP Version in WordPress (Without Breaking Your Site)
Updating the PHP version in WordPress is one of the highest-impact maintenance tasks you can do for your site. It’s free, it takes about five minutes, and it can make your site faster and safer at the same time. But it’s also the kind of task that makes site owners nervous, because doing it carelessly can take a site offline.
In this guide, I’ll walk you through exactly how to update PHP version in WordPress the safe way: what to check first, where to change the setting in cPanel, Hostinger’s hPanel, Plesk, and DirectAdmin, which version to pick, and what to do after (including how to roll back instantly if something goes wrong).
Why You Should Update PHP in WordPress
PHP is the programming language WordPress runs on. Every WordPress page load — every post, every product, every comment form — is built by PHP code executing on your server. The PHP version your server uses matters more than most people realize.
Here’s why updating is worth it:
- Security fixes. Older PHP versions stop receiving security patches once they reach end of life. Running an end-of-life PHP version means known vulnerabilities don’t get fixed, and attackers know exactly which ones those are. Keeping PHP current is one of the simplest ways to shrink your site’s attack surface.
- Speed. Each major PHP release has brought meaningful performance improvements. Sites running modern PHP generally serve pages faster than the same sites running older versions, because the language itself executes code more efficiently. If you’ve already worked on speeding things up — for example, if you’ve read my guide on how to speed up a slow WordPress admin dashboard — upgrading PHP is the server-side complement to those efforts.https://wootwp.com/how-to-speed-up-wordpress-admin-dashboard-11-fixes/
- New features and compatibility. Plugin and theme developers build against current PHP versions. Over time, new plugin releases start requiring newer PHP, and if you fall too far behind, you stop getting updates for the tools you rely on — which circles back to the security problem.
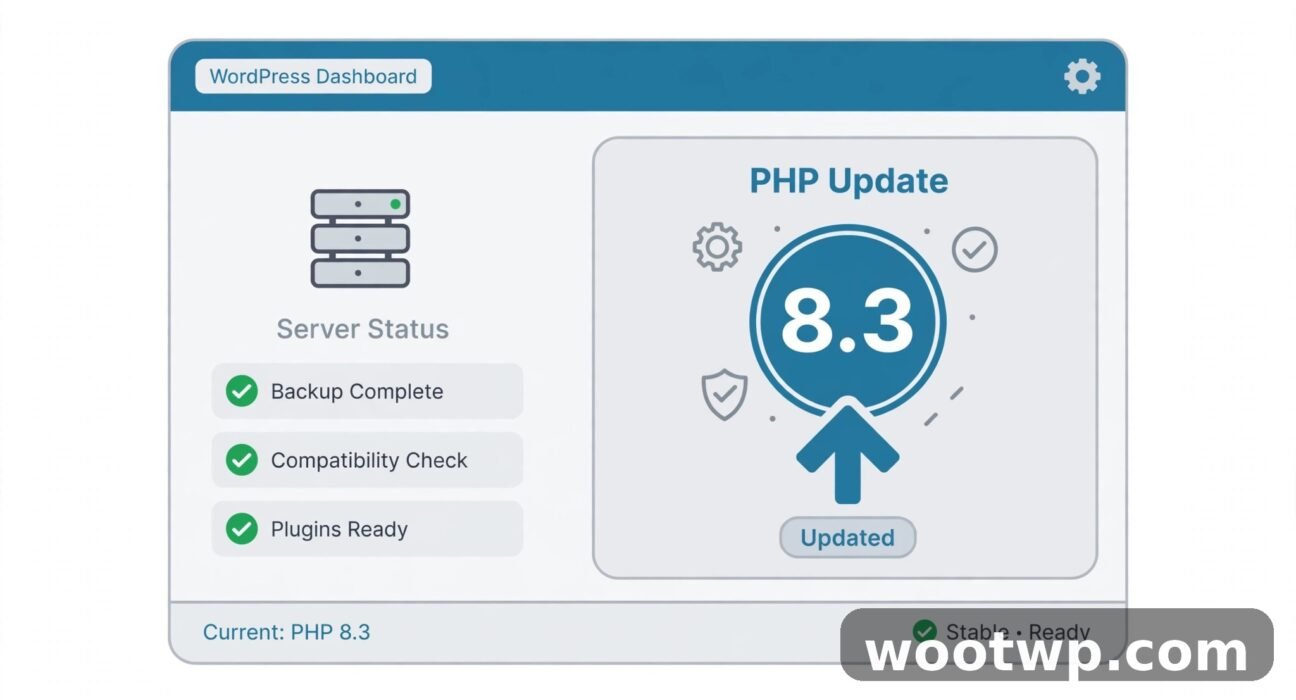
The good news: WordPress itself fully supports modern PHP. As of WordPress 6.x, PHP 8.1, 8.2, and 8.3 are all officially supported, and WordPress recommends PHP 8.1 or higher. The bad news: many hosting accounts are still set to PHP 7.4 or even 7.3 by default, years after those versions stopped getting security updates. If you haven’t touched this setting since your site was created, there’s a good chance you’re running something outdated.
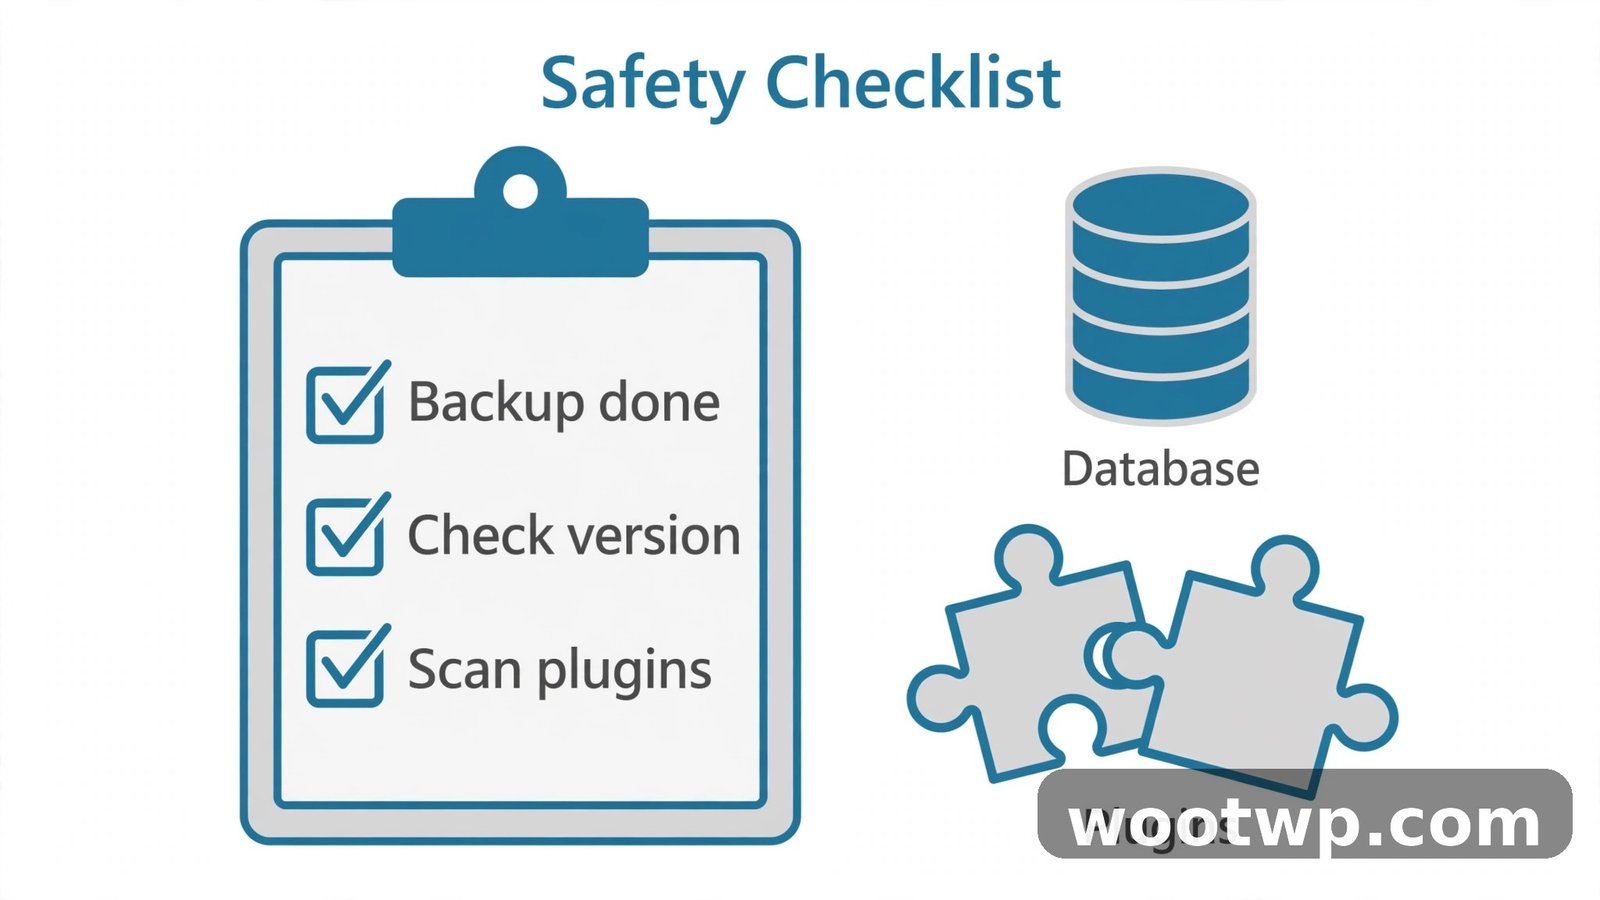
Before You Update: The Safety Checklist
I’ve seen this break sites when people skip the prep. Twenty minutes of checking saves you hours of panicking. Here’s the order I recommend.
Step 1: Note your current PHP version (so you can roll back)
Before changing anything, write down the PHP version you’re running now. You’ll find it inside WordPress itself:
- Log in to your WordPress dashboard.
- Go to Tools → Site Health.
- Click the Info tab at the top.
- Expand the Server section.
- Look for the row labeled PHP version — it’ll show something like 7.4.33.
Write this down somewhere safe — a notes app, a sticky note, wherever you’ll find it in a hurry. If the update causes problems, you’ll switch back to exactly this version. Knowing the number in advance turns a crisis into a two-minute fix.
Step 2: Take a full backup
This is non-negotiable. Changing the PHP version shouldn’t touch your files or database, but “shouldn’t” isn’t the same as “won’t” — and if anything else goes wrong during the process, a backup is your time machine.
If you use UpdraftPlus (the free version is plenty for this), here’s the quick version:
- In your dashboard, go to Settings → UpdraftPlus Backups.
- Click the big blue Backup Now button.
- In the popup, make sure both boxes are checked: Include your database in the backup and Include your files in the backup.
- Click Backup Now and wait for the process to finish.
- Confirm you see a completed backup listed with today’s date and time.
If you don’t have a backup plugin yet, install UpdraftPlus first — the free version on wordpress.org works fine. If your host offers automatic daily backups through its control panel, that’s great as an extra layer, but I still like having my own backup I control.
Step 3: Check theme and plugin compatibility
This is the step that actually prevents most breakages. A PHP upgrade changes the language your site runs on, and old plugins sometimes use PHP functions that were removed in newer versions. When that happens, the plugin crashes — sometimes taking your whole site with it.
The WP Engine “PHP Compatibility Checker” plugin (free, by WP Engine) automates this scan:
- Go to Plugins → Add New and search for “PHP Compatibility Checker”.
- Install and activate the plugin by WP Engine.
- Go to Tools → PHP Compatibility in your dashboard.
- Select the PHP version you’re planning to move to (e.g., PHP 8.3) from the dropdown.
- Check the box for Scan all plugins and themes, then click Scan site.
The plugin will scan your installed themes and plugins and report which ones use code that’s incompatible with the target PHP version. Here’s how to read the results:
- Green / no errors: the plugin or theme looks compatible. You’re good.
- Errors reported: open the details. Often the errors are minor, but if a critical plugin (your page builder, your WooCommerce install, your security plugin) shows serious incompatibility, you have three options: update that plugin to its latest version first (newer versions often fix PHP compatibility), find a replacement, or hold off on the PHP upgrade until you do.
In my experience, the vast majority of breakages come from one or two abandoned plugins. If your site only has actively maintained plugins and a current theme, the scan usually comes back clean and the upgrade is uneventful.
Step 4: Update WordPress, your theme, and your plugins first
While you’re in prep mode, go to Dashboard → Updates and bring everything current: WordPress core, your theme, and all plugins. Developers fix PHP compatibility issues in their updates, so running the latest versions before the PHP upgrade eliminates a whole class of problems. This is also just good hygiene.
How to Update PHP Version in cPanel
cPanel is the most common hosting control panel, and it gives you two different tools for changing PHP versions. Which one you see depends on your host’s setup. Either works — use whichever your host provides.
Option A: MultiPHP Manager
- Log in to cPanel.
- Scroll to the Software section and click MultiPHP Manager.
- You’ll see a list of your domains. Check the box next to the domain you want to update.
- On the right side, find the PHP Version dropdown.
- Select the version you want (I’ll cover which one to pick below).
- Click Apply.
That’s it. The change takes effect immediately — there’s no waiting period and no server restart needed on most shared hosting setups.
Option B: Select PHP Version (PHP Selector)
Some hosts (particularly CloudLinux-based ones) use “Select PHP Version” or “PHP Selector” instead:
- In cPanel, go to the Software section and click Select PHP Version.
- At the top, you’ll see your current PHP version with a Set as current link.
- Click Set as current next to the version you want.
- Optionally, use the Extensions tab on this screen to make sure the PHP extensions WordPress needs are enabled (they usually are by default — WordPress needs extensions like mysqli, curl, mbstring, and imagick or gd; if your site was working before, these are almost certainly already on).
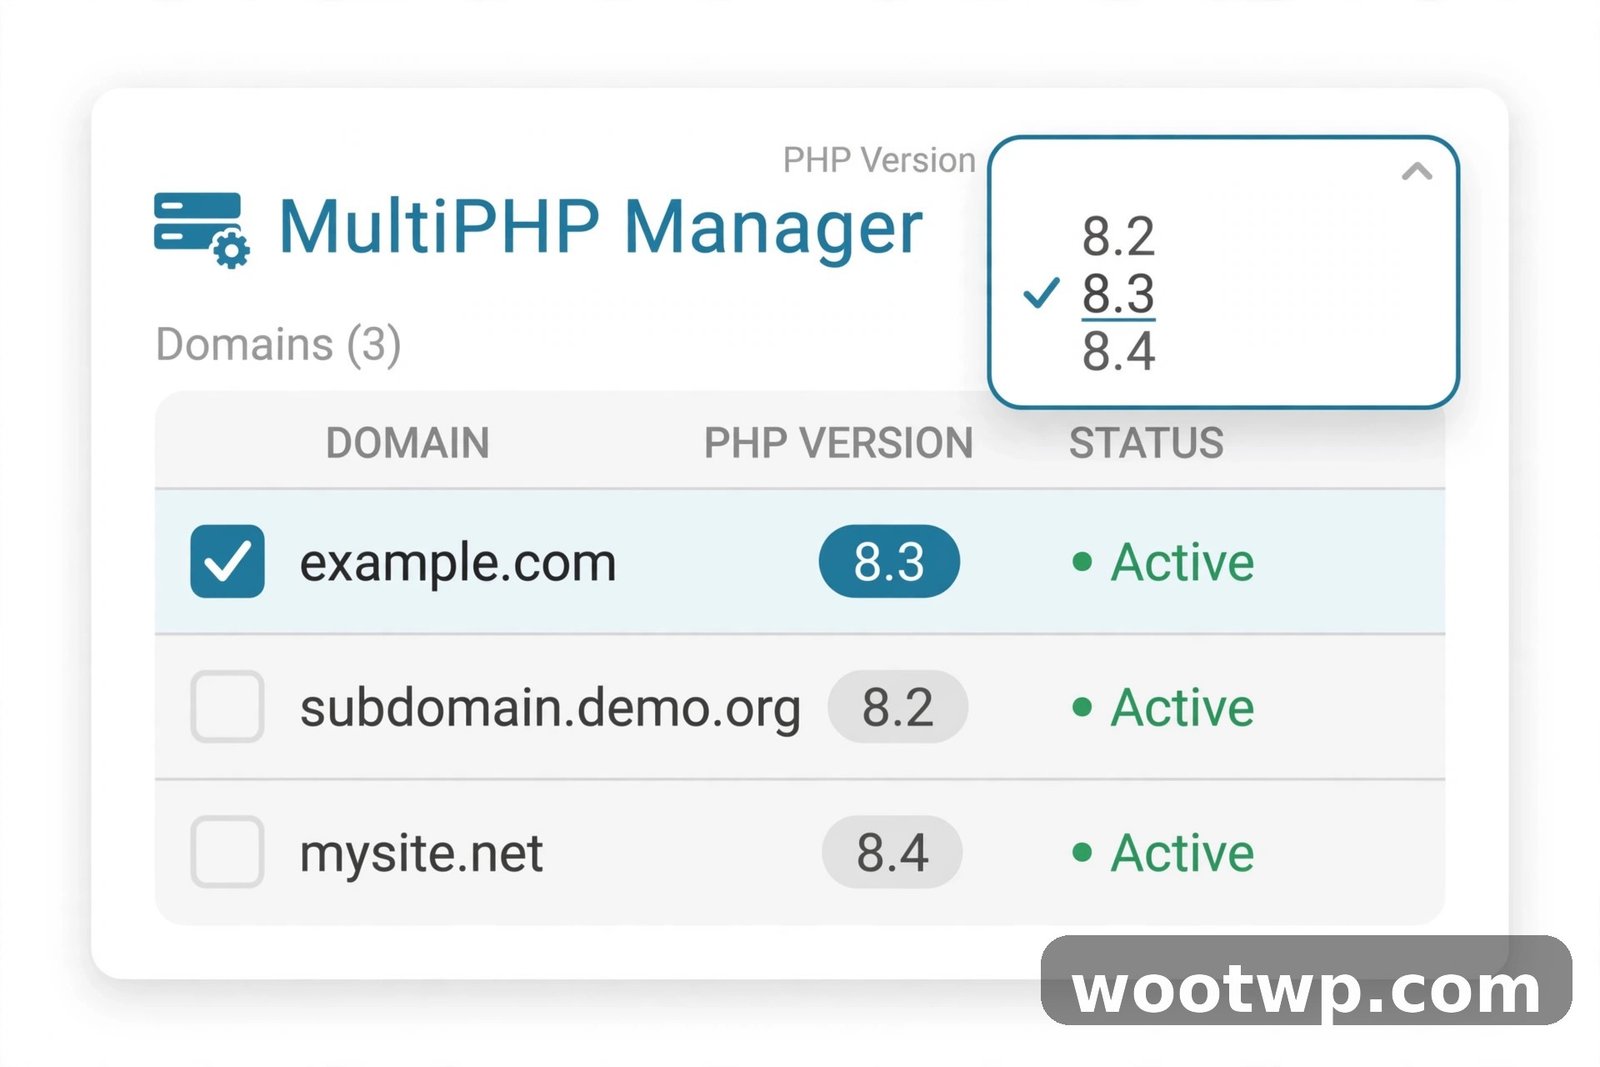
A quick note on the difference between these two tools: MultiPHP Manager changes which PHP version serves your site, while Select PHP Version also lets you toggle individual PHP extensions and settings. If your host has both, the version you set in one generally stays in sync with the other.
How to Update PHP Version in Hostinger hPanel
If your site is on Hostinger, the path is different but just as quick:
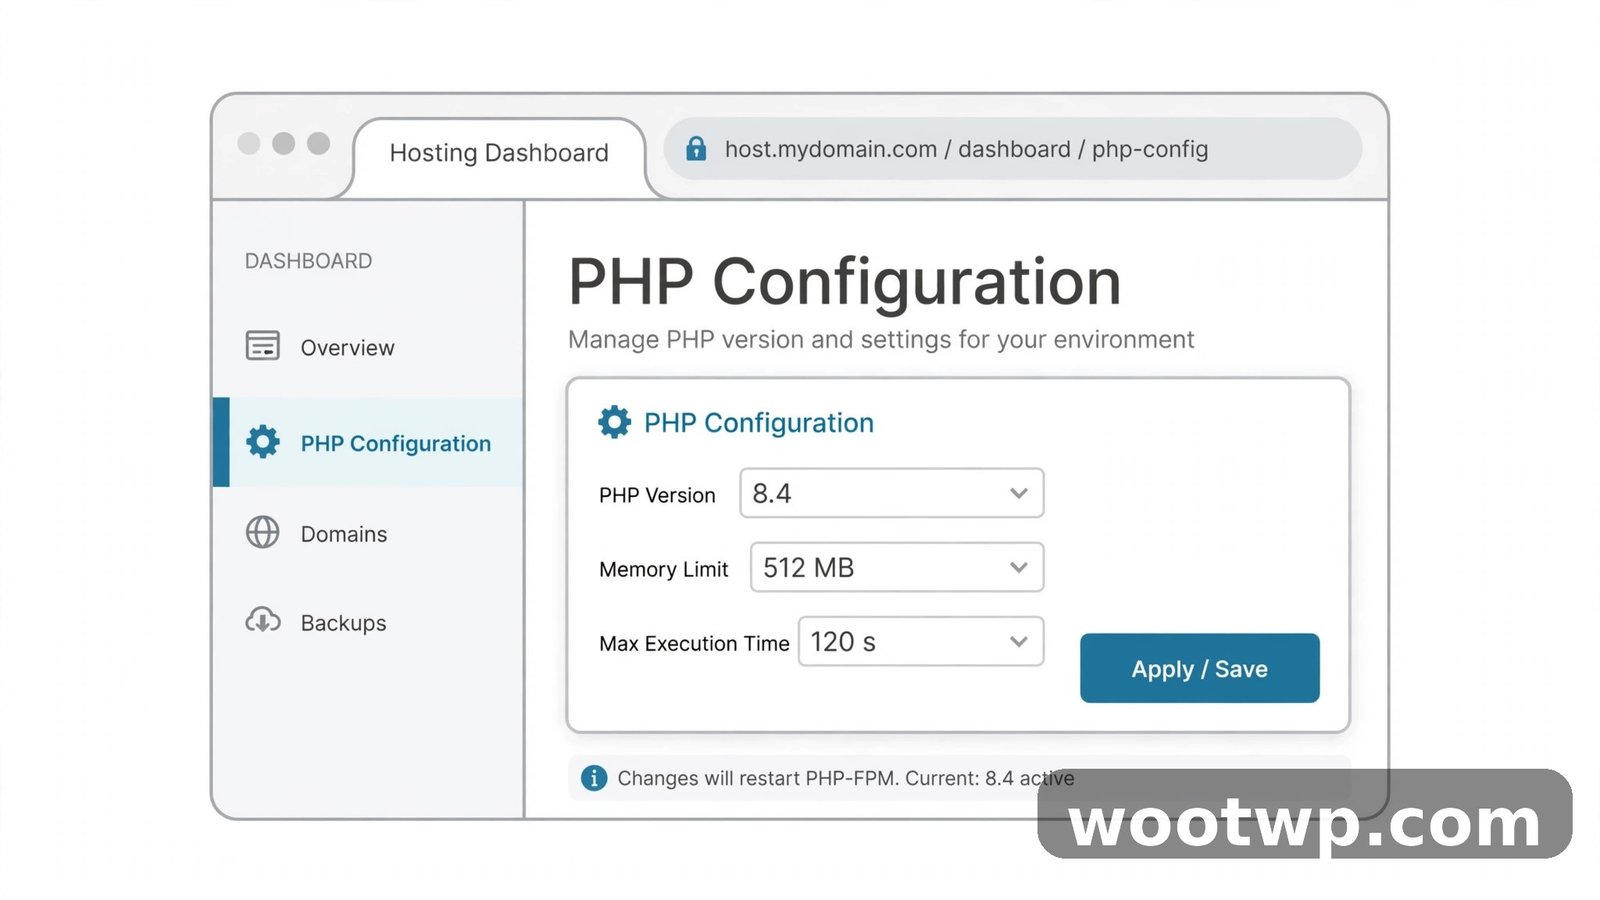
- Log in to hPanel (Hostinger’s control panel).
- Go to Websites and click Dashboard on the site you want to update.
- In the left sidebar, find Advanced and click PHP Configuration.
- You’ll see your current PHP version displayed, along with the available versions.
- Select the version you want from the list and save.
The change applies right away. One thing to know about hPanel: it also lets you adjust PHP settings (like memory limits) from the same PHP Configuration screen under a separate tab — but don’t change those unless you know you need to. For the PHP version itself, just pick the version and save.
How to Update PHP Version in Plesk and DirectAdmin
Plesk
- Log in to Plesk and go to Websites & Domains.
- Find your domain and click PHP Settings (sometimes shown as just “PHP”).
- From the PHP version dropdown, choose the version you want.
- Click OK or Apply at the bottom of the page.
Plesk also shows you the PHP handler (FPM, FastCGI, etc.) on this screen. You don’t need to change the handler — just the version.
DirectAdmin
DirectAdmin’s layout varies more between hosts, but the path is usually:
- Log in to DirectAdmin and open your domain’s control panel.
- Look under Advanced Features or Extra Features for Select PHP Version (on some setups it’s under Domain Setup).
- Choose the version from the dropdown and save.
If you can’t find a PHP version option in DirectAdmin, your host may have disabled it — in which case, see the “no selector” note below.
If your host has no PHP version selector
Some managed WordPress hosts don’t give you a PHP version dropdown at all — they manage it for you. If you’ve looked everywhere and can’t find the setting, contact your host’s support and say exactly this:
“Hi, I’d like to update the PHP version for my WordPress site to the latest stable version you support. My site is currently running PHP [your version from Step 1]. Can you update it, or point me to where I can change it myself?”
Most hosts will either do it for you or tell you where the option is hidden. If a host refuses to move you off an end-of-life PHP version, that’s a serious red flag about the host — consider it data for your next hosting decision.
Which PHP Version Should You Pick?
The rule of thumb is simple: pick the highest PHP version your host offers that WordPress officially supports.
As a practical matter:
- PHP 8.3 or 8.4 are the sweet spot right now — current, fast, and fully supported by WordPress 6.x and virtually all maintained plugins and themes. If your host offers 8.3, pick it.
- PHP 8.1 and 8.2 are also fine choices if your host doesn’t offer anything newer. They’re still supported and work well with WordPress.
- Avoid PHP 7.4 and 8.0. Both are end of life, meaning they no longer receive security updates. If your site is still on one of these, that’s exactly why this upgrade matters — move up as soon as you can.
- Don’t pick a brand-new PHP release the week it comes out. Let it mature for a few months so plugin developers can catch up. One version behind the bleeding edge is the comfortable place to be.
If you’re unsure which version your host supports, the dropdown in MultiPHP Manager or hPanel will only show you versions your host actually has installed — you can’t pick a wrong one from that list in the sense of picking something unavailable. The only question is how high to go, and the answer is: as high as WordPress supports.
After Updating: Test Everything
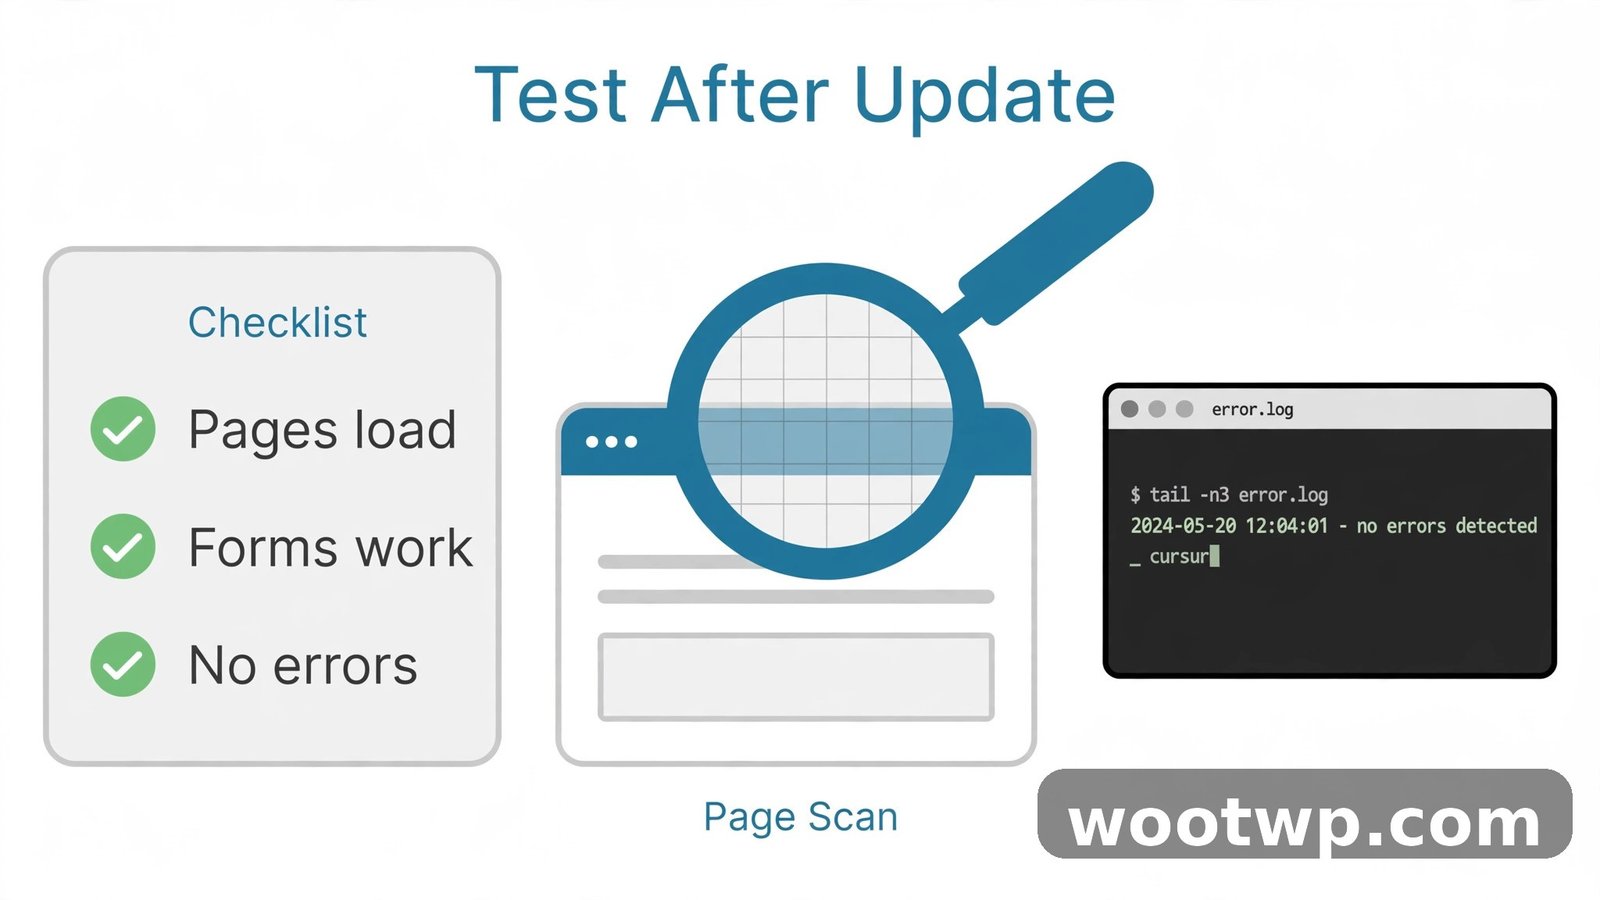
The version change itself takes seconds. What you do in the ten minutes after is what keeps your site healthy. Don’t skip this.
1. Clear every layer of cache
Your cache plugins may be holding onto pages built with the old PHP version. Clear them all:
- If you use a caching plugin (WP Rocket, LiteSpeed Cache, W3 Total Cache, etc.), go to its settings and purge/flush the entire cache.
- If your host has server-level caching, clear that too (many hosts have a “Purge Cache” button in their control panel or a toolbar item in WordPress).
- Clear your browser cache, or test in a private/incognito window so you’re seeing fresh pages.
2. Test your key pages and forms
Visit your site like a visitor would and check:
- Your homepage and a few posts or pages — do they load normally?
- Your contact form — submit a test message.
- Your checkout or signup flow if you have one — walk through it.
- Your WordPress dashboard itself — can you create a post, upload media, save settings?
Pay attention to anything that looks broken, shows error text, or behaves differently than before.
3. Check Site Health again
Go back to Tools → Site Health → Info → Server and confirm the PHP version now shows the new one. Then click the Status tab and look for any new critical issues or recommended improvements. WordPress will flag things like missing PHP extensions here.
4. Check your error logs
If something’s subtly wrong, the error log will usually say so. In cPanel, go to Metrics → Errors to see recent PHP errors for your site. In hPanel, check the error logs under your site’s dashboard. Look for entries timestamped after your PHP change — repeated errors mentioning a specific plugin tell you exactly what’s incompatible.
What to Do If Your Site Breaks After the Update
First: don’t panic. This is fixable, and it’s why you wrote down your old version.
The most common symptoms are the white screen of death (a completely blank page) or a 500 Internal Server Error. These almost always mean one plugin or your theme is incompatible with the new PHP version.
The fastest fix: switch back. Go right back to wherever you changed the version (MultiPHP Manager, hPanel PHP Configuration, Plesk PHP Settings) and set it back to the version you wrote down in Step 1. The change takes effect instantly, and your site will come back. No harm done — you’re back where you started, and now you know which version is the problem.
Then figure out the culprit. With your site restored on the old version:
- Run the PHP Compatibility Checker scan again and look specifically for errors in your active theme and plugins.
- Update the offending plugin or theme — the developer may have already fixed it.
- If a plugin is abandoned (no updates in over a year), find a maintained alternative.https://wootwp.com/how-to-fix-500-internal-server-error-in-wordpress-11-ways/
- If you need a deeper walkthrough of diagnosing the white screen and 500 errors generally, my guide on fixing the 500 Internal Server Error in WordPress covers the full troubleshooting process.https://wootwp.com/how-to-fix-500-internal-server-error-in-wordpress-11-ways/
A note on .htaccess handler lines. On some hosts — particularly older cPanel setups — there may be a line in your site’s .htaccess file that forces a specific PHP version, something that references a php handler. If you change the version in MultiPHP Manager but your site still reports the old version in Site Health, check your .htaccess (in cPanel, Files → File Manager → public_html, with hidden files shown) for a line mentioning a PHP handler or version number. That line overrides the control panel setting. If you find one and you’re not sure what it does, don’t edit it blindly — ask your host’s support. In my experience this trips people up more than anything else on legacy hosting accounts.
Practical Gotchas Worth Knowing
A few things that catch people off guard even when the upgrade itself goes smoothly:
- Plugin functions removed in PHP 8. PHP 8.0 removed several old functions and changed how some things behave (for example, it got much stricter about type errors that PHP 7 silently tolerated). Well-maintained plugins were updated years ago, but if you’re running anything abandoned, this is where it breaks. The compatibility scan catches most of these.
- Cache plugins storing old state. After a PHP change, a stale object cache can serve up weird behavior that looks like a PHP problem but isn’t. Always purge all caches after the switch — I mentioned this above because it’s the single most common “the upgrade broke something” false alarm.
- Web PHP vs. CLI PHP. The PHP version your website uses (set in cPanel/hPanel/Plesk) is separate from the PHP version used by command-line tools like WP-CLI or cron jobs. If you run WP-CLI and it reports a different version than your site, that’s normal on many hosts — they’re configured independently. For a typical WordPress site, only the web PHP version matters for this guide.
- Staging first, if you can. Some hosts offer one-click staging sites. If yours does, clone your site to staging, change the PHP version there first, and test. It’s the zero-risk way to do this. Shared hosts without staging: the backup-and-rollback approach in this guide is your safety net.
- PHP settings can reset. Changing the PHP version sometimes resets custom PHP settings (like memory limits) to defaults on some hosts. If you previously raised your PHP memory limit, check it after the upgrade — my companion guide on increasing the PHP memory limit in WordPress walks through verifying and re-setting it.
Frequently Asked Questions
Will updating PHP break my WordPress site?
It can, but usually only if you’re running outdated or abandoned plugins and themes. That’s why the compatibility check in this guide comes before the update. If everything is current and maintained, the upgrade is typically uneventful — and if something does go wrong, switching back to your old version takes about thirty seconds.
How do I know which PHP version my WordPress site is using?
Go to Tools → Site Health → Info → Server in your WordPress dashboard and look at the PHP version row. That’s the authoritative answer for your site.
What’s the best PHP version for WordPress right now?
The latest stable version your host offers that WordPress supports — in practice, PHP 8.3 is an excellent choice. WordPress 6.x supports PHP 8.1 through 8.3 and recommends 8.1 or higher. Avoid anything at or below PHP 8.0, since those versions no longer get security updates.
Can I update PHP from inside the WordPress dashboard?
No — the PHP version is a server-level setting, not a WordPress setting. WordPress can tell you which version you’re running (via Site Health), but the actual change happens in your hosting control panel: cPanel’s MultiPHP Manager, Hostinger’s hPanel PHP Configuration, Plesk’s PHP Settings, or through your host’s support team.
How long does a PHP update take to take effect?
Practically instantly on most shared hosting. As soon as you apply the change in your control panel, new page loads use the new version. There’s no propagation delay like with DNS changes.
Should I update PHP on a live site or use a staging site?
If your host offers staging, test there first — it’s the safest option. If not, follow the process in this guide: backup, compatibility scan, update everything first, then switch PHP versions during a low-traffic period. Keep your old version number handy so you can roll back immediately if needed.
Conclusion
Updating the PHP version in WordPress is one of those rare maintenance tasks that’s both important and quick. The actual switch takes under a minute in cPanel, hPanel, or Plesk — the real work is the twenty minutes of preparation: noting your current version, taking a backup, scanning for compatibility, and updating your plugins and theme first.
Do that prep, pick the latest PHP version your host offers that WordPress supports, clear your caches afterward, and test your key pages. And remember the safety net that makes the whole thing low-stress: if anything looks wrong, switching back to your old version takes effect instantly. There’s very little to lose and real speed and security gains to win — so if your site is still sitting on PHP 7.4, this is your sign to finally make the move.