

How to Clear DNS Cache on Windows and Mac: 5 Quick Fixes
Picture this. You've just moved your website to a new host — new server, new IP, DNS records all updated — and you hit refresh. Old site. Refresh again. Old site. You wait ten minutes, refresh again, and there it is: the old site, mocking you.
Meanwhile your phone? Showing the new one perfectly.
I lost the better part of an hour to that exact mess once, refreshing a little WordPress site on my laptop while my phone sat next to me happily showing the new homepage. Cookies cleared. Browser cache cleared. Chrome restarted. Nothing worked. Then somebody in a forum said two words: flush DNS. One command, ten seconds, and the new site popped up on the very next refresh. I just sat there. An hour, gone, over a ten-second fix.
So if your computer keeps loading the wrong version of a site — or no version at all — learning how to clear DNS cache on Windows and Mac is probably the fix you're looking for. One command. Under a minute. And no, it doesn't delete anything: no files, no passwords, no browsing history. This guide walks you through the exact commands for Windows 10 and 11, every modern macOS version, and your browser, plus a quick way to check the flush actually worked.
- What Is the DNS Cache and Why Clear It?
- Before You Start
- Method 1: Clear DNS Cache on Windows
- Method 2: Clear DNS Cache on Windows With PowerShell
- Method 3: Clear DNS Cache on Mac
- Method 4: Clear the DNS Cache in Chrome and Edge
- Method 5: Clear DNS Cache on Linux
- How to Check the Flush Actually Worked
- When Flushing DNS Does Not Help
- FAQs
What Is the DNS Cache and Why Clear It?
Here's the short version. DNS is basically a phone book for the internet.
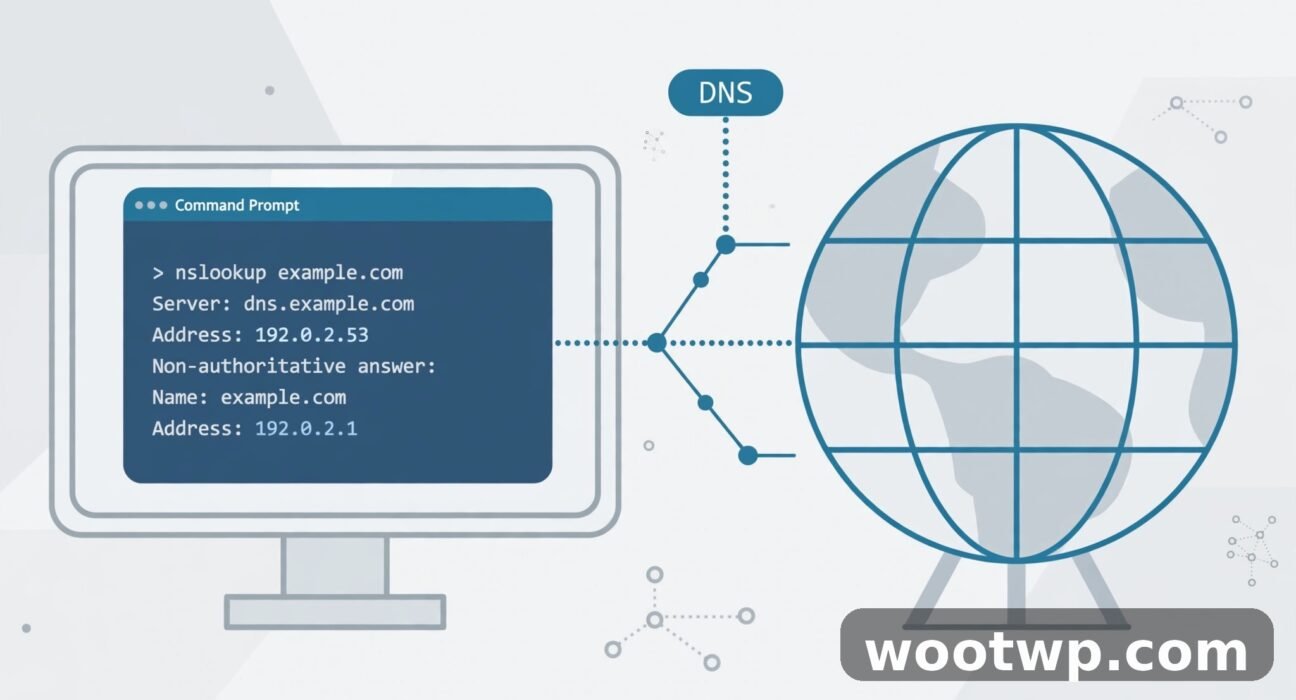
You type wootwp.com into your browser. Your computer doesn't know where that lives, so it asks a DNS server, "hey, what's the address for this name?" The server answers with an IP address — think of it as the street address of the machine hosting the site — and your browser loads the page. Simple enough.
Now, to save time, your computer writes that answer down. Next time you visit the same site, it skips the question and uses the saved answer. Quicker. That little notebook of saved answers? That's the DNS cache.
Ninety-nine days out of a hundred, you never think about it. It just sits there, quietly doing its job in the background.
Then something changes. A site moves to a new server. Its IP address changes. You fix a typo in a DNS record and expect the change to show up straight away. But your computer? It hasn't got the memo. It's still handing out the old, saved answer like nothing happened.
And that's when things get weird. A site that won't load. A site stuck on its old version. A DNS error on a page that opens just fine on your phone.
Sound familiar?
I keep coming back to that WordPress move I mentioned. New host, new DNS, and my laptop just would not let go of the old homepage. I refreshed until my finger hurt. Cleared cookies. Cleared the browser cache. Restarted Chrome twice (because once clearly wasn't enough, right?). Still the old site. My phone, sitting right there on the desk, had the new one the whole time. The problem was never the site. It was my laptop, clinging to an answer that was hours out of date.
Flushing the cache wipes those stored answers clean. Next visit, your computer has to ask DNS again — and this time it gets the current address.
Is it safe? Yeah, completely. Nothing gets deleted. No settings change. Your internet connection isn't touched. The only side effect, if you can even call it one, is that the next visit to each site takes a fraction of a second longer while the fresh lookup happens. That's literally it.
Signs you need to clear your DNS cache
- A website loads on your phone but not on your computer.
- You keep seeing "DNS_PROBE_FINISHED_NXDOMAIN" or "This site can't be reached".
- A site you just moved to a new host still shows the old host's page.
- A website shows an old version even after you cleared your browser cache.
- You changed your DNS server settings and nothing seems to have happened.
Ticked one of those boxes? Then a stale DNS cache is a very strong suspect — especially if you've already cleared cookies and browser cache and the problem is still sitting there. Our guide on clearing cookies in Chrome covers the browser side of that cleanup if you need it.
Before You Start
The good news first: you don't need to install anything. No downloads, no restart. Just one thing — permission to run a command as an administrator.
- On Windows: run Command Prompt or PowerShell as an administrator. If yours is an admin account, right-click the app and pick "Run as administrator". That's the whole trick.
- On Mac: you'll need your Mac login password, because the flush command uses sudo. Don't know the admin password? You'll have to ask whoever set up the Mac.
- Close your browser first — or be ready to. Browsers keep their own DNS cache, separate from the operating system (more on that in Method 4). Flush the system cache, then clear the browser one too, or the browser might just keep serving you the old answer anyway.
Method 1: Clear DNS Cache on Windows (Command Prompt)
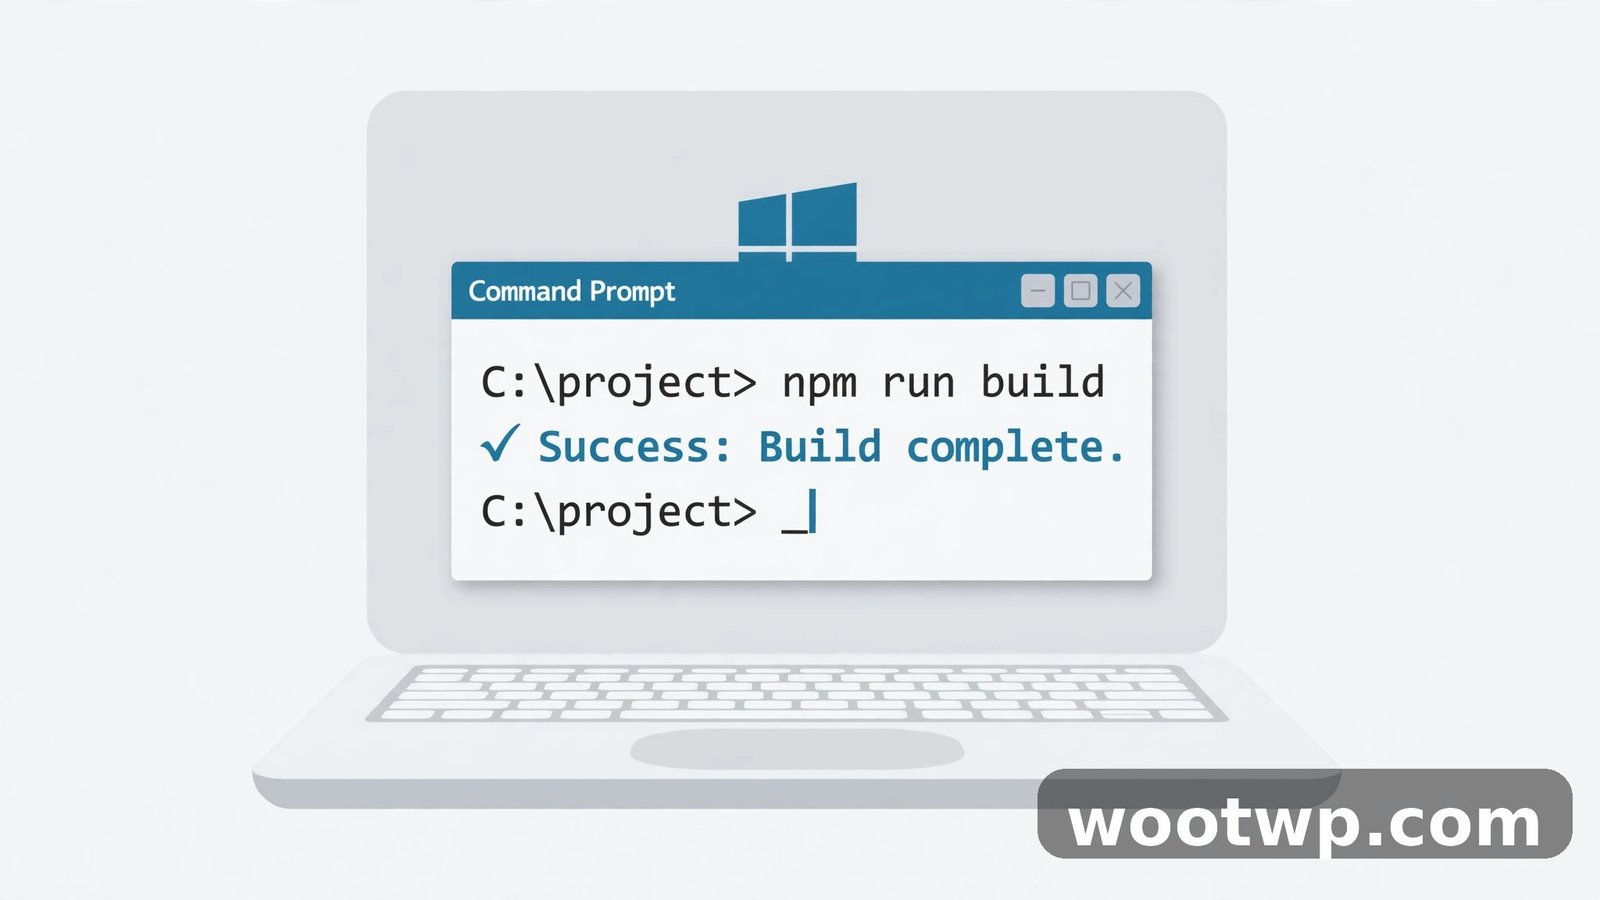
This is the standard way — the one you'll see everywhere — and it works exactly the same on Windows 10 and Windows 11. The command is ipconfig /flushdns. Microsoft documents it as the command that purges the DNS resolver cache, which is a fancy way of saying it empties that little notebook of saved answers.
Steps
- Press the Windows key, type
cmd, and wait for Command Prompt to show up in the search results. - Right-click Command Prompt and choose Run as administrator. Click Yes if Windows asks for permission.
- Type the following command and press Enter:
ipconfig /flushdns- You should see this message:
Successfully flushed the DNS Resolver Cache.- Close Command Prompt. No restart is needed.
That's it. Honestly. See that success message and you're done.
No success message, though? Then check one thing first — and I mean first, before you go googling anything else. Did you actually open Command Prompt as an administrator? Because the first time I did this, I didn't. I just opened a normal Command Prompt, typed the command like I knew what I was doing, and got slapped with "The requested operation requires elevation." I stared at it for a good minute. Elevation? What? Then it clicked: right-click, Run as administrator, try again. Worked instantly.
So: close the window, repeat step 2, and make sure you right-click and choose Run as administrator. Microsoft documents ipconfig /flushdns as the command that purges the DNS resolver cache, and ShowMyIP's flush DNS guide covers the same command with extra verification steps if you want a second opinion.
What if the command says the DNS Client service is not running?
Every now and then — usually on a work laptop or a machine somebody's been tinkering with — the DNS Client service is disabled, and the flush command needs that service to do its job. Easy fix.
Press Win + R, type services.msc, and press Enter. Scroll down to DNS Client in the list, double-click it, set Startup type to Automatic, click Start, then click OK. Now run the flush command again. Should go straight through this time.
Method 2: Clear DNS Cache on Windows With PowerShell
Maybe you prefer PowerShell. Maybe Command Prompt is blocked on your computer (some work machines do that). Either way, PowerShell has its own command for the same job: Clear-DnsClientCache.
What does it do differently? Not much, really. Instead of going through the older ipconfig tool, it talks directly to the DNS Client service. Same result, different route. Pick whichever one you like.
- Press Win + X and choose Windows PowerShell (Admin) or Terminal (Admin) on Windows 11.
- Type the following command and press Enter:
Clear-DnsClientCache- PowerShell shows no success message. The command simply runs and drops you back at the prompt. That silence? Totally normal. Not an error. (I know — the first time, I sat there waiting for a confirmation that never came. Nothing's wrong. That's just how it is.)
- Want to confirm it worked? Run
ipconfig /displaydnsright after. If the cache is empty, the output shows only a short header — or nothing at all.
One more thing: this one's handy to remember if you ever write a little script that flushes DNS as part of a bigger fix. PowerShell commands are easy to save and reuse, which is more than I can say for clicking through menus every time.
Method 3: Clear DNS Cache on Mac (Terminal)
Over on a Mac, a system service called mDNSResponder looks after the DNS cache, and you clear it from Terminal. The command has barely changed across a whole string of macOS versions — from El Capitan (10.11) right through to the current releases, macOS 26 Tahoe included. So if you learned this once, years ago, it still works.
Steps for macOS 10.11 and newer
- Open Terminal. Quickest way: press Cmd + Space, type
Terminal, and press Enter. Or find it under Applications, then Utilities. - Type the following command and press Enter:
sudo dscacheutil -flushcache; sudo killall -HUP mDNSResponder- Type your Mac login password when asked and press Enter. The password does not show on screen as you type it. That is normal.
- Terminal shows no success message. The command just finishes and returns to the prompt.
Two parts, two jobs. dscacheutil -flushcache clears the cached lookup data. killall -HUP mDNSResponder tells the macOS DNS service to drop its cached answers and reload. You run both together because Apple has shuffled how these pieces fit together across versions, and this combination covers all of them. For a platform-by-platform comparison of the same commands, DNS Robot's flush DNS guide lists Windows, macOS, Linux, and browser steps side by side.
Now — a quick story, because this one genuinely threw me. The first time I typed my password into Terminal on my MacBook Air, nothing appeared on screen. No dots. No stars. Nothing at all. I actually thought the keyboard had frozen. I wiggled the mouse, pressed a few keys, nearly gave up and closed the window. Then I typed the password anyway, hit Enter, and it worked. Turns out that's just how Terminal hides passwords: it shows you nothing, on purpose. So if it happens to you — type it, press Enter, trust it.
Older macOS versions
Got a very old Mac knocking around? The command is slightly different depending on the version. Check yours under the Apple menu, then About This Mac.
- macOS 10.10 Yosemite:
sudo discoveryutil mdnsflushcache - macOS 10.9 Mavericks and earlier:
sudo dscacheutil -flushcacheon its own, orsudo killall -HUP mDNSResponder - macOS 10.12 Sierra through today: the two-part command above
Let's be honest, though — almost every Mac in use today runs macOS 10.11 or newer, so the two-part command in the steps above is almost certainly the one you need.
Safari users: one extra step
Safari has no DNS cache of its own, so the Terminal command covers it. But — and this is the annoying bit — Safari can hold connections open to the old address. So after flushing, quit Safari completely (Cmd + Q), then reopen it. Still showing the old version? Then clear Safari's website data: Safari, then Settings, then Privacy, then Manage Website Data.
Method 4: Clear the DNS Cache in Chrome and Edge
Here's the step most people miss. And I mean most people — including me, the first time around.
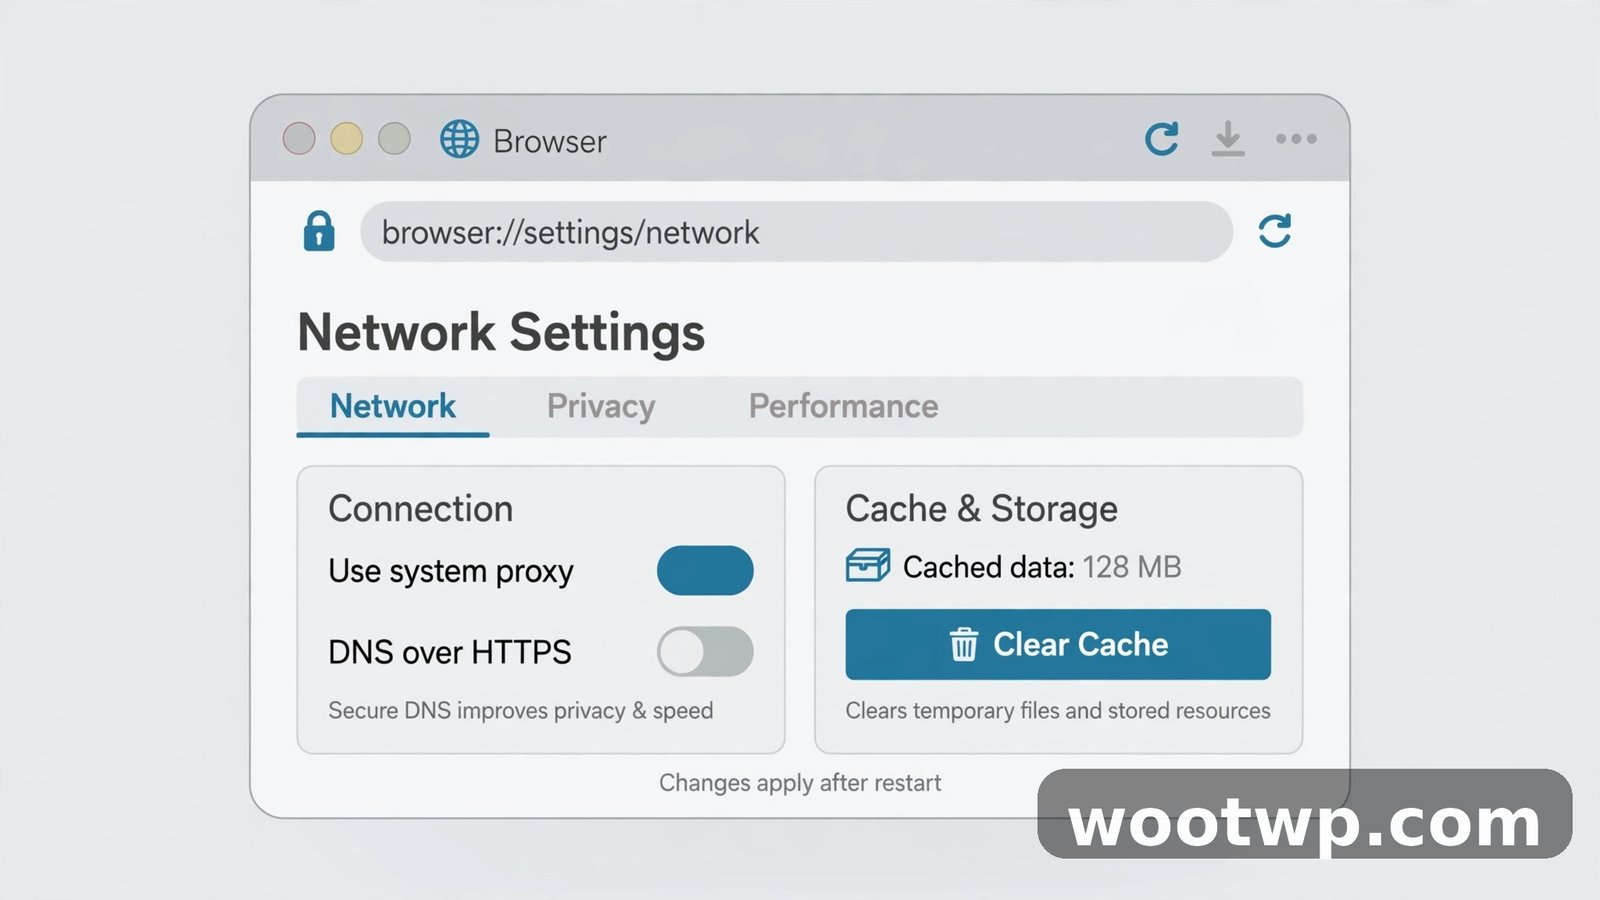
Your browser keeps its own internal DNS cache. Completely separate from Windows or macOS. So you can flush the operating system cache perfectly, open Chrome, and still see the old site — because Chrome just served you its own cached answer, thank you very much. Clear the browser cache too. Otherwise you're fixing half the problem and wondering why nothing changed.
Google Chrome
- Open a new tab and go to
chrome://net-internals/#dns - Click the Clear host cache button.
- That is it. Chrome drops its cached DNS answers immediately.
Microsoft Edge
- Open a new tab and go to
edge://net-internals/#dns - Click the Clear host cache button.
Brave and other Chromium browsers
Same trick, different name at the start of the address. Use brave://net-internals/#dns for Brave, opera://net-internals/#dns for Opera. Every Chromium-based browser has this page hiding in there.
Firefox
Firefox doesn't have a net-internals page, I'm afraid. Instead, it only keeps its DNS cache for a short time, and restarting Firefox clears it. So if you want to be thorough, restart Firefox after flushing the system cache. Done.
Clear both — system cache and browser cache — and you've covered every layer of DNS caching on your own computer. The only caches left are your router and your internet provider, and those are covered in the troubleshooting section below.
Method 5: Clear DNS Cache on Linux
Linux doesn't have one single DNS cache. Annoying, I know. Different distributions use different services, so you have to figure out which one your system runs and then use the matching command.
- systemd-resolved (Ubuntu 22.04 and newer, most modern distros):
sudo resolvectl flush-caches- Older systemd versions:
sudo systemd-resolve --flush-caches - nscd:
sudo service nscd restart - dnsmasq:
sudo service dnsmasq restart - NetworkManager with dnsmasq: restart NetworkManager with
sudo systemctl restart NetworkManager
Not sure which service your system runs? Honestly, sudo resolvectl flush-caches is the best first guess on a modern desktop distribution. It either works, or it tells you the service isn't running — and then you just try the next one on the list. No harm done either way.
How to Check the Flush Actually Worked
Here's the awkward part: some of these flush commands show no message at all. The macOS one? Silent. PowerShell? Silent. So how do you know anything actually happened?
Fair question. Here's how to confirm.
On Windows
Run this command in Command Prompt:
ipconfig /displaydnsRight after a flush, this shows an empty cache or a very short list. Then visit the problem website. New version loading? The flush worked.
You can also test the lookup directly:
nslookup example.comCompare the IP address it returns with the one your host or DNS provider says the site should have. Match? Then your computer finally has the fresh answer.
Quick confession: I check this every time a site move goes sideways. Once, nslookup handed me the old IP even after I'd flushed — and I nearly lost it. Turns out I'd flushed the system cache but not Chrome's. Cleared the host cache in Chrome, ran nslookup again, and there it was: the new IP. Two caches, two fixes. So easy to forget the second one.
On Mac
Run this in Terminal:
dscacheutil -cachedumpAfter a flush, the output should be empty or nearly empty. Then visit the problem site and confirm it loads the current version.
A simpler test that works everywhere
Open a private or incognito window and load the problem website. A private window skips the browser cache, so if the site loads correctly there, your DNS flush worked and the old browser cache was the remaining problem. If it still loads the old version? Then the stale answer is coming from somewhere else — usually your router or your internet provider.
When Flushing DNS Does Not Help
Okay, so you've flushed everything above and the site still shows the old version. Frustrating. But here's the thing: flushing your local DNS cache only fixes stale answers on your own computer. It can't touch the caches held by your router, your internet provider, or the wider internet. So work through this list.
- Restart your router. Routers cache DNS answers too. Unplug it, count to 30, plug it back in, and wait for it to reconnect. That clears its cache. (And yes, I know — "turn it off and on again" sounds like a joke. It works, though. It genuinely works.)
- Wait for DNS propagation. When a website changes its DNS records, the new answer takes time to spread across the internet. Most changes propagate within a few hours, but the full process can take up to 48 hours. During that window, different devices see different answers, and no flush on your computer can speed that up. Annoying, but true.
- Check your internet speed first. Sometimes a site isn't stale — it's just slow. Run a quick speed test and compare the result with what your plan promises. If your speed is way below your plan, the problem is the connection, not DNS. And a slow connection can make a site time out in a way that looks exactly like a DNS error.
- Try a different DNS server. Your internet provider's DNS server may be slow to update. Switching to a public DNS server — Google (8.8.8.8) or Cloudflare (1.1.1.1) — in your network settings often gets you fresh answers faster.
- Check whether the site is down for everyone. If the site loads nowhere, not just on your computer, the problem is the site itself, not your DNS cache. Ask a friend to try it, or check a down-detector site.
One more thing, if you share your home network with family: it's worth checking nobody else is hogging the connection. Our guide on checking who is using your WiFi shows how to spot unknown devices on your router, and our guide on fixing slow WiFi at home covers the placement and channel fixes that solve most speed complaints.
FAQs
Is it safe to clear the DNS cache?
Yes, completely safe. Honestly, it's one of the safest fixes there is. Clearing it changes no settings, deletes no files, and doesn't remove saved passwords or touch your internet connection. It only drops stored name-to-address answers — and your computer rebuilds those on its own the next time you visit each site. Nothing to lose sleep over.
How often should I clear the DNS cache?
Only when you have a reason. There's no schedule for this, no weekly chore to add to your list. Do it when a site loads the wrong version, when you've just changed DNS records, or when you're chasing down a DNS error. Flushing it every day? That would just slow your browsing a tiny bit, for no benefit at all. Don't bother.
Does clearing the DNS cache make my internet faster?
No. And anyone who promises you that is, frankly, wrong. Here's the truth: the first visit to each site after a flush is actually a tiny bit slower, because your computer has to look the address up again. The cache exists to make browsing faster. You clear it to fix stale answers — not to gain speed. Anyone selling it as a speed trick is selling you something.
Why does the website still show the old version after I flushed DNS?
Because the stale answer usually lives somewhere else: your browser's own DNS cache, your router, or your internet provider. Clear the browser cache with the steps in Method 4, restart your router, and if the site only just changed its DNS records, wait for propagation to finish. That can take up to 48 hours, and no amount of flushing on your end will hurry it along.
Do I need to restart my computer after flushing DNS?
Nope. The flush takes effect right away on both Windows and Mac. You only need to restart your browser if it holds its own cached answers — and even then, closing and reopening the browser is enough. No full restart, no waiting around.
Does ipconfig /flushdns work on Windows 11?
Yes. Same command, same result. It works the same on Windows 11 as on Windows 10, 8, and 7. Open Command Prompt as an administrator, run ipconfig /flushdns, and you'll see the message "Successfully flushed the DNS Resolver Cache." If you don't see that message, by the way, you probably forgot the "as an administrator" part — I did, the first time. Right-click, Run as administrator, try again.
Conclusion
So that's how to clear DNS cache on Windows and Mac: one command on each system, plus a quick browser clear so no stale answer survives. On Windows, run ipconfig /flushdns as an administrator. On Mac, run sudo dscacheutil -flushcache; sudo killall -HUP mDNSResponder in Terminal. Then clear the host cache in Chrome or Edge, and the problem site should load its current version.
Still stuck? Restart your router and give DNS propagation a little time. Because at that point, the stale answer is probably sitting upstream — not on your computer. And if it was your own site you moved, like mine was? Learn from my hour of pointless refreshing. Flush first. Ask questions later.