

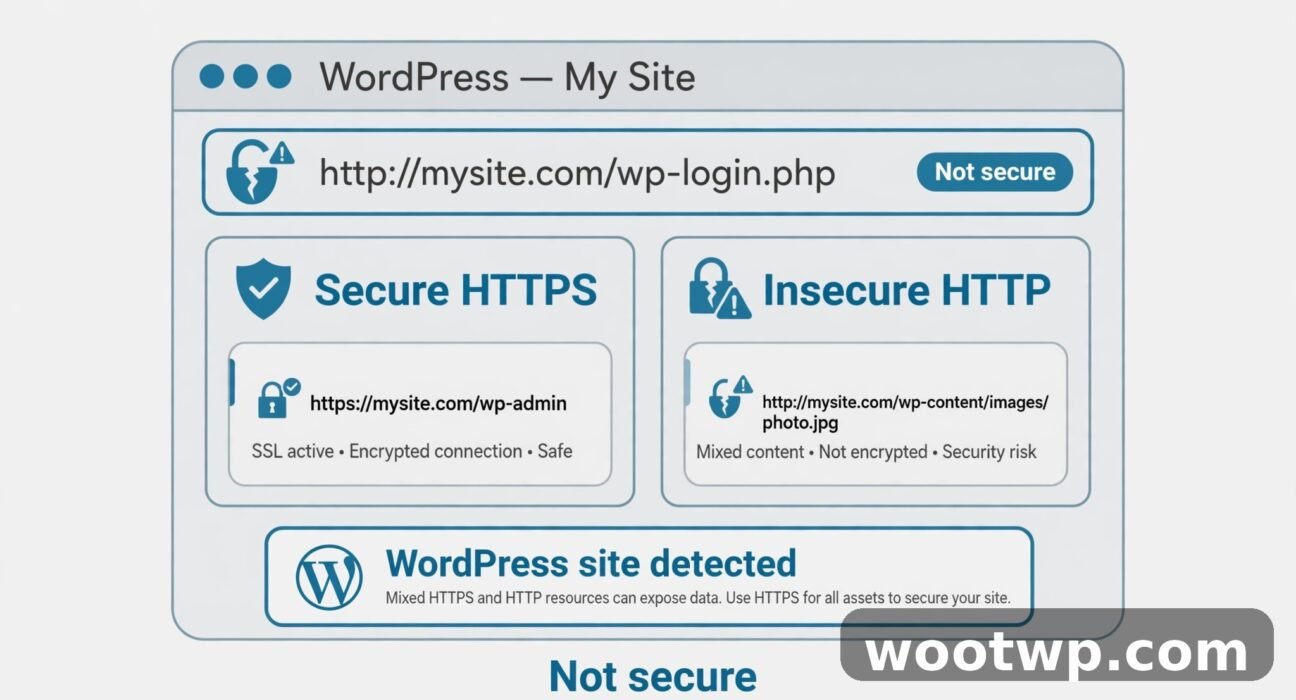
How to Fix Mixed Content Error in WordPress: 5 Proven Methods
You installed an SSL certificate, switched your site to HTTPS, and expected the padlock to appear. Instead, your browser still shows a warning, and some images or styles look broken. If that sounds familiar, you need to learn how to fix mixed content error in wordpress, and the good news is that the fix is usually simple once you know where the old HTTP links are hiding.
In this guide, I will walk you through what mixed content is, how to find every insecure item on your site, and five proven methods to fix it for good. You do not need to be a developer. Follow the steps in order, start with a backup, and test after each method.
- What Is Mixed Content in WordPress?
- Why Does the Mixed Content Error Happen in WordPress?
- How to Fix Mixed Content Error in WordPress: Find Every Insecure Link First
- Before You Start: Back Up Your WordPress Site
- Method 1: Update Your WordPress Address and Site Address to HTTPS
- Method 2: Fix Mixed Content With a Plugin
- Method 3: Fix Mixed Content in the WordPress Database
- Method 4: Force HTTPS With an .htaccess Redirect
- Method 5: Fix Hard-Coded URLs in Your Theme and Third-Party Embeds
- How to Fix Mixed Content Error in WordPress for Good: Verify and Prevent It
- FAQs About Fixing the Mixed Content Error in WordPress
- Conclusion
What Is Mixed Content in WordPress?
Mixed content happens when a secure HTTPS page loads one or more resources over plain HTTP. Your page itself is secure, but an image, a script, a stylesheet, a font, or a video is still fetched over an insecure connection. The browser sees that mix and refuses to show a full padlock.
Think of it like locking your front door but leaving a side window open. The main connection is protected, but part of the page is not. Browsers take that seriously, and so should you, because visitors notice the warning and may leave before they read a word. The mixed content guide on MDN explains how browsers handle secure and insecure resources on the same page, and it is a useful reference if you want the technical background behind how to fix mixed content error in wordpress.
There are two types of mixed content, and browsers treat them very differently. Knowing which type you have tells you how urgent the fix is and where to look first.
Mixed Active Content
Mixed active content includes scripts, stylesheets, iframes, and other resources that can change how the page behaves. A script loaded over HTTP could be altered on its way to the browser, so modern browsers block it completely.
When active content is blocked, parts of your site may stop working. A slider may freeze, a form may fail, a menu may not open, or your layout may fall apart. In my experience, this is the type that causes the most visible damage, and it is also the type that search engines and visitors notice first.
Mixed Passive Content
Mixed passive content includes images, audio, and video. These files cannot change the behaviour of the page in the same way a script can, so browsers usually load them but downgrade the security indicator. Instead of a padlock, you may see a warning triangle, a grey padlock, or a message that the site is not fully secure.
Passive content is less dangerous, but it still hurts trust. A shop, a membership site, or a blog that asks readers to sign up should never show a security warning. Even a single old image in a footer widget can trigger it.
Why Does the Mixed Content Error Happen in WordPress?
The most common cause is simple: your site moved to HTTPS, but old HTTP links stayed behind. WordPress stores full URLs in many places. Posts, pages, widgets, menus, theme settings, and custom fields can all hold links that still start with http://yoursite.com instead of https://yoursite.com.
That happens most often after a site owner installs an SSL certificate and changes the site address, but does not update the content already stored in the database. WordPress will serve new pages over HTTPS, yet the old posts still call images and scripts over HTTP.
Another common cause is a third-party embed. A video, a map, a font, an ad script, or a social media widget may point to a service that only offers an HTTP address. If that service has no secure version, the browser will flag every page that loads it.
Theme and plugin settings can cause the same problem. A logo URL, a background image, or a custom CSS file may have been saved with an HTTP address years ago. Those settings survive a move to HTTPS unless you update them by hand.
In short, learning how to fix mixed content error in wordpress means finding every place where an HTTP address is still stored or hard-coded, and changing it to HTTPS. The five methods below cover each of those places in turn.
How to Fix Mixed Content Error in WordPress: Find Every Insecure Link First
Before you change anything, find out exactly which resources are insecure. Guessing wastes time. A quick check in your browser will give you a precise list in under a minute.
Follow these steps in Google Chrome:
- Open the affected page in Chrome.
- Press F12 on Windows or Command plus Option plus I on a Mac to open DevTools.
- Click the Console tab at the top of the DevTools panel.
- Reload the page and read the warnings.
- Look for lines that say a resource was loaded over HTTP, or that mixed content was blocked.
- Note each file name and its full URL, including images, scripts, and stylesheets.
The Console tab is the fastest way to spot a wordpress mixed content fix in progress, because it shows the exact file that caused the warning. If the Console is empty, try the Network tab:
- Open DevTools and click the Network tab.
- Reload the page.
- Type http in the filter box at the top of the Network panel.
- Look for any request that still uses HTTP instead of HTTPS.
- Click a request to see which file it is and where it came from.
You can also use a free online scanner such as Why No Padlock. Enter your page URL, run the scan, and read the list of insecure items. Scanners are useful when you want a second opinion, or when you need to check a page that looks fine in your browser but shows a warning for visitors.
Keep a short list of every insecure URL you find. That list tells you which method to use. If most items are images inside old posts, the database method will fix them. If the problem is a single script in your theme, the theme method is faster.

Before You Start: Back Up Your WordPress Site
Do not skip this step. The database method in this guide changes stored URLs across your whole site. A backup lets you undo that change in minutes if something goes wrong.
A full backup has two parts: your files and your database. Your files include themes, plugins, uploads, and configuration files. Your database holds your posts, pages, settings, and user data.
Follow these steps:
- Log in to your WordPress dashboard.
- Install a trusted backup plugin from the WordPress plugin directory, or use the backup tool in your hosting control panel.
- Run a full backup that includes both files and the database.
- Download the backup file to your computer, or confirm that it is stored safely outside your site.
- Check that the backup file is not empty and that the date and time are correct.
If your host offers automatic daily backups, confirm that a recent backup exists before you start. I have seen site owners rely on a backup that was weeks old, or one that never ran at all. A quick check now saves a painful rebuild later. A backup also saves you if a change breaks the site outright — if you ever see a blank page or a server error after editing settings, our guide on how to fix the 500 internal server error in WordPress walks through the recovery steps.
Once your backup is safe, work through the methods below in order. Test your site after each method. In many cases, the first method alone will clear the warning.
Method 1: Update Your WordPress Address and Site Address to HTTPS
This is the first thing to check, and it fixes the problem on many sites. WordPress uses two settings to build links across your site. If either one still starts with HTTP, WordPress will keep generating HTTP links. The first step in how to fix mixed content error in wordpress is to check these two settings before you touch anything else.
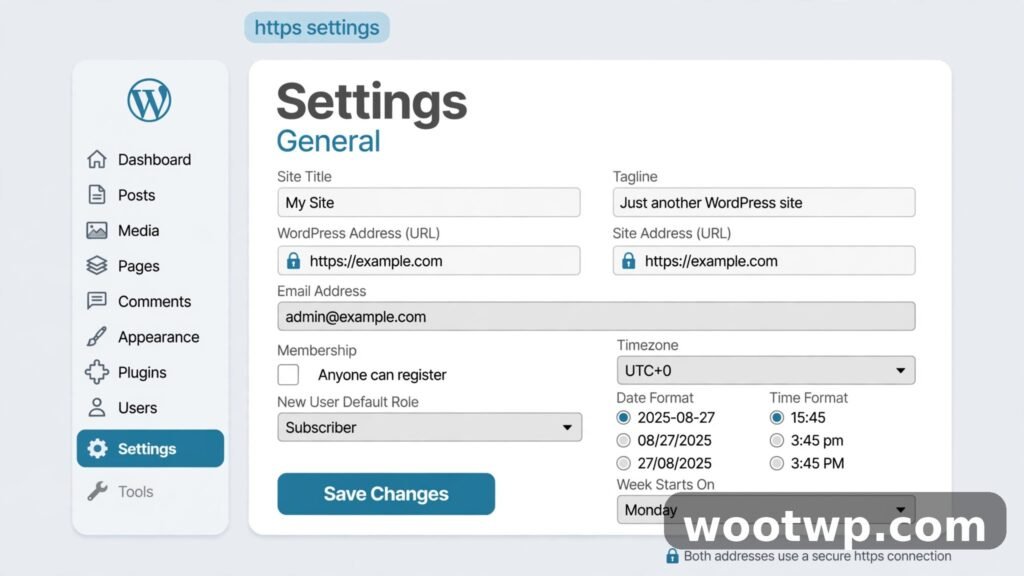
Follow these steps:
- Log in to your WordPress dashboard.
- Go to Settings, then General.
- Find the field labelled WordPress Address (URL).
- Change http://yoursite.com to https://yoursite.com, using your own domain name.
- Find the field labelled Site Address (URL).
- Change that address to https://yoursite.com in the same way.
- Scroll down and click Save Changes.
- Log in again if WordPress asks you to sign in.
After you save, visit your home page and a few old posts. If the padlock appears, you are done. If the warning remains, move on to Method 2. The settings change only affects new links that WordPress generates. Old links already stored in posts and widgets still need the database fix in Method 3.
If you cannot reach Settings, then General because your dashboard itself shows a warning, clear your browser cache and try again. The warning is a display issue in that case, not a sign that the change failed.
Method 2: Fix Mixed Content With a Plugin
A plugin is the easiest route if you are not comfortable editing files or running database tools. Two well-known options are Really Simple SSL and SSL Insecure Content Fixer. Both are free in the WordPress plugin directory, and both are widely used on live sites. If you are learning how to fix mixed content error in wordpress for the first time, a plugin is the least risky place to start.
Here is how to use Really Simple SSL:
- Go to Plugins, then Add New in your WordPress dashboard.
- Search for Really Simple SSL.
- Click Install Now, then Activate.
- Follow the setup prompt to enable SSL and fix mixed content.
- Visit your site and check whether the padlock now appears.
SSL Insecure Content Fixer works in a similar way. Install it, activate it, then go to Settings, then SSL Insecure Content, and choose a fix level. Start with the Simple level. Move to a higher level only if warnings remain.
There is one trade-off to understand. Most of these plugins rewrite URLs on the fly as each page loads, instead of changing the URLs stored in your database. That means the fix works while the plugin is active, but the old HTTP links are still there underneath. If you ever remove the plugin, the warnings can return.
That trade-off is fine for a quick fix, and it is the right choice for many site owners. For a lasting wordpress mixed content fix, though, you should still clean the database with Method 3. Use the plugin to get the padlock back today, then use the database method to fix the stored data properly.
If you use a caching plugin, clear its cache after you activate an SSL plugin. Cached pages may still hold old HTTP links until the cache is rebuilt. If your dashboard itself feels slow while you work through these settings, our guide on how to speed up the WordPress admin dashboard covers the same kind of cleanup from the performance side.
Method 3: Fix Mixed Content in the WordPress Database
This method fixes the root cause. It changes the old HTTP addresses stored in your posts, pages, widgets, and settings to HTTPS. It is the most thorough fix, and it is the one I recommend for any site that has been running for a while. If you only learn one part of how to fix mixed content error in wordpress, make it this one, because it clears the stored links that the first two methods cannot reach.
Do not run a raw SQL find-and-replace in phpMyAdmin. WordPress stores some settings as serialized data, which includes the length of each value. A raw replacement changes the text without updating those lengths, and that breaks the data. Your widgets, theme settings, or plugin options may stop working with no clear error message.
Use a plugin built for this job instead. Better Search Replace is a free, trusted choice.
Follow these steps:
- Make sure you have the full backup from the earlier section.
- Go to Plugins, then Add New, and install Better Search Replace.
- Activate the plugin.
- Go to Tools, then Better Search Replace.
- In the Search for field, type http://yoursite.com, replacing yoursite.com with your real domain name. Use the exact address, with no trailing slash unless your old links had one.
- In the Replace with field, type https://yoursite.com, using the same domain name.
- Select all tables in the list. Do not skip tables, because HTTP links can hide in post meta, options, and widget data.
- Tick the box labelled Run as dry run.
- Click Run Search and Replace.
- Read the result. It will tell you how many rows would change in each table.
- Untick Run as dry run.
- Click Run Search and Replace again to apply the change for real.
- Visit your site and check the padlock.
The dry run is important. It shows you what will change before anything is written to the database. If the dry run reports thousands of changes in a table you did not expect, stop and check the search text. A small typo in the domain name can cause a large, wrong replacement.
If you are comfortable with the command line, WP-CLI offers the same fix. Connect to your server, move to your WordPress folder, and run a dry run first:
wp search-replace 'http://yoursite.com' 'https://yoursite.com' --dry-runRead the output, then run the same command without the dry run flag to apply it:
wp search-replace 'http://yoursite.com' 'https://yoursite.com'WP-CLI handles serialized data correctly, so it is safe for this job. Use it only if your host provides WP-CLI access and you know how to reach your site folder. For most site owners, Better Search Replace is the simpler and safer choice.
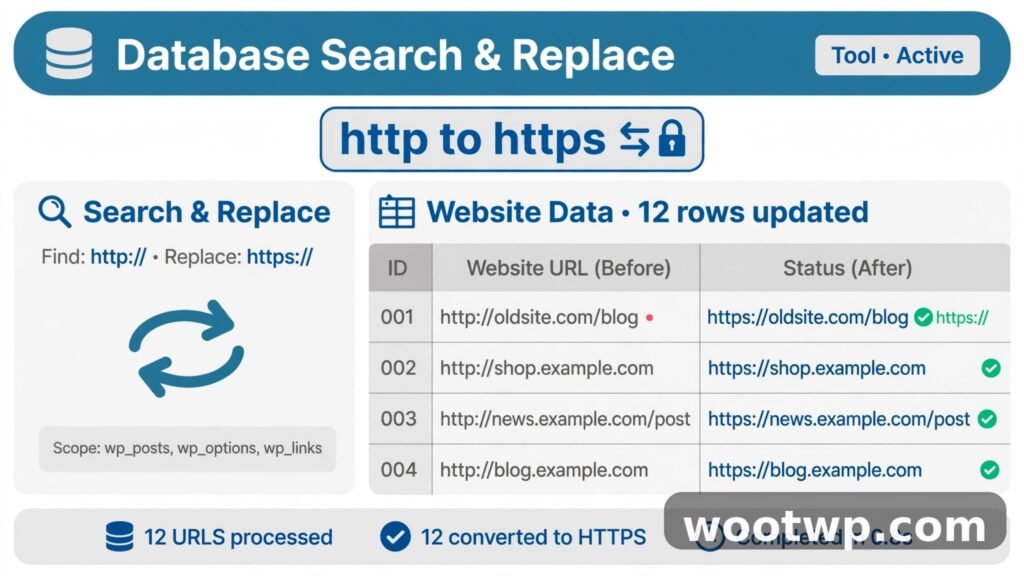
After the database fix, clear your caching plugin and check several pages, including old posts, your home page, and any page with a form or a slider. Old posts are the most likely place for leftover HTTP images, so do not test only the home page.
Method 4: Force HTTPS With an .htaccess Redirect
Even after you fix your settings and your database, visitors can still reach the HTTP version of your site if they type the old address or follow an old link. A redirect in your .htaccess file sends every HTTP request to HTTPS automatically. This step is a key part of how to fix mixed content error in wordpress for good, because it stops new HTTP visits from ever reaching your pages.
This method applies to sites on Apache hosting, which covers most shared WordPress hosts. If your host uses Nginx, ask your host to add the redirect for you, because Nginx does not use .htaccess files.
Follow these steps:
- Back up your .htaccess file before you edit it. Download a copy to your computer.
- Open your file manager in your hosting control panel, or connect with FTP.
- Find the .htaccess file in the root folder of your WordPress install. It may be hidden, so turn on the option to show hidden files.
- Open the file for editing.
- Add the redirect block below at the top of the file, above the WordPress rules.
- Save the file.
- Visit http://yoursite.com in your browser and confirm that it redirects to https://yoursite.com.
Use this standard redirect block:
RewriteEngine On
RewriteCond %{HTTPS} !=on
RewriteRule ^(.*)$ https://%{HTTP_HOST}%{REQUEST_URI} [L,R=301]
That block checks whether the request is already secure. If it is not, it sends the visitor to the same page on HTTPS with a permanent 301 redirect. Search engines treat a 301 redirect as a signal that the HTTPS address is now the correct one.
Do not add extra redirect rules on top of this block unless you know what they do. Two redirects can fight each other and create a redirect loop, where the browser bounces between HTTP and HTTPS and never loads the page. If that happens, restore your backed-up .htaccess file and try again with only the block above.
Method 5: Fix Hard-Coded URLs in Your Theme and Third-Party Embeds
If the warning survives the first four methods, the last HTTP links are usually hard-coded in your theme files or in a third-party embed. These links do not live in the database, so a search-and-replace will not touch them. This final step in how to fix mixed content error in wordpress takes a little more care, so back up the file before you edit it.
Start with your theme files:
- Go to Appearance, then Theme File Editor in your WordPress dashboard, or open the files with FTP.
- Search the theme folder for http://yoursite.com and for http:// on its own.
- Check header.php, footer.php, functions.php, and any template files that load fonts, scripts, or images.
- Change each HTTP link to HTTPS, or remove the link if the file no longer exists.
- Save the file and test the page that uses it.
Be careful in the Theme File Editor. A typo in functions.php can lock you out of your dashboard. If you are not sure what a line does, download the file first, edit a copy on your computer, and upload it back only when you are sure the change is right.
Next, check third-party embeds:
- Open the page that still shows a warning.
- Use the Console tab in DevTools to find the exact insecure file.
- Check whether the service that provides that file offers an HTTPS version.
- If it does, update the embed code to use the HTTPS address.
- If it does not, replace the embed with a secure alternative, or remove it from the page.
Old font services, image hosts, and video embeds are common culprits here. A service that still has no HTTPS support is a sign that it has not been maintained. In my experience, replacing it is safer than keeping a warning on every page that loads it.
If your theme is very old and still loads scripts over HTTP, consider moving to a newer theme that is built for HTTPS. A modern theme will not only fix the warning, it will also load faster and work better on phones.
How to Fix Mixed Content Error in WordPress for Good: Verify and Prevent It
Once you have worked through the methods above, verify the fix properly. A quick glance at the home page is not enough. A careful check is part of how to fix mixed content error in wordpress correctly, because cached pages can hide a problem that visitors still see.
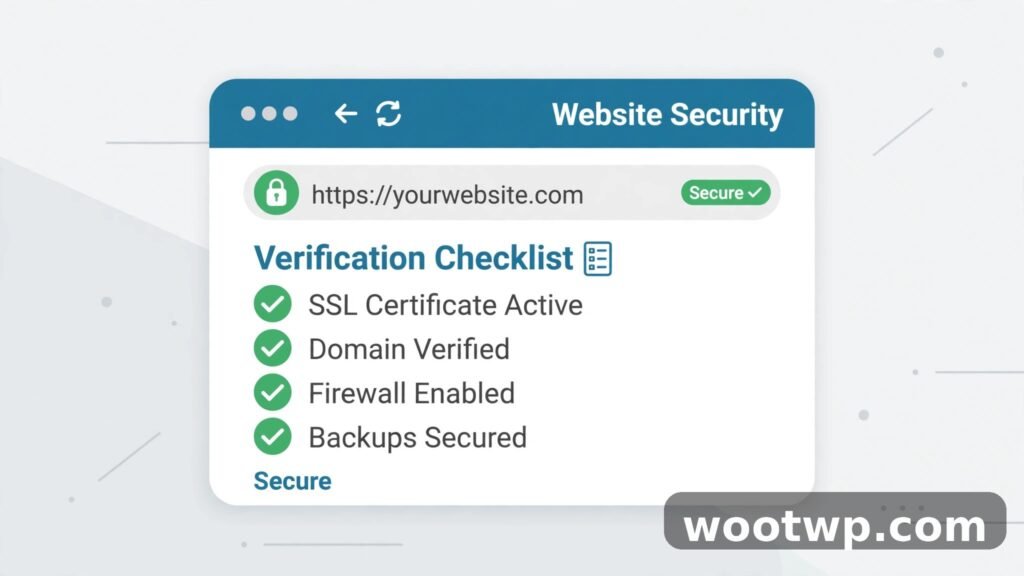
Follow these steps:
- Reload your home page and check for the padlock in the address bar.
- Open the Console tab in DevTools and confirm that no mixed content warnings remain.
- Visit five or six old posts, including ones with many images.
- Check pages with forms, sliders, maps, and videos, because those load the most outside resources.
- Clear your caching plugin, then clear your CDN cache if you use one.
- Reload the pages again after the cache is clear, because cached pages can hide a fix or hide a remaining problem.
- Ask a friend to open the site on a different browser and device, or test it in a private browsing window.
To stop the problem coming back, build three habits. First, always use HTTPS links when you add an image, a video, or an embed to a post. WordPress will usually do this for you now, but pasted embed code can still carry an HTTP address. Second, check new plugins and themes in DevTools before you keep them. A plugin that loads an insecure script will bring the warning back on every page it touches. Third, re-check your site after any migration, domain change, or host move. Those are the moments when old HTTP links tend to reappear.
If you see the message that says wordpress https not secure, or a note that your site is not fully secure, repeat the checks in the finding section. The message means at least one HTTP resource is still loading. The Console tab will name it, and the method that matches its location will fix it.
Learning how to fix mixed content error in wordpress is a skill you will use again. Sites change, themes update, and new embeds arrive. The process stays the same each time: find the insecure resource, fix it where it lives, then verify the padlock.
FAQs About Fixing the Mixed Content Error in WordPress
What is the mixed content error in WordPress?
The mixed content error happens when a secure HTTPS WordPress page loads a resource over plain HTTP. That resource can be an image, a script, a stylesheet, a font, or a video. The browser warns you because part of the page is not protected, even though the page itself uses HTTPS.
Why does my WordPress site say not secure after installing SSL?
Your site usually says not secure because old HTTP links are still stored in your database, your theme, or your widgets. Installing an SSL certificate only makes HTTPS available. It does not rewrite the old links. To learn how to fix mixed content error in wordpress in this case, update your site address to HTTPS, then fix the database with Better Search Replace or WP-CLI.
How do I find mixed content in WordPress?
Open the page in Chrome, press F12 to open DevTools, and click the Console tab. Reload the page and read the warnings, which name each insecure file. You can also use the Network tab with an HTTP filter, or a free scanner such as Why No Padlock, to list every insecure resource on the page.
Can a plugin fix the mixed content error in WordPress?
Yes, a plugin such as Really Simple SSL or SSL Insecure Content Fixer can fix the warning quickly by rewriting URLs as each page loads. That fix works well as a first step in how to fix mixed content error in wordpress. For a lasting result, still clean the database, because most plugins do not change the stored HTTP links, and the warning can return if you remove the plugin.
How do I fix mixed content in the WordPress database safely?
Use Better Search Replace or WP-CLI search-replace, and always run a dry run first. Search for http://yoursite.com and replace it with https://yoursite.com across all tables. That safe database step is central to how to fix mixed content error in wordpress. Never run a raw SQL find-and-replace, because it breaks serialized data in WordPress settings and can damage widgets and theme options.
Will mixed content hurt my WordPress SEO?
Mixed content can hurt your site because browsers warn visitors, some resources are blocked, and users may leave before the page loads fully. Google also prefers secure pages. If you search for ssl insecure content wordpress or need to fix wordpress not fully secure warnings, clearing the mixed content will restore the padlock and remove a clear trust problem for readers.
Conclusion
Now you know how to fix mixed content error in wordpress: update your site address, use a plugin for a quick fix, clean the database, force HTTPS with a redirect, and fix any hard-coded theme or embed links that remain. Work through the methods in order, back up first, and verify the padlock on several pages. That one check protects your visitors and keeps your site looking trustworthy.


