
How to Optimize Images for WordPress: 9 Easy Wins
Tuesday night, about 11 pm. Sofa, phone in hand, my own blog refusing to load. Not a client's site. Mine. Nine seconds for a homepage with one photo of a coffee cup on it. My Samsung Galaxy A54 was on perfectly decent Wi-Fi, so the connection wasn't the problem. The site was. And inside the site, the images were. That night I learned how to optimize images for WordPress properly, and the homepage dropped from nine seconds to under two. Same host. Same design. Just smaller, smarter images.
Slow site? Before you blame your host — I did, for months — look at the pictures first. A phone photo can weigh 4 or 5 MB, and five of those on one page means a visitor's phone has to download 25 MB before it can read a single word. Most people won't wait. They'll just leave.
This guide covers the whole job: resize before you upload, pick the right format, convert to WebP, choose a wordpress image compression plugin that fits your budget, and check your work afterwards. No code. Nothing to buy to start.
Table of Contents
- Why Images Slow Down WordPress Sites
- How to Optimize Images for WordPress Before You Upload Anything
- Pick the Right Format: JPEG, PNG, WebP, or AVIF
- How Do I Convert Images to WebP in WordPress?
- The Best WordPress Image Compression Plugins Compared
- How to Optimize Images for WordPress With the Right Sizes
- Lazy Loading: Free Speed WordPress Already Gives You
- 7 Mistakes That Make WordPress Images Slow
- How to Check If Your Images Are Actually Faster
- Frequently Asked Questions
Why Images Slow Down WordPress Sites
Here's the part nobody tells you when you start a blog. WordPress does not shrink your photos the way you probably assume it does. Upload a 4000-pixel-wide photo and WordPress makes smaller copies — thumbnail, medium, medium_large, large — but the original stays sitting on your server. And if your theme grabs the full-size version, your visitor downloads the whole thing. Every byte.
Images usually make up more than half of a page's total weight. One uncompressed photo can outweigh your entire article ten times over. Slow page? Images are the first place to look, and the easiest win. That is the heart of how to optimize images for WordPress: find the heavy files, make them light, and the whole site speeds up.
Slow pages rank worse, too. Google has said for years that page speed matters for search results, and on most blog posts the biggest thing on the page is a picture.
I used to blame my host for everything. Then one evening I opened a post and found a single hero image weighing 6.2 MB. Six point two. My host was fine. I was the bottleneck.
How to Optimize Images for WordPress Before You Upload Anything
The best moment to fix an image is before WordPress ever sees it. Once a bloated file is sitting in your media library, you're cleaning up. Before upload, you're in charge.
Resize to the size you actually display
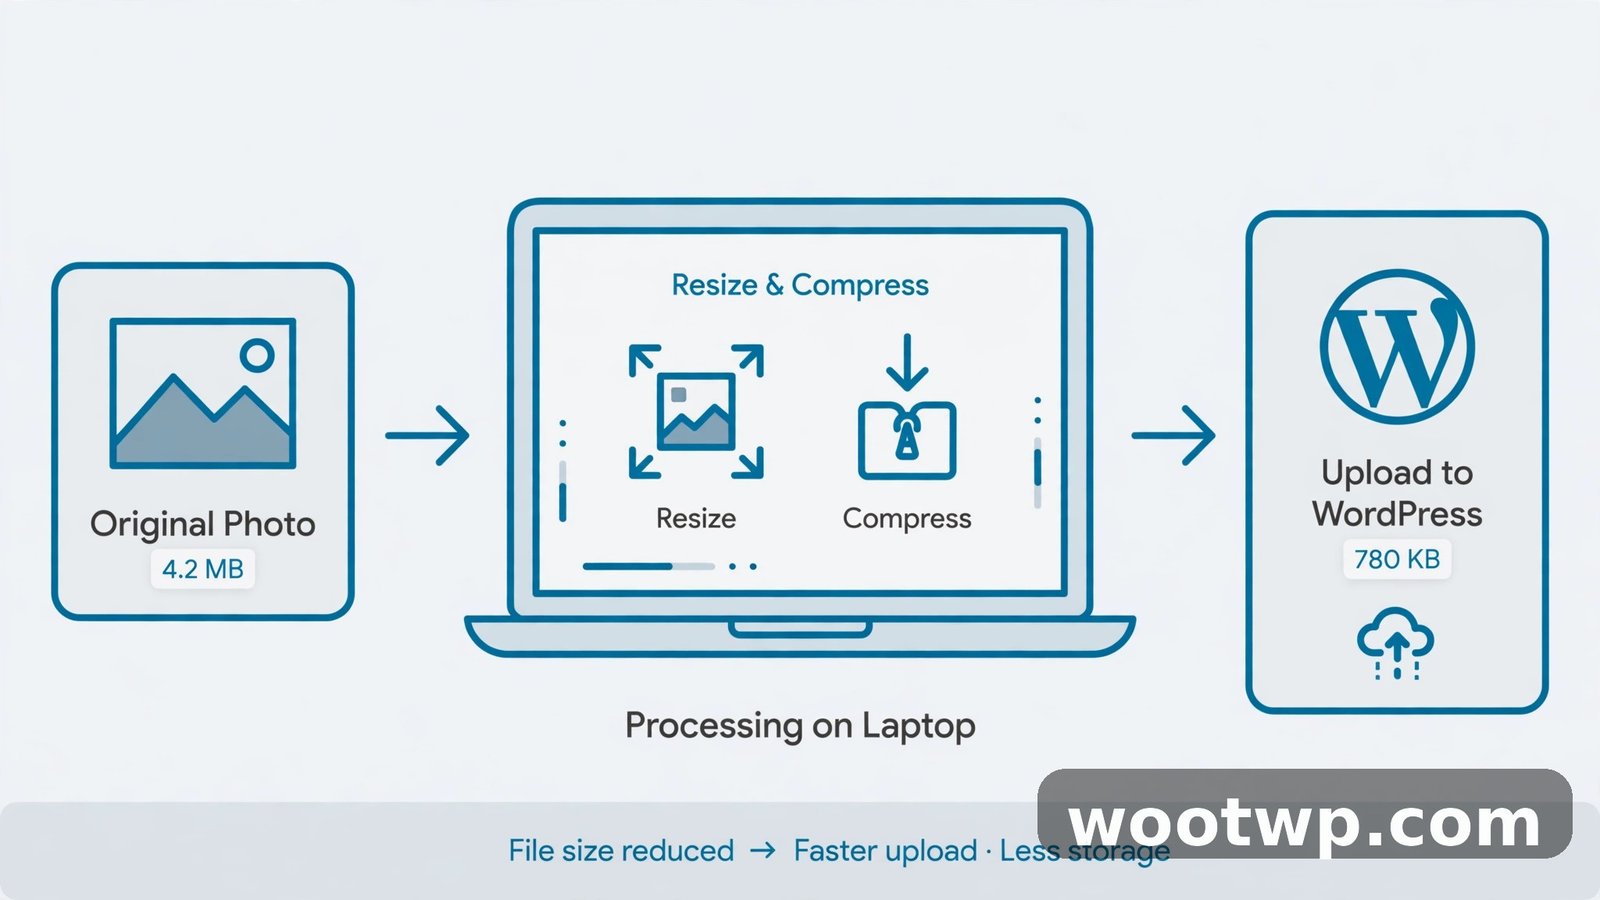
Most WordPress themes show content images at 800 to 1200 pixels wide. A photo that is 4000 pixels wide is roughly four times wider than anyone will ever see it. Resize first. Keep the aspect ratio locked so nothing stretches.
For a retina-friendly result, 1.5 times the display width is plenty. An 800-pixel column means a 1200-pixel image at most. Save a copy, and never overwrite your original master file. I resized a whole batch to exactly 800 pixels once, then switched themes a month later. The new theme showed images at 1140 pixels wide. Everything looked slightly soft, and I had already deleted the masters. Lesson learned the annoying way: keep your masters.
Crop out what nobody needs
A photo with a lot of empty sky wastes bytes on pixels nobody looks at. Crop tight around the subject before you upload. No photo editor installed? A free online image cropper handles quick crops right in the browser, nothing to install. Five minutes of cropping across a post can cut total page weight by a third. Honestly, it feels like cheating, except it isn't.
Compress before upload with a free tool
Compression squeezes the file size down without visibly changing the photo. For JPEG photos, a quality setting between 75 and 85 is the sweet spot. Go below 70 and you start seeing blocky patches in skies. Go above 90 and you pay double the file size for a difference nobody can spot on a phone screen.
My usual routine takes about two minutes per post:
- Export the photo at the right pixel size.
- Drop it into TinyPNG or Squoosh in the browser.
- Set JPEG quality to 80, or WebP quality to 75, and compare before and after.
- Download the compressed version and upload that to WordPress.
That one habit — compress images wordpress style, before they ever touch the media library — does more for speed than any plugin you install later. A plugin working on an already-sensible file will always beat a plugin fighting a 5 MB original.
Pick the Right Format: JPEG, PNG, WebP, or AVIF
Format choice matters more than most people think. Pick the wrong one and you can double your file size for zero visible benefit. Zero.
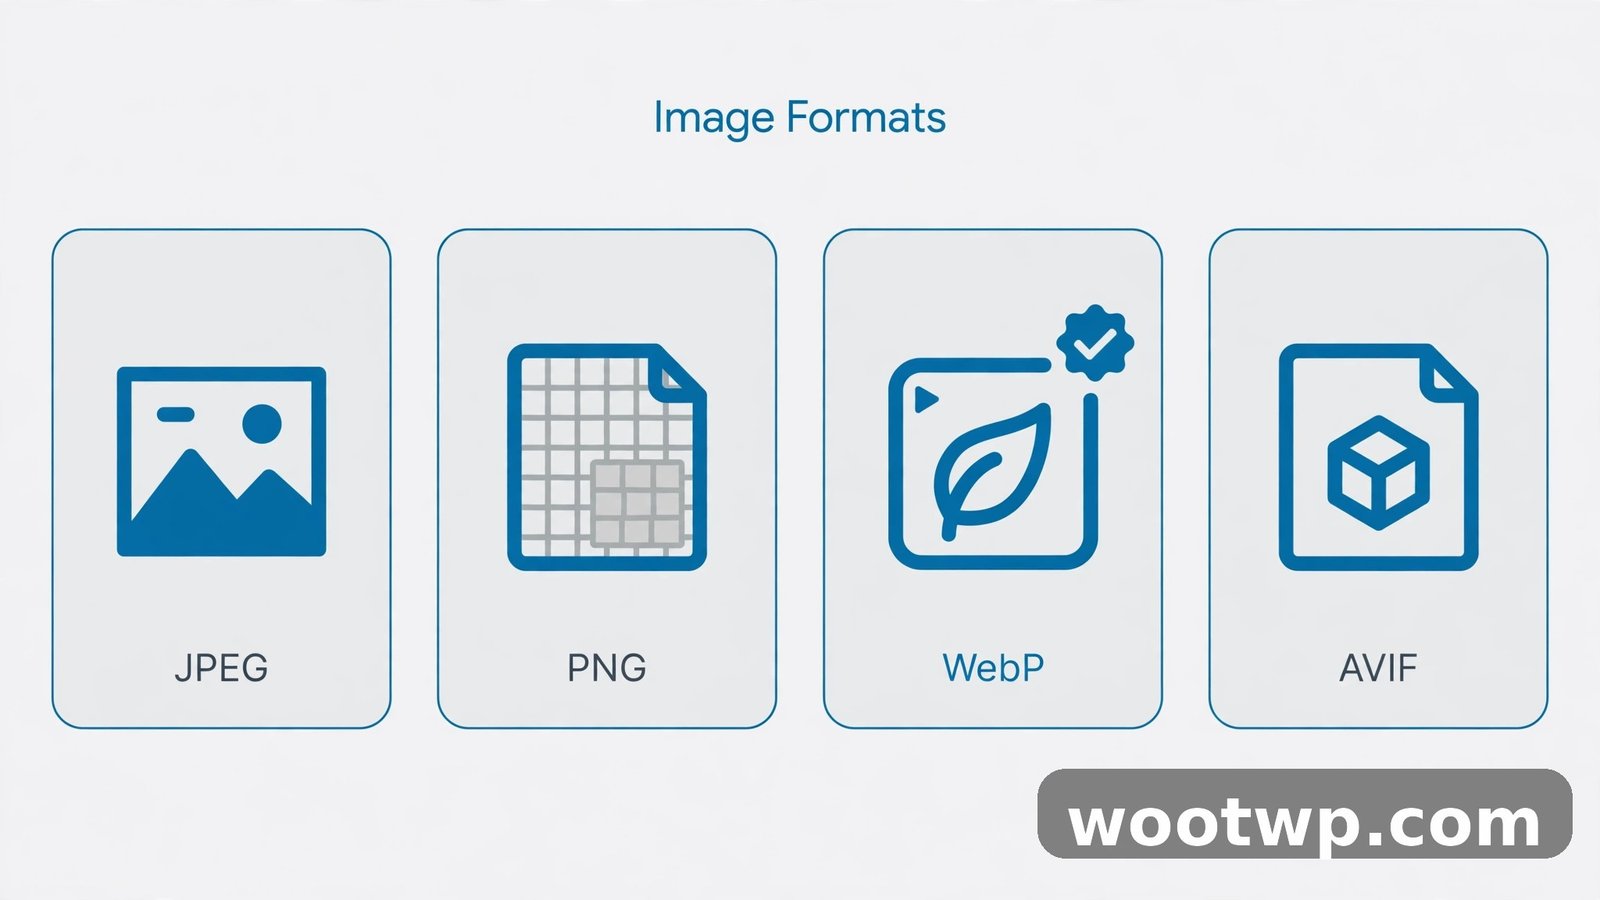
JPEG is for photos. Camera shots, anything with gradients and lots of colour. It compresses well, and every browser on earth supports it. Use JPEG when the image is a photo and you don't need transparency.
PNG is for graphics that need sharp edges or transparency: logos, icons, screenshots with text, diagrams. PNG files are far bigger than JPEGs for photos, so never save a photograph as a PNG. I did this myself once — exported a holiday photo as a PNG because the preset sounded fancier. 400 KB became 2.8 MB. Same picture. My own fault, and I only noticed when the page took forever to load.
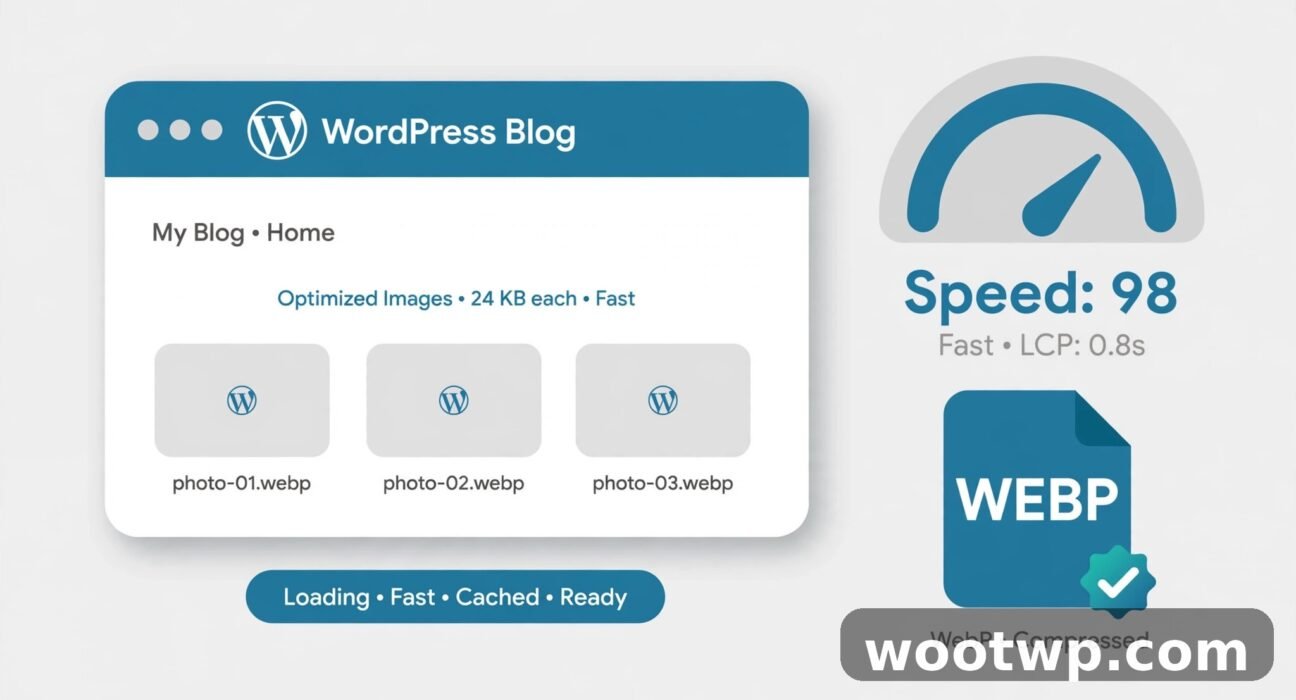
WebP is the modern middle ground. It handles photos like JPEG and transparency like PNG, and it's typically 25 to 35 percent smaller than JPEG at the same visible quality. WordPress has supported WebP uploads since version 5.8, and every modern browser reads WebP now. If you only change one thing after reading this guide, make it this one. That is the short version of webp wordpress advice: switch, and don't look back.
AVIF is newer still, and it squeezes files even smaller than WebP. WordPress added AVIF support in version 6.5, but older browsers and some older image tools still don't handle AVIF well. Treat it as a bonus rather than your default. A nice extra, not the foundation.
Simple rule: photo with no transparency, use WebP or JPEG. Logo or graphic with transparency, use PNG or WebP. Screenshot with text, use PNG if the text must stay crisp, WebP otherwise. Google's own image guidance backs this up — the guide to choosing the right image format on web.dev explains the trade-offs with real examples.
How Do I Convert Images to WebP in WordPress?
Three good routes. Pick the one that matches how you work — there's no wrong answer here, just a lazier one and a busier one.
Convert before you upload
Simplest route, and my default for new posts. Open Squoosh in your browser, drop in the JPEG, pick WebP as the output, set quality to around 75, and download. Then upload the WebP file to WordPress like any other image. Since WordPress 5.8, the media library accepts WebP uploads without any extra plugin. The advantage is total control. The downside? It's manual. Fine for five images a week. Tedious for five hundred.
Let a plugin convert on upload
Most wordpress image compression plugin options now include WebP conversion as standard. ShortPixel, Imagify, and Smush can all generate WebP versions automatically when you upload a JPEG or PNG. Install the plugin, turn on WebP conversion in its settings, and every new upload gets converted without you thinking about it. Fair warning, though: it adds a second file next to every original, so your media library grows. Storage is cheap, though. Visitor bandwidth is not.
Bulk-convert your old images
Already sitting on hundreds of old JPEGs? Don't re-upload them one by one. That's a weekend gone. Most compression plugins have a bulk optimization screen that walks through your whole library and converts everything in batches. Run it once, let it work in the background, and check the results after.
One warning, from experience. Before any bulk job, back up your site — or at least the uploads folder. I skipped this step once and spent an evening re-uploading forty images by hand. A sticky note on my monitor now says "backup first." In 2026. A sticky note.
The Best WordPress Image Compression Plugins Compared
No single best plugin for everyone. There's a best plugin for your site, your volume, and your budget. These four cover almost every case I've run into.
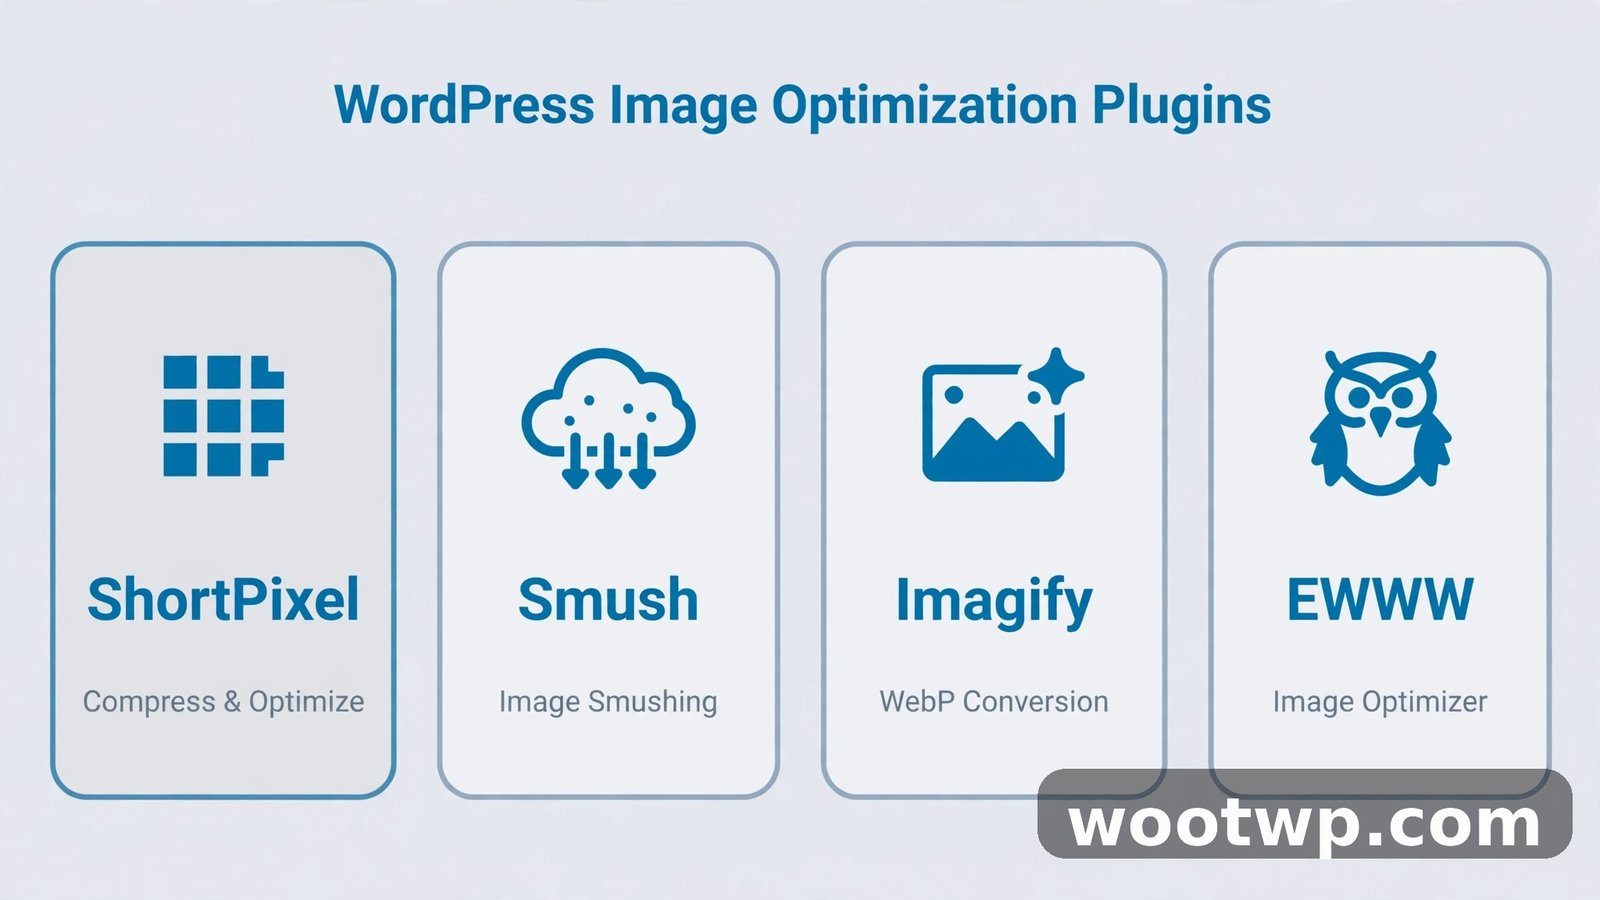
ShortPixel is the one I reach for most often. The free plan covers 100 images a month, which is enough for a blog publishing a few posts a week. It compresses aggressively without visible damage, converts to WebP and AVIF, and its bulk optimizer is reliable. I've run it on sites with thousands of images and it just gets on with it.
Smush is the friendliest option for beginners. The free version compresses images on upload, handles bulk optimization, and lazy-loads images. The free tier has no monthly image limit, which makes it a good fit for large existing libraries. If "I don't want to think about this" is your main requirement, start here.
Imagify comes from the same team behind the WP Rocket caching plugin. Three compression levels — normal, aggressive, and ultra — plus WebP and AVIF conversion. The free plan gives you a monthly credit of around 20 MB of images, so it suits light publishers better than heavy ones. If your posts are mostly text with a few photos, it's plenty.
EWWW Image Optimizer compresses on your own server instead of sending images to a third-party service, which some site owners prefer for privacy, and it has no monthly image cap. Setup takes a few more clicks, but once it's running you can forget about it. It just sits there, quietly doing its job.
Choose in thirty seconds: a few posts a week and the easiest strong result, pick ShortPixel. Big old library and zero budget, pick Smush free. Already using WP Rocket, pick Imagify. Want local compression with no monthly limits, pick EWWW. Whichever you pick, install one plugin, not three. Running two compression plugins at once does not double the savings. It doubles the conflicts. Ask me how I know — actually, don't. It was a long afternoon.
How to Optimize Images for WordPress With the Right Sizes
WordPress already generates several sizes of every image you upload — thumbnail, medium, medium_large, and large — and modern themes use the srcset attribute to serve the right size to each visitor. A phone gets the small file. A desktop gets the bigger one. That system only works if you're not forcing the full-size original everywhere.
In the block editor, click an image and look at the size setting in the sidebar. If it says Full Size, change it. Full Size means the original file, every time, on every device. For a photo inside a post, Large or Medium Large is almost always the right pick.
Three size habits that pay off:
- Set your default sizes to match your theme. Go to Settings, then Media, and check the thumbnail, medium, and large dimensions. WordPress documents these on the Settings Media screen if you want the official reference.
- Use featured images at the size your theme actually displays. A featured image shown at 1200 pixels wide does not need to be 2400.
- If you change themes, regenerate thumbnails. The old sizes were built for the old theme, and a plugin like Regenerate Thumbnails rebuilds them all in one pass.
And delete images you no longer use. Once a quarter, open Media, then Library, sort by unattached, and remove the files no post uses. Ten minutes, a cleaner library. (If that sentence made your eyes glaze over, here's the short version: your theme picks the size, not you — unless you override it. Don't override it.)
Lazy Loading: Free Speed WordPress Already Gives You
Lazy loading means images below the fold don't load until the visitor scrolls near them. The browser skips them on the first load, the page appears faster, and the images pop in as needed. It's one of the biggest free wins in wordpress image optimization, and you probably already have it.
WordPress has lazy-loaded images by default since version 5.5. Every image in your post content gets a loading attribute automatically. No plugin needed. Nothing to turn on.
Two things to know. First, your hero image — the big image at the very top — should not be lazy-loaded. It's the first thing visitors see, and delaying it delays the whole page. Second, if you installed a lazy-load plugin years ago, it may now fight with the built-in behavior. One lazy loader is enough. Remove the old one.
Done. That section was short because the feature is short. WordPress did the work for you.
7 Mistakes That Make WordPress Images Slow
Most slow image problems come from a small list of repeat mistakes. Run through these and you'll catch most of them. I know, because I've made nearly all of them.
- Uploading straight from the camera. A phone photo at full resolution is 3 to 6 MB. Resize and compress before upload, every time. No exceptions, not even "just this once."
- Using PNG for photographs. PNG is for logos and graphics. A photo saved as PNG can be five times heavier than the same shot as a WebP. I learned this one the expensive way — see above.
- Forgetting the featured image. The featured image is often the largest image on the page. Optimize it exactly like the rest, not less. People polish ten in-post images and then upload a 5 MB featured image without thinking. I have done this. More than once.
- Setting every image to Full Size. Check the size setting on each image and pick Large or Medium Large instead. Full Size is almost never what you want inside a post.
- Uploading the same image twice. WordPress does not warn you about duplicates. Search the media library before uploading a file you might already have. Your future self will thank you.
- Ignoring retina overkill. Serving a 2400-pixel image into a 600-pixel space does not look sharper. It just loads slower. Bigger is not better here.
- Never checking the result. Optimization without measurement is guessing. Test after you change things, or you'll end up installing five plugins to solve a problem you fixed in week one.
Nope, none of these need a developer. Every one of them is a five-minute fix once you know it exists.
How to Check If Your Images Are Actually Faster
You changed things. Now prove it worked. Guessing wastes time, and it's how people end up installing five plugins to solve a problem they fixed in week one.
Run your post through PageSpeed Insights before and after your changes. It's free, it takes a minute, and it tells you exactly how much image weight each page still carries. The report flags oversized images by name, so you can see which file is the problem instead of guessing. If you have never used it, this walkthrough of how to check website speed with PageSpeed Insights covers the whole report, including the parts worth ignoring.
What to look for after optimizing: the "properly size images" warning shrinks or disappears, the "serve images in next-gen formats" warning clears once your WebP versions are live, and total page weight falls — a post that was 8 MB should be closer to 1 or 2 MB after a proper pass.
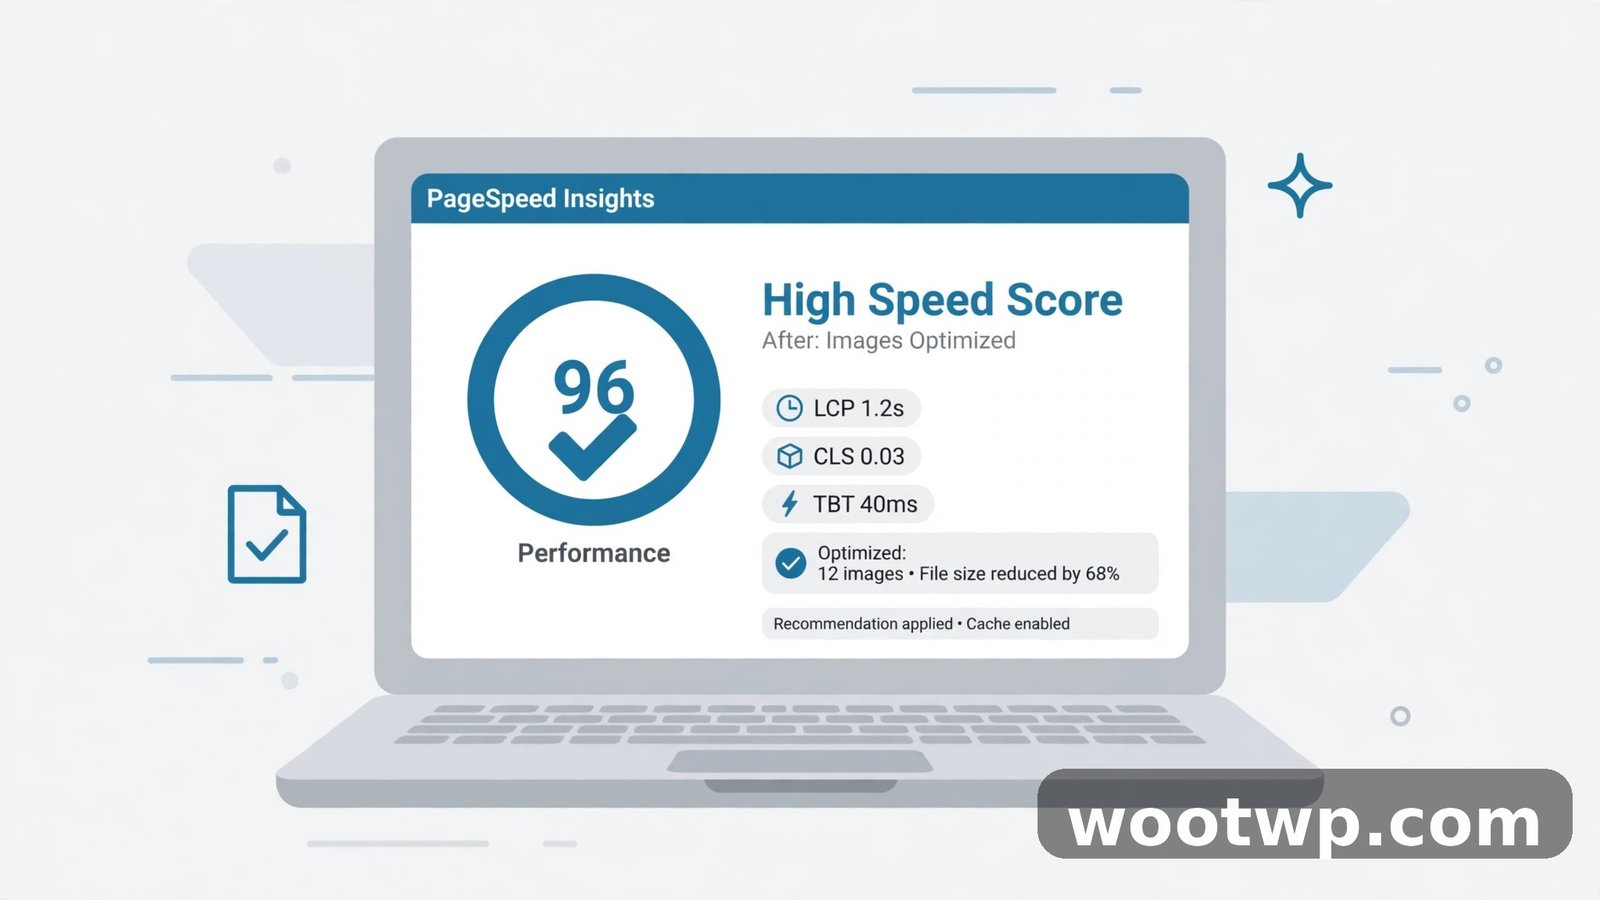
Test the same page twice and take the better result, since server response times wobble from run to run. And test on mobile. Desktop scores are flattering. Your readers are mostly on phones, and phones on mobile data are where heavy images hurt most. That final check closes the loop on how to optimize images for WordPress — measure, fix, measure again.
For more on squeezing file size without visible quality loss, this guide to how to compress images without losing quality goes deeper into quality settings and format choices.
Frequently Asked Questions
How do I optimize images for WordPress without a plugin?
Resize each image to the width your theme shows — usually 1200 pixels or less — then run it through a free browser tool like Squoosh or TinyPNG before you upload. Save photos as WebP or JPEG at quality 75 to 85, and WordPress takes care of the rest: the smaller copies, the responsive sizes, the lazy loading. No plugin needed at all. Honestly, for a small blog, this is all you need.
What is the best image size for WordPress?
There isn't one magic number, because it depends on your theme. Most content images display between 800 and 1200 pixels wide, so uploading at 1200 pixels wide covers nearly every theme while staying light. Featured images can go a little wider — up to 1600 pixels — if your theme shows them full-width. Any bigger than that and you're just paying for pixels nobody sees.
Does WordPress automatically optimize images?
Partly. WordPress makes smaller copies of every upload, adds responsive srcset versions, and lazy-loads images by default since version 5.5. What it doesn't do is compress the original file or convert it to WebP on its own. That's the gap, and that's why a compression step still matters so much. WordPress helps. It doesn't finish the job.
How do I convert images to WebP in WordPress?
Easiest way is to convert before upload with a free tool like Squoosh — WordPress has accepted WebP uploads since version 5.8, so the file just goes in like any other. For the images already sitting in your library, install a compression plugin such as ShortPixel or Smush, turn on WebP conversion, and run its bulk optimizer across everything. Either route works. I do the first for new posts and the second for the backlog.
Will optimizing images improve my SEO?
Yes, in two ways. Faster pages tend to rank better, and Google's speed measurements reward pages whose main image loads quickly. Optimized images also help image search, because smaller files get crawled and indexed more easily. And fill in descriptive alt text for every image — that's what search engines actually read, and most people skip it.
What image format should I use for WordPress in 2026?
WebP for photos and most graphics. It's smaller than JPEG at the same quality, and it's supported everywhere that matters now. Keep PNG only for logos and graphics that need transparency or razor-sharp text. AVIF is even smaller than WebP, and WordPress has supported it since version 6.5, but treat AVIF as an optional extra for now. WebP is the safe default.
Conclusion
Learning how to optimize images for WordPress is not a one-time project. It's a habit, and a short one: resize to the size you show, compress before upload, use WebP, let a plugin handle the back catalogue, and check your work with PageSpeed Insights. Do that for every post and your site stays fast without you thinking about it. Start with your five most visited posts tonight. The difference will show up the first time you load one on your phone.