
How to Change WordPress Admin Username: 4 Easy Methods
It was nearly 2 in the morning. I’d just finished installing WordPress for a small client — a local bakery, nothing fancy — and in the rush to get it done I typed “admin” into the username box and clicked through without thinking. “I’ll fix it tomorrow,” I told myself. Tomorrow turned into six months. (Sound familiar?) Here’s the thing nobody tells you on install day: learning how to change WordPress admin username isn’t a five-second edit, because WordPress flat-out refuses to let you change it from your profile. There are four ways round it, though — make a new admin and bin the old one, use a plugin, poke the database, or run a command — and the first one takes about five minutes. No code. No plugin. Just a little patience.
- Why WordPress Won’t Let You Edit Your Username
- Before You Start: Back Up First
- Method 1: Create a New Admin and Delete the Old One
- Method 2: Use a Plugin to Change the Username
- Method 3: Change the Username in phpMyAdmin
- Method 4: Change the Username With WP-CLI
- What About the Display Name?
- Pick a Strong New Username
- FAQs
Why WordPress Won’t Let You Edit Your Username
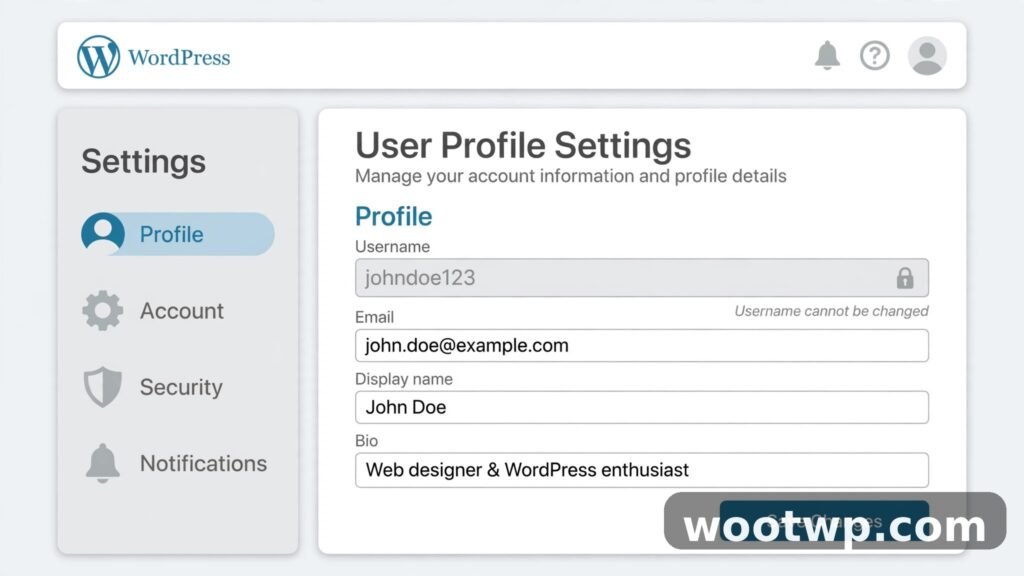
Open Users, then Profile, and there it is: the username box, greyed out, with a small note underneath — “Usernames cannot be changed.” My first reaction, years ago, was that something was broken. A permission problem, maybe. A theme conflict? Nope. It’s deliberate.
See, your username isn’t just a label. It’s the thread that stitches everything together — your posts, your comments, your login. Let people rename it freely from the profile page and author links snap, logins stop matching, records drift apart. So WordPress bolts the field shut and leaves you the workarounds in this guide. Annoying? A bit. Sensible, once you think about it? Yeah, honestly, it is.
And then there’s the real problem: “admin” itself. WordPress shipped with it as the default for years, and millions of sites still run on it. Which means an attacker already knows half your login before they’ve typed a single thing. A strong password still matters more — that hasn’t changed — but swapping “admin” for something only you’d pick takes the easiest half of the guesswork off the table. One of the cheapest security wins out there, really. Five minutes, no money, done tonight.
Before You Start: Back Up First
Look, I know. Backups are boring, and you’re itching to just get on with it. But every method below messes with user accounts, and the database one edits the database itself. A backup is the difference between a five-minute restore and a lost weekend. I know because I’ve lived the second version — deleted the wrong account on a live site once, sat there staring at the screen, and then remembered the backup I’d taken ten minutes earlier. The relief was physical. My shoulders actually dropped.
- Use a backup plugin. UpdraftPlus is the free one most people reach for. Install it, run a full backup, and — this is the bit people skip — wait until it actually tells you it’s finished before touching any user settings. If your host offers snapshots as well, grab one of those too. Belt and braces, like my dad used to say.
- Know which account you’re changing. More than one admin on the site? Slow down and double-check you’re on the right one. Changing the wrong account and then deleting it by accident — that’s the one mistake in this whole process that genuinely hurts.
- Keep a second way in. Have your hosting panel login written down somewhere safe. If the WordPress login goes sideways on you, the hosting panel and phpMyAdmin are your way back inside.
- Pick a quiet moment. The whole job takes a few minutes. Late at night, early in the morning — whenever nobody’s mid-edit while accounts are changing hands.
Method 1: Create a New Admin and Delete the Old One (Recommended)
Of the four ways to change WordPress admin username, this is the one I’d hand to a friend. It’s the safest, it’s the simplest, and it uses nothing but WordPress itself. No plugin. No database. No code. The idea’s almost embarrassingly simple: make a new administrator account with the username you actually want, log in as that account, then delete the old one and hand all its content over to the new one.
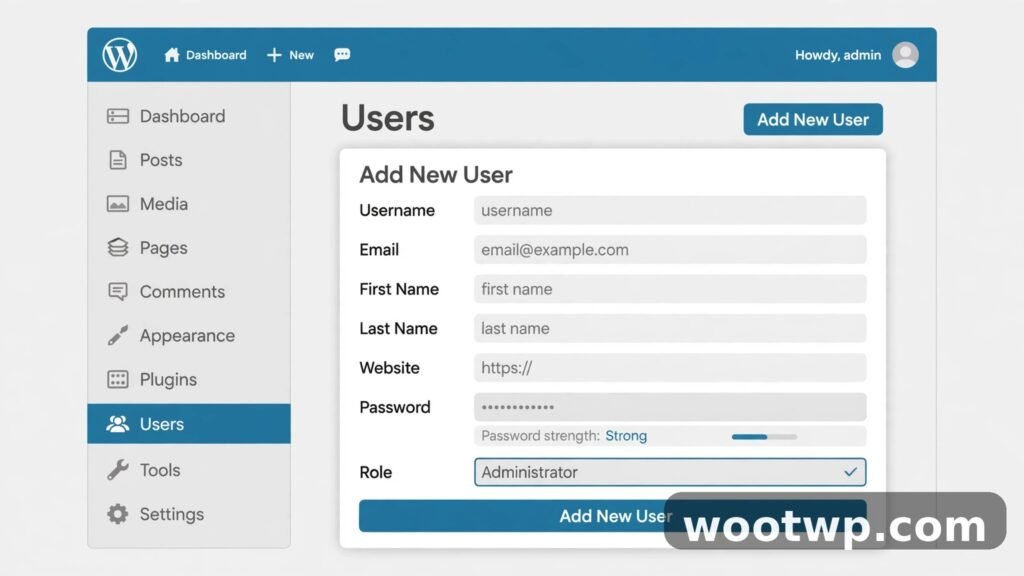
Step 1: Add the new admin user
- Log in to your WordPress dashboard as the current admin.
- Go to Users, then Add New.
- Fill in a Username with the name you want. Pick something unique, not “admin” and not your email address.
- Enter an Email address. It must be different from the email on your old account. WordPress does not allow two users with the same email. Use a second email you own, or change it later after the old account is gone.
- Set a strong Password. Use the built-in password generator, and save the password in your password manager.
- Under Role, choose Administrator.
- Click Add New User.
Fair warning, because I did this to myself: the first time I tried it, I typed my main email in out of pure habit. WordPress just… refused. No big red error page, no drama — it simply wouldn’t save the user. I sat there for a good minute wondering what I’d broken before the penny dropped. Use a second email. You’ll switch it back at the end.
Step 2: Log in as the new user
Log out of WordPress completely, then log straight back in with the new username and password. Poke around — can you see Settings? Plugins? The full dashboard? Good, that means the new account has real admin rights. Don’t skip this check, tempting as it is. If the role’s wrong somehow, you want to find out now, while the old account still exists to fix it.
Step 3: Delete the old admin account
- Still logged in as the new admin, go to Users, then All Users.
- Hover over the old username and click Delete.
- WordPress asks what to do with the old user’s content. Choose Attribute all content to and pick your new username from the dropdown. This moves every post, page, and media item the old account owned to the new account.
- Click Confirm Deletion.
Step 4: Tidy up
- Fix the email. If you used a second email for the new account, you can now change it to your main email under Users, then Profile, since the old account no longer holds it.
- Check author pages. Visit a post written by the old account and confirm the author name now shows the new username or display name.
- Log out and back in once more. Confirm the new credentials work and the old username no longer logs in.
Five minutes. Honestly, that’s the whole method — and it’s the one I suggest to everyone who asks me how to change WordPress admin username. It’s also the only method that works if you never want to touch the database at all. QuickSprout’s guide to changing your WordPress username covers the same three methods with its own screenshots if you want a second walkthrough.
Method 2: Use a Plugin to Change the Username
Not keen on the create-and-delete dance? Fair enough. A plugin can change the username in place, no account juggling required. The free Easy Username Updater plugin does exactly this, and it’s the one most guides point to. Small plugin. One job. Nothing fancy — which is precisely what you want from a tool that touches your login.
Steps
- In your WordPress dashboard, go to Plugins, then Add New.
- Search for Easy Username Updater.
- Click Install Now, then Activate.
- Go to Users, then Username Updater.
- Find your user account in the list and click Update.
- Enter the new username and click Save Changes.
- Log out and log back in with the new username to confirm it works.
Things to know about the plugin method
- It edits the same database field as the manual method, so it is just as effective. The plugin is only a friendly face on top of the same change. SmartWP’s guide to changing your WordPress username explains all four methods, including the plugin route, and notes the same WP-CLI limitation mentioned below.
- Deactivate it when you are done. You only need this plugin once. After the username is changed, deactivate and delete it. Fewer plugins means fewer things to update and fewer security risks.
- It does not move content. Because the username changes in place, all posts and pages stay attached to the same user. There is no content to reassign, which is the main advantage over Method 1.
- Pick the right plugin. Only install a username changer from the official WordPress plugin directory, with recent updates and good reviews. A random plugin from an unknown site is a security risk in itself.
One more thing — if you’re building a new site and choosing its first theme at the same time, our guide to 3 free WordPress themes is a good place to start once the username is sorted.
Method 3: Change the Username in phpMyAdmin (Advanced)
Now we’re in the deep end. This one edits the WordPress database directly, and — here’s the upside — it works even when you’re locked out of the WordPress admin entirely. That’s what makes it the rescue method as well as the advanced one. But a wrong edit in the database can break your site, so don’t use it unless you’re comfortable in phpMyAdmin. And only after a backup. Seriously. Back up first. (You did back up, right?)
Steps
- Log in to your hosting control panel, usually cPanel or hPanel.
- Open phpMyAdmin under the Databases section.
- On the left sidebar, click your WordPress database. If you are not sure which one it is, check the database name in your
wp-config.phpfile. - Find the table called
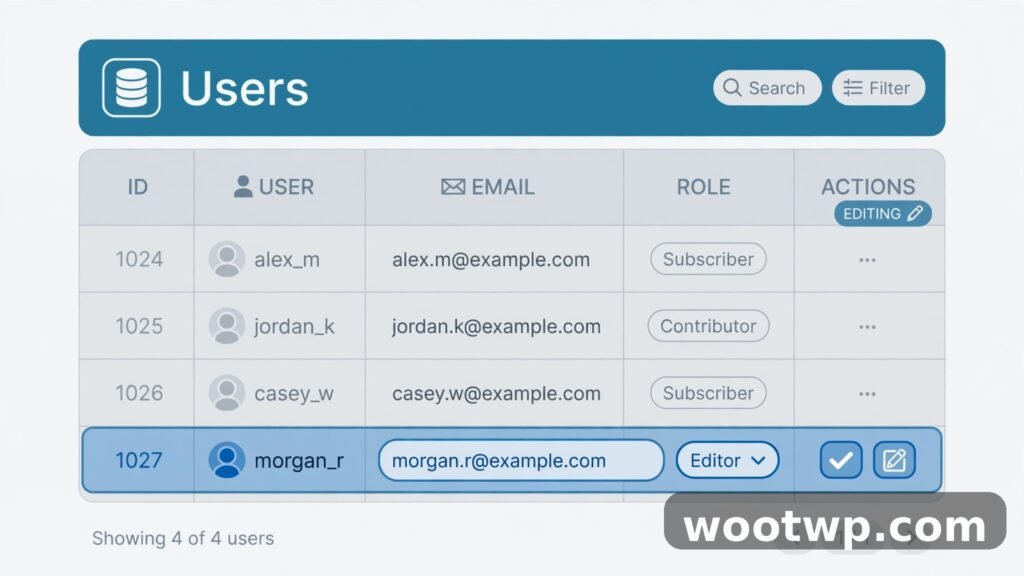
wp_users. If your site uses a custom table prefix, it may be called something likewpxp_usersinstead. The table that ends in_usersis the one you want. - Click on the table. You will see a list of your site’s users.
- Click Edit on the row for the admin account you want to change.
- Find the
user_loginfield and type the new username. - If you also want the author archive URL to change, update the
user_nicenamefield to match. Use lowercase letters, numbers, and hyphens only, with no spaces. - Click Go to save.
Confession time: I once changed user_nicename, sat back feeling rather clever, and walked away. Then I tried to log in and… nothing had changed. Of course it hadn’t — user_login is the field that actually controls the login, and I’d left it completely untouched. Check the row twice. The Edit screen in phpMyAdmin throws a lot of fields at you at once, and it’s embarrassingly easy to stare at the wrong one.
The SQL shortcut
If you’d rather run a query than click through the table, use the SQL tab in phpMyAdmin and run:
UPDATE wp_users SET user_login = 'newusername', user_nicename = 'newusername' WHERE ID = 1;Replace newusername with the name you want and 1 with the actual user ID of the admin account. You can see the ID in the users table. If your table prefix is not wp_, replace wp_users with your real table name.
After the database edit
- Log in with the new username immediately. If the login fails, check that you edited the right row and that the new username has no spaces or special characters.
- Clear your site cache. If you use a caching plugin or a CDN, clear the cache so author pages and login screens update.
- Check your author archive. Visit your author page and confirm the URL and displayed name look right.
Multisite: one extra table
Running a WordPress multisite network? Then the super admin username also lives in the wp_sitemeta table, and you’ll need to change it there too. After changing wp_users, find the row with meta_key set to site_admins, edit the meta_value field, and replace the old username with the new one. Here’s the fiddly bit: the value is stored in a serialized format, so the character count before the name must match the new name’s length. A five-letter name shows as s:5:"admin", and an eight-letter name must show as s:8:"newadmin". Get the number wrong and the network will not recognise the change. I got this wrong once — typed s:5 in front of an eight-letter name — and the network just ignored the whole edit. No error message. Nothing. Just the old name, still sitting there, mocking me.
Method 4: Change the Username With WP-CLI (Developers)
If you manage WordPress from the command line, WP-CLI can change a username directly. Honestly, it’s the fastest method of the lot once you have SSH access — the one developers reach for on sites they manage regularly. One command, done.
Connect to your server over SSH, move into the WordPress directory, and run:
wp user update 1 --user_login=newusernameReplace 1 with the user ID and newusername with the name you want. WP-CLI will confirm the change.
One warning, though: some WP-CLI versions refuse to change the login name and print a warning that user logins cannot be changed. If you see that message, your WP-CLI version is blocking the change, and you should use Method 1 or Method 3 instead. Don’t fight the tool. The new-user method gives you the same result with no version headaches.
What About the Display Name?
Here’s where people trip up most, in my experience: changing your username and changing your display name are two different things. Mixing them up is the most common confusion in this whole topic.
- The username is what you type to log in. It is the security-sensitive part, and it is the thing this guide changes. It is hidden from visitors by default.
- The display name is what visitors see next to your posts, like “John Smith” or “Admin”. You can change it any time under Users, then Profile, in the Display name publicly as dropdown. No workaround needed.
So if your only problem is that your posts show “admin” as the author — you don’t need to change your username at all. Just change the display name. But if the login username itself is “admin”? Change that too. The display name does nothing for security.
A quick security checklist after the change
Changing the username is one step, not the whole job. While you’re already in the security mindset, run through these too:
- Strong password. Pair the new username with a password that is long and unique. Run it through our free password strength checker to see how it holds up before you save it.
- Two-factor authentication. A login code from your phone stops attackers even if they guess both the username and the password. Our guide on moving Google Authenticator to a new phone covers keeping your two-factor codes safe when you switch devices.
- Limit login attempts. A plugin like Limit Login Attempts Reloaded blocks an IP address after a few failed logins, which stops brute-force attacks cold.
- Keep WordPress updated. Most hacked sites are running old versions of WordPress, a theme, or a plugin. Update them, and the username change becomes part of a site that is genuinely harder to break into.
Pick a Strong New Username
Right, new username. What actually makes a good one? It should be hard to guess but easy for you to remember — a balance I’ve seen people get wrong in both directions. A few rules that have served me well:
- Do not use “admin”, “administrator”, “root”, or “webmaster”. These are the first names every automated attack tries.
- Do not use your email address or your full real name. Both are easy to find and easy to guess.
- Do not use your site’s name. If your site is “My Travel Blog”, the username “mytravelblog” is the first guess after “admin”.
- Do use something personal but not public. A nickname, a childhood pet’s name mixed with a number, or a word only you would connect to the site. It does not need to be pretty. Nobody sees it except you on the login screen.
- Keep it simple to type. You will type this username every time you log in. Avoid strange spellings and long strings of numbers you will forget.
FAQs
Can I change my WordPress username from the profile page?
No — WordPress locks that field and shows “Usernames cannot be changed” right underneath it. There’s no hidden setting to unlock it. You have to work around it: make a new admin and delete the old one, use a plugin like Easy Username Updater, or edit the user_login field in the database.
What is the easiest way to change a WordPress admin username?
Make a new administrator account with the username you want, log in as that account, delete the old one, and pick “Attribute all content to” your new user when WordPress asks. No plugin, no database work. About five minutes, start to finish.
Will changing my username break my posts?
Not if you reassign the content. When you delete the old user, WordPress asks what to do with its posts and pages — choose “Attribute all content to” your new user and everything moves over cleanly. The plugin and database methods change the username in place, so nothing needs to move at all.
Is it safe to change the WordPress admin username in phpMyAdmin?
Yes, as long as you back up first and edit only the user_login field of the right user row. The danger is editing the wrong row or the wrong field, so check the user ID before you hit Go. Not confident in phpMyAdmin? Use the new-user method instead. Same result, far less risk.
Can I change the username of the only admin account on my site?
Yes — but watch the order. With the new-user method, create the new admin and confirm you can log in as it before you delete the old one. Never delete your only admin account first. Do that and you’re locked out, and the fix is a database edit through phpMyAdmin.
Does changing my username from “admin” actually improve security?
Yes, but only as one layer. Attackers automate login attempts using “admin” because it works so often. A unique username forces them to guess both the username and the password. Add a strong password, two-factor authentication, and login attempt limits, and your site becomes a much harder target.
Conclusion
So that’s how to change WordPress admin username, four different ways — and for most people, the first method is the whole answer. Create a new admin account, log in as it, delete the old one, and hand all its content to the new account. Five minutes, no plugin, never touches the database. Want the name changed in place instead? The plugin method does that. Locked out, or managing sites from the command line? That’s when phpMyAdmin or WP-CLI earns its keep. Whichever route you take, back up first, pick a username nobody would guess, and pair it with a strong password and two-factor authentication. Your future self — the one who isn’t cleaning up after a brute-force attack at 2am — will thank you.