
How to Add Google Analytics to WordPress: 5 Easy Steps That Work
If you run a WordPress site and you have no idea which posts bring visitors, where those visitors come from, or what they click next, you are guessing. Learning how to add google analytics to wordpress fixes that guesswork in about ten minutes. You will see real visitor numbers, your most popular pages, and the searches and sites that send people your way, right inside your WordPress dashboard.
This guide uses the official free method first. You will install Site Kit by Google, sign in, and connect a Google Analytics 4 property. I have used this setup on my own sites and client sites, and it is the method I recommend to beginners because there is no code to paste and no theme file to edit. You will also learn two alternatives, how to check that tracking works, and how to fix common problems.
- What You Need Before You Start
- How to Add Google Analytics to WordPress With Site Kit in 5 Easy Steps
- Is There a Manual Way to Add Google Analytics to WordPress?
- Can I Use Google Tag Manager Instead?
- How Do I Know WordPress Analytics Tracking Is Working?
- What Should I Check First in My GA4 WordPress Reports?
- How to Fix Common Google Analytics Problems in WordPress
- Frequently Asked Questions About Google Analytics and WordPress
- Conclusion
What You Need Before You Start
You need three things before you touch a plugin, and getting them right is the first part of how to add google analytics to wordpress without rework later. First, administrator access to your WordPress site. Only an admin can install plugins and connect Google services. If someone else built your site, ask them for admin access or ask them to follow these steps with you.
Second, a Google account, and the choice matters. Use the account that should own the Analytics property long term. For a business site, that is usually the business account, not a personal account or a freelancer account. The account that creates the property can grant access to others, but losing access to the owner account can lock you out of your own data. Settle ownership and permissions before you sign in, not after.
Third, your site must be live and reachable on the public internet. Site Kit cannot verify a site behind a password, a coming soon page, or a local test setup on your own computer. Your domain should also load over HTTPS. If your site is still in staging, finish setup after you move it to its live address, and keep staging and live properties separate so test visits do not pollute your real numbers.
Know which version you are setting up. Google Analytics 4, usually shortened to GA4, is the current version. Older Universal Analytics properties stopped processing new data, so ignore old tutorials that ask for a tracking ID starting with UA. A GA4 Measurement ID starts with G followed by letters and numbers. If you already have a GA4 property for this site, connect it during setup instead of creating a new one.
Finally, check that no other Analytics method is already running. Look in your theme settings, your caching plugin, and your active plugins for any Analytics field or tracking code. If you find one, decide now which single method you will keep. Running two methods at once is the most common cause of inflated numbers.
How to Add Google Analytics to WordPress With Site Kit in 5 Easy Steps
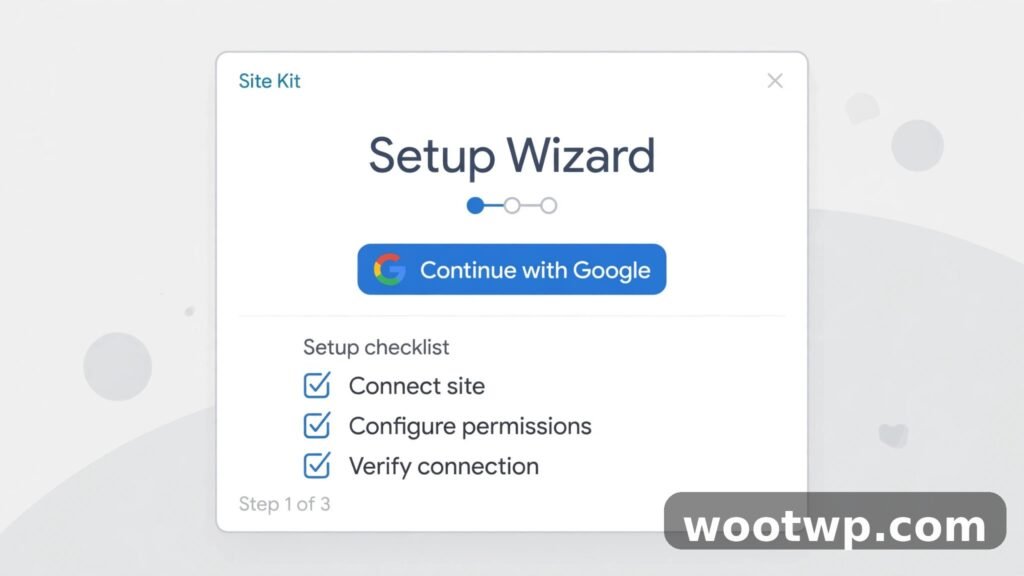
Site Kit by Google is the official google analytics wordpress plugin from Google itself. It is free, it connects Analytics, Search Console, and other Google tools in one place, and it shows a simple dashboard inside WordPress. A site kit by google setup also places the tracking code for you, which removes the riskiest part of the manual method, and it is the simplest answer to how to add google analytics to wordpress for most site owners. Follow the five steps below in order.
Step 1: Install Site Kit by Google
Log in to your WordPress dashboard. Go to Plugins, then Add New. In the search box, type Site Kit by Google. Look for the plugin by Google, click Install Now, then Activate. Do not install a similarly named plugin from another author.
If you want to double-check before installing, read the official listing for Site Kit by Google on WordPress.org. After activation, click Start Setup on the welcome screen, or look for Site Kit in the left-hand menu.
Step 2: Sign In With Google and Grant Permissions
Site Kit will ask you to sign in with Google. Choose the account you decided should own the property. Read the permission screens carefully. Site Kit needs permission to view and manage your Analytics and Search Console data so it can create the connection and show reports in WordPress.
This is where people often pick the wrong account by habit, because browsers stay signed in to a personal account. If the account shown is not the right one, use the option to sign in with a different account before you continue. Fixing the account later means disconnecting Site Kit and starting again.
Step 3: Verify Site Ownership
Next, Site Kit verifies that you own the site. For most installs, this happens automatically after you sign in, using a verification record checked with Google Search Console. If verification fails, the usual causes are simple: your site is not public yet, your domain redirects to a different address, or a security plugin blocks the check. Make the site public, check that your WordPress address and site address match in Settings, then General, and try again.
Once ownership is verified, Site Kit will offer to connect Search Console. Say yes if you want search data in the same dashboard. It is optional for Analytics tracking itself.
Step 4: Create or Connect Your GA4 Property and Data Stream
This step is the core of how to add google analytics to wordpress. Site Kit will ask you to set up Analytics. If you already have a GA4 property for this website, choose it from the list. If you do not, choose the option to create a new property.
When you create a new property, Site Kit guides you through naming it, choosing your time zone and currency, and creating a web data stream for your site address. A data stream is the feed of data from your website into that property. Use your exact live domain, including HTTPS, and keep Enhanced Measurement turned on. It automatically tracks scrolls, outbound clicks, site searches, video engagement, and file downloads.
Use a clear property name, such as your site name plus the word Website, so you do not connect the wrong property later if you manage several sites. Site Kit will show the Measurement ID for the new stream. It starts with G. You do not need to copy it anywhere, because Site Kit places the tracking code for you, but note it down for your records. Accept the offer to create an Analytics account only if you do not already have one for this business. One account can hold many properties.
Step 5: Confirm Analytics Is Connected and Check Your Dashboard
Finish the setup screens and return to your WordPress dashboard. Open Site Kit from the left-hand menu. You should see an Analytics section. At first, it may show no data or a message that data is still collecting. That is normal.
Visit your own site in a new tab, click through two or three pages, and then check the Realtime report using the verification steps below. Do not judge the setup by the main dashboard alone on day one, because that dashboard is the part of how to add google analytics to wordpress that takes longest to fill in. Realtime is the fastest proof that wordpress analytics tracking is live. Site Kit also keeps the tracking code in place when you change themes, as long as Site Kit stays active. If you deactivate it later, tracking stops.
Is There a Manual Way to Add Google Analytics to WordPress?
Yes. The manual method is a second way to learn how to add google analytics to wordpress, and it means adding the Google tag yourself, or pasting your Measurement ID into a plugin or theme setting that accepts a G ID. Some themes and SEO plugins have a field for a Measurement ID. If yours does, you can paste the ID there and save.
The fully manual code method means placing the Google tag in the header section of every page, usually through a header and footer insertion plugin or a child theme. I do not recommend editing your main theme files directly. A theme update will overwrite your edit and silently stop tracking. Use a dedicated insertion plugin or a child theme so updates do not wipe it out.
Use only ONE method. Pick Site Kit, a Measurement ID field, manual code, or Tag Manager. Never run two at the same time. If Site Kit is placing the tag and your theme is also placing it, every page view can be counted twice, and every decision you make from those numbers will be wrong. If you switch methods, remove the old one completely first, clear your cache, and verify with the Realtime check below.
For most beginners, Site Kit is simpler and safer. The manual route makes sense mainly when you cannot use Site Kit, when a developer manages all tracking through code, or when your setup blocks plugins that connect to Google services. A bloated theme can also slow your site so visitors leave before the tag loads. If you are still choosing a theme, start with a light option, such as one of the three free WordPress themes that are fast and simple to set up.
Can I Use Google Tag Manager Instead?
Yes. Google Tag Manager is another route for how to add google analytics to wordpress. Google Tag Manager is a free tool that manages tags, including the Google Analytics tag, from one container. You add the Tag Manager container to your site, then create a GA4 tag inside Tag Manager and publish the container.
Tag Manager fits well if you plan to add several tags over time, such as Analytics and ad conversion tags, and you want to manage them without editing WordPress each time. It is also the standard choice on larger sites where one person manages tags separately from the content team.
For a simple blog or small business site with one property, Tag Manager adds a layer you may not need. Site Kit is faster to set up and easier to troubleshoot. If you choose Tag Manager, follow the same one-method rule: remove Site Kit Analytics tracking, any Measurement ID field, and any manual tag before you publish the container. Then verify in Realtime that each page view counts once, not twice.
Google provides official setup help. The Google Analytics help guide for setting up GA4 walks through creating an account, a property, and a data stream, which is useful background even when Site Kit handles those steps for you.
How Do I Know WordPress Analytics Tracking Is Working?
Check Realtime data within minutes of finishing setup. Do not wait a day and hope. Here is the check I use on every site, and it is the quickest way to confirm how to add google analytics to wordpress worked on your site.
- Open Google Analytics and select the correct GA4 property. Use the property selector at the top if you manage more than one site.
- In the left-hand menu, open Reports, then Realtime. You should see active users in the last 30 minutes.
- In a separate window, open your website. Use a private or incognito window to count as a fresh visitor.
- Click through three or four pages, including your homepage and one blog post.
- Go back to the Realtime report and refresh it. Within a minute or two, you should see at least one active user, and the page views should list the pages you just visited.
If you see yourself in Realtime, tracking works. If you see nothing after five minutes, work through the troubleshooting section below before you publish anything else. Realtime data appears within minutes, but standard reports take 24 to 48 hours to populate fully. A new property often shows empty charts on day one even when Realtime proves the tag is firing.
A caching plugin can also hide a new tag from visitors. If you use one, clear the cache after connecting Analytics so every visitor gets the updated pages. See this guide on how to clear the WordPress cache after changing plugins or settings for the exact steps, then repeat the Realtime test.

What Should I Check First in My GA4 WordPress Reports?
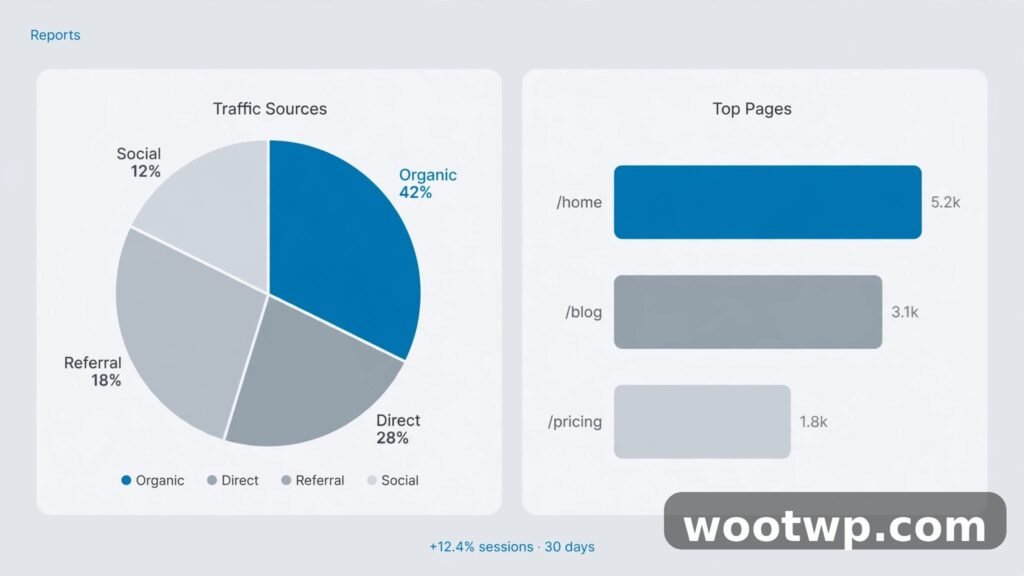
Once tracking is live, start with four views. These are the first reports to check after you learn how to add google analytics to wordpress, because they answer the questions most site owners actually have. First, look at Realtime and the traffic overview under Reports, then Acquisition. You will see channels such as organic search, direct visits, referral traffic, and social traffic. If one channel dominates, that is where your effort is already paying off.
Second, open the Pages and screens report under Engagement. This shows your most visited pages in order. The interesting rows are the posts below your homepage. Those are the topics readers actually want. For each top page, ask whether it answers the visitor question fully and points the reader to a sensible next step.
Third, check the landing page view. A landing page is the first page a visitor sees in a session. A post that brings many first-time visitors but keeps almost none of them is a sign the title promised more than the content delivered, or the page loads too slowly on phones.
Fourth, look at device data. Most blogs now get most visits from phones. If phone visits are high but engagement is low, test your site on a real phone. Check that text is readable, buttons are easy to tap, and no pop-up blocks the content. A quick check with PageSpeed Insights to measure your site speed will show whether slow loading is costing you readers.
In Site Kit, the WordPress dashboard shows a simplified version of these numbers over the last 28 days. Use it for quick daily checks, and open full Google Analytics when you need detail or custom date ranges. Both views read the same GA4 wordpress data, so they should agree. If they disagree sharply, you are probably looking at different date ranges or different properties. Check Realtime after you publish a post, check Site Kit weekly, and compare months in full Analytics once a month. Note what you changed each month so you can connect traffic changes to your own actions.
How to Fix Common Google Analytics Problems in WordPress
Most setup problems fall into a short list, and most people who struggle with how to add google analytics to wordpress hit one of the four below. Work through them in order, retest with Realtime after each fix, and change one thing at a time so you know which fix worked.
No Data in Realtime
If Realtime stays empty, first confirm you are looking at the right property. The property in Analytics must match the property Site Kit connected. Open Site Kit settings, then Analytics, and check the property and stream listed there. Next, check for a second Analytics method, remove any duplicate, and clear your cache. Also check whether a consent or cookie banner blocks the tag until a visitor accepts cookies. Test by accepting cookies in your private window. Some visitors will not be counted until they consent, and that is expected where strict privacy rules apply. Finally, check that Site Kit is still active and connected, since a plugin update, migration, or Google password change can break the connection.
Double Counting and Inflated Numbers
If page views look far too high, you almost certainly have two tags firing. Search for every place a Measurement ID or tracking code could live: the theme customizer, an SEO plugin, a header insertion plugin, a caching plugin with a tag field, and Tag Manager. Keep one, remove the rest, clear the cache, and retest. Visit one page once in a private window and watch Realtime. One visit should produce one page view. If it produces two, a duplicate tag is firing. Fix it before you trust any report.
Wrong Property or Wrong Site
Connecting the wrong property is easy when you manage several sites. The symptom is data that looks plausible but belongs to another site, or a new site that never shows data because visits land in the old property. In Site Kit settings, check the property name, Measurement ID, and data stream URL. The stream URL must match your live domain exactly. If you moved to a new domain, update the data stream and the Site Kit connection together, set up redirects from the old domain, and keep the old property for comparison. Do not delete the old property in a hurry. You cannot recover deleted Analytics data.
Consent, Privacy, and Data Settings
Add a clear privacy policy page that explains you use Google Analytics, what it collects, and how visitors can opt out. Site Kit anonymizes IP addresses by default when the Analytics module is active, which helps, but it does not replace a proper policy or consent handling for your region. If your site serves visitors in the European Union or the United Kingdom, use a consent setup that fits local rules and test it like a visitor. A banner that blocks Analytics until consent is given will reduce counted traffic, and that is the correct trade-off.
Also review your GA4 data settings in Analytics Admin, under Data Settings, then Data Collection. Keep the defaults for Google signals and data retention unless you have a clear reason to change them. Short retention can delete older detailed data you later wish you had kept.
Frequently Asked Questions About Google Analytics and WordPress
Is Google Analytics free for WordPress?
Yes. Google Analytics 4 is free to use, and Site Kit by Google is a free plugin. There is a paid Analytics 360 version for very large businesses, but almost every blog and small business site will never need it. Your only costs are hosting and a domain, which you already pay for.
How long does it take for Google Analytics to show data on WordPress?
Realtime data shows within a few minutes once tracking is live. Standard reports usually take 24 to 48 hours to populate fully for a new property. If Realtime works but standard reports are empty on day one, wait a full day before you assume something is broken.
Do I need a plugin to add Google Analytics to WordPress?
You do not strictly need one, because you can add the tag manually. A plugin is still safer for most owners. A google analytics wordpress plugin such as Site Kit places the tag on every page, survives theme changes, and shows reports in your dashboard. Manual code is easy to lose during a theme update.
Can I use Google Analytics on a free WordPress.com site?
On a free WordPress.com plan, you cannot install plugins or add custom tracking code, so full GA4 setup is not available. On WordPress.com Business and Commerce plans, you can install plugins and use Site Kit. If you use self-hosted WordPress software, which this guide covers, you can install Site Kit on any hosting plan that allows plugins.
Will Google Analytics slow down my WordPress site?
The effect is small when the tag is added correctly. Site Kit loads the Google tag in a way that does not block the main content of the page. A slow site is far more often caused by heavy images, too many plugins, or slow hosting. Test your site before and after setup and fix the slowest items first.
How do I add Google Analytics to WordPress without Site Kit?
You can paste your GA4 Measurement ID into a theme or plugin field that accepts it, add the Google tag manually in the header section of your pages, or use Google Tag Manager. Whichever route you choose, use only one method at a time. After setup, verify with the Realtime report and clear your cache so visitors receive the updated pages.
Conclusion
Learning how to add google analytics to wordpress is a one-time setup that pays off every week you run your site. Install Site Kit by Google, sign in with the account that should own the property, connect one GA4 property, and confirm the connection with a Realtime test. Keep one tracking method only, clear your cache after setup, and give standard reports a day or two to fill in. The single takeaway is simple: check Realtime today to prove tracking works, then let the weekly dashboard tell you which content deserves more of your time.