
How to Create a Contact Form in WordPress: 5 Proven Steps
If you want to know how to create a contact form in WordPress, the short answer is simple: install a form plugin, build a short form, and add it to your Contact page. WordPress does not include a contact form of its own, so most sites use a free plugin for this job. The part most guides skip is what makes the form actually work well — setting the right email address, stopping spam, and making sure messages arrive instead of landing in spam or disappearing. This guide covers the full job in five steps, using free plugins, with no code needed. A code-free path is included for anyone who wants it, but you do not need it to get a working form.
Before you start, decide what your form needs to collect. For most sites, four fields are enough: name, email, subject, and message. Every extra field you add lowers the chance a visitor finishes the form. Ask for a phone number only if you will actually call people back, and ask for a budget or file upload only if you need it to answer the message. Keep the form short, and put it on a page visitors can find in one click from your menu.
In this guide:
- Which WordPress Contact Form Plugin Should You Use?
- How to Create a Contact Form in WordPress in 5 Steps
- How to Add the Contact Form to Your WordPress Page
- How to Stop Contact Form Spam in WordPress
- Why Are My WordPress Contact Form Messages Not Arriving?
- How to Create a Contact Form in WordPress Without a Plugin
- Contact Form Best Practices That Get More Replies
- Frequently Asked Questions About WordPress Contact Forms
- Conclusion: A Short Form That Actually Delivers
Which WordPress Contact Form Plugin Should You Use?
You have three strong free choices, and any of them will build a working contact form. Pick based on how you like to work, not on which one has the longest feature list. All three are free to start, and all three let you build a simple contact form without paying.
- WPForms Lite. The easiest starting point for most beginners. It uses a drag-and-drop builder, includes ready-made templates, and adds its own block to the editor. The free version covers contact forms, newsletter signups, and simple feedback forms. Paid plans add payments, surveys, and conditional logic, but you do not need them for a contact form.
- Contact Form 7. Completely free, with no paid tier. It is the oldest and most widely installed form plugin, and it works well, but it uses form tags in a text editor instead of a visual builder. If you are comfortable with a little markup, it is light and reliable. If you want drag-and-drop, pick WPForms Lite or Ninja Forms instead.
- Ninja Forms. A visual drag-and-drop builder with a free core and paid add-ons. It sits between the other two: easier than Contact Form 7, and a good choice if you plan to build several different forms later.
For this guide, the steps use WPForms Lite, because its builder is the easiest to follow in screenshots and words. The same ideas — fields, notifications, confirmations, spam protection, and email delivery — apply in the other two plugins, under different menu names. If you already use Contact Form 7 or Ninja Forms, stay with what you have. Switching plugins for a simple contact form rarely pays off.
One more option deserves a mention. If you already run the Jetpack plugin, its Form block lets you add a simple contact form right in the block editor without a separate form plugin. It is a good choice for a basic form on a site that already uses Jetpack. It is less flexible than a dedicated form plugin, so if you need file uploads, conditional fields, or detailed notification rules, use WPForms Lite, Contact Form 7, or Ninja Forms instead.
How to Create a Contact Form in WordPress in 5 Steps
These steps use WPForms Lite. If you use a different plugin, the menu names will differ, but the order of work is the same: install, create, set notifications, add to a page, and test.
Step 1: Install and Activate a Form Plugin
- Log in to your WordPress dashboard.
- Go to Plugins, then Add New.
- In the search box, type WPForms.
- Find Contact Forms by WPForms (WPForms Lite) and click Install Now, then Activate.
- A new WPForms menu appears in the left sidebar of your dashboard.
If you prefer Contact Form 7, search for Contact Form 7 instead and install it the same way. A new Contact menu appears in the dashboard, with a default form already created. Before you install anything new, it is worth having a fresh backup. Our guide to how to back up your WordPress site for free shows how to do that in a few minutes, and it makes every plugin change safer.
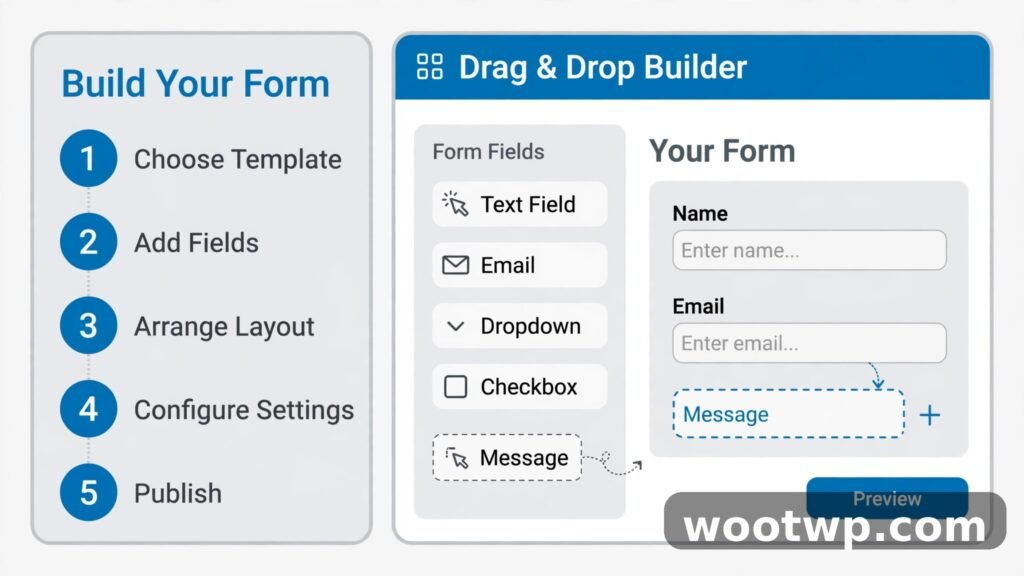
Step 2: Create Your First Form From a Template
- Go to WPForms, then Add New in your dashboard.
- Give the form a name, such as “Contact Form.” This name is for your own reference in the dashboard. Visitors do not see it.
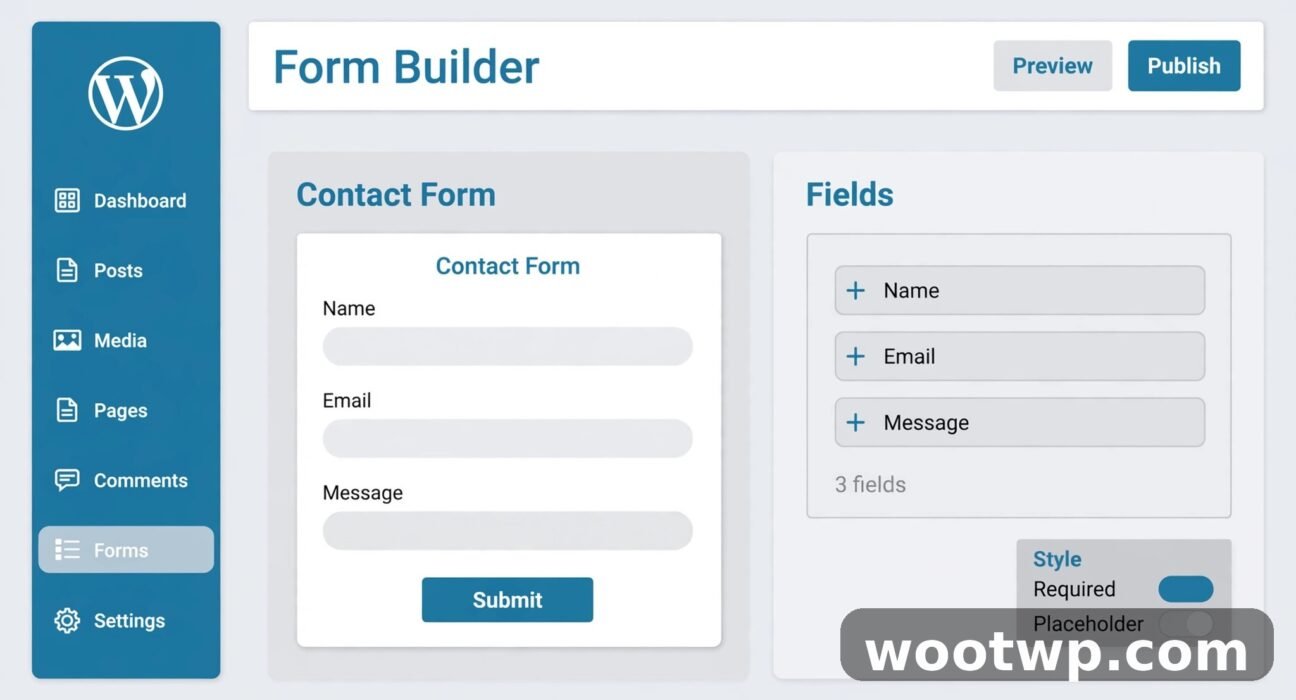
- Choose the Simple Contact Form template. WPForms adds the Name, Email, and Message fields for you.
- Click a field to change its label or make it required. Make Name, Email, and Message required — a message without a reply address is useless, and an empty message wastes your time.
- To add a field, drag it from the left panel into the form. A Subject field is useful if you get different kinds of messages. Add it as a dropdown with a few choices, such as General Question, Support, and Business Inquiry, so you can sort messages faster.
Keep the field order natural: name first, email second, subject third, message last. Visitors expect that order, and a form that matches their expectation feels easier to finish.
Step 3: Set the Form Title, Description, and Submit Button
Small wording choices change how many people finish a form. In the builder, click Settings, then General, and check these three things.
- Form title. If you show the title on the page, keep it short: “Contact Us” or “Send Us a Message.” The page heading already says Contact, so do not repeat a long title.
- Form description. Add one short line under the title that tells visitors what happens next, such as “We reply within one business day.” That promise sets the expectation and makes people more willing to write.
- Submit button text. Change “Submit” to something specific, such as “Send Message.” A button that says what it does gets more clicks than a generic Submit button.
In the same settings screen, check the anti-spam options your plugin offers and turn on the basic honeypot protection if it is available. The spam section later in this guide covers stronger options.
Step 4: Set Notifications So Messages Reach You
Notifications decide where form messages go. This is the step most beginners miss, and it is the reason many forms “do not work” even though the form itself is fine.
- In the form builder, click Settings, then Notifications.
- Set Send To Email Address to the address where you actually read mail every day. Use an address on your own domain, such as contact@yourdomain.com, as the sender address if the plugin asks for one. Using a free Gmail or Yahoo address as the sender often causes messages to fail or land in spam.
- Set the Email Subject to include the form name and the sender’s subject, so you can spot form messages in a busy inbox at a glance.
- Set From Email to an address on your own domain. Your host must be able to send from that address, or messages will fail. The email delivery section below explains how to fix this properly.
- Add a Reply-To that uses the visitor’s email address, so you can hit Reply in your inbox and answer the visitor directly, instead of copying their address by hand.
If you want a copy of each message saved in WordPress, check your plugin’s entries or submissions screen. WPForms Lite stores entries in the dashboard, so you can read messages there even if an email goes missing. Contact Form 7 does not store entries by default, so you need an add-on or a different plugin if you want messages saved in the dashboard. That is one practical reason beginners often prefer WPForms Lite.
Step 5: Set the Confirmation Message
The confirmation is what visitors see after they send the form. A good confirmation tells them the message arrived and what happens next. A bad one leaves them wondering whether to send it again.
- In the form builder, click Settings, then Confirmations.
- Choose Message as the confirmation type.
- Write a short message, such as: “Thanks for getting in touch. We have received your message and will reply within one business day.”
- Save the form.
Do not redirect visitors to a new page unless you have a thank-you page set up for a reason, such as tracking or a download. A simple on-page message is clearer, and it keeps visitors on your Contact page where they can see your other contact details if they need them.
How to Add the Contact Form to Your WordPress Page
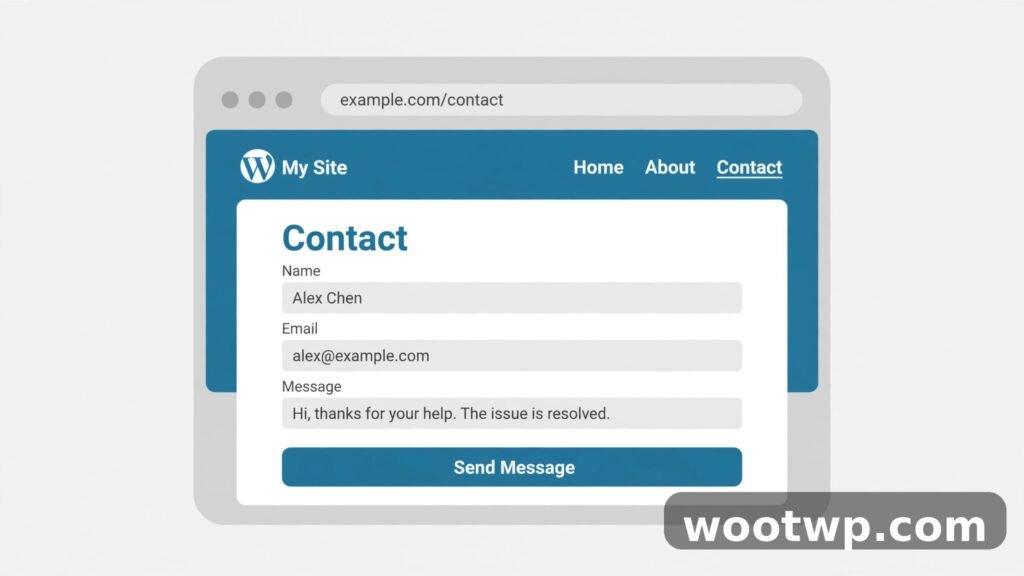
A form that is not on a page helps no one. Add it to your Contact page, or create one if you do not have it yet.
Add the Form With the Block Editor
- Go to Pages, then Add New, or open your existing Contact page.
- Give the page the title Contact or Contact Us.
- Click the + block inserter, search for WPForms, and insert the WPForms block.
- Choose your form from the dropdown list in the block.
- Add a short paragraph above the form with any other ways to reach you, such as your email address or business hours. Some visitors prefer email, and hiding your address behind a form alone can cost you messages.
- Click Publish or Update.
Add the Form With a Shortcode
If you use the classic editor, a page builder, or a widget area, use the shortcode instead.
- Go to WPForms, then All Forms.
- Copy the shortcode next to your form. It looks like
[wpforms id="1234"], with your form’s own number in place of 1234. - Paste the shortcode into a Shortcode block, a text widget, or your page builder’s shortcode element.
- Save and view the page to confirm the form appears.
Test the form right away, from the live page, not from the builder preview. Fill it in with a test name, your own email address, and a short message, and send it. Check your inbox, your spam folder, and the entries screen in the dashboard. If the test message arrives, the form works. If it does not, the email delivery section below is your next stop — do not rebuild the form, because the form is probably fine.
Add the Contact page to your menu if it is not there already. Go to Appearance, Menus, add the Contact page, and save. A contact form buried three clicks deep gets far fewer messages than one linked in the main menu or footer.
How to Stop Contact Form Spam in WordPress
A public contact form will attract spam. Bots fill in forms all day, every day, and a form with no protection will fill your inbox with junk. Learning how to create a contact form in WordPress means learning spam protection too, because the two go together on any public site. The fix is to add one or two spam checks, not five. Too many checks annoy real visitors and can block genuine messages. Start with the lightest option and add a stronger one only if spam still gets through.
Turn On the Honeypot
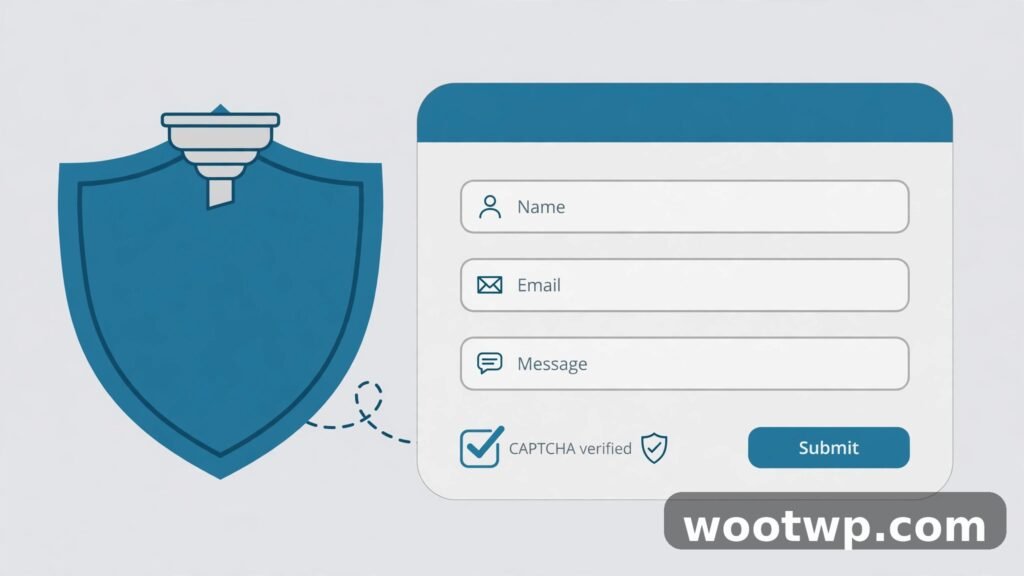
A honeypot adds a hidden field that visitors cannot see but bots fill in. If the hidden field has a value, the submission is spam and the plugin rejects it. It costs visitors nothing and stops a large share of simple bots. In WPForms, go to Settings, General, and turn on the anti-spam honeypot. In Contact Form 7, add a honeypot field with a free add-on, or use the built-in spam filtering that comes from Akismet if you have it installed.
Add reCAPTCHA or Cloudflare Turnstile
If spam still arrives after the honeypot, add a captcha service. reCAPTCHA from Google and Turnstile from Cloudflare both work with the major form plugins, and both offer free tiers for normal sites.
- Sign up for the service you choose and get your site key and secret key.
- In WordPress, go to your form plugin’s settings and paste in the keys.
- In the form builder, add the captcha field to your form, usually at the bottom, just above the submit button.
- Test the form yourself. Submit one test message and confirm the captcha does not block a real submission.
Turnstile is worth considering if you worry about visitors finding reCAPTCHA puzzles annoying. It usually verifies visitors without a puzzle, and it works well on sites with a lot of mobile traffic. Whichever service you pick, use one captcha, not two. Stacking captcha services does not stop more spam, and it does stop some real people.
Use Akismet or a Spam Filter Plugin
Akismet is the spam filter built by the makers of WordPress, and it checks form submissions against a database of known spam. If you already use Akismet for comments, check whether your form plugin can route submissions through it. For WPForms, spam filtering through Akismet is available on paid plans. For Contact Form 7, Akismet integration is built in when both plugins are active. If you get a lot of spam from a specific country, a specific email domain, or messages containing certain links, your form plugin’s settings may also let you block those patterns directly.
Simple Habits That Cut Spam Without Plugins
- Do not publish your email address as plain text on the same page. Bots scrape pages for email addresses. If you show an address, write it in a form that hides it from scrapers, or use a contact form only.
- Require the email field and check that it looks like an address. A required, validated email field stops the laziest bots.
- Keep the form short. Every field is another chance for a bot to inject junk, and a short form is easier for visitors too.
- Review entries weekly. Even with protection, a spam message will slip through now and then. Delete it, and if the same pattern repeats, add a rule or a stronger captcha.
Why Are My WordPress Contact Form Messages Not Arriving?
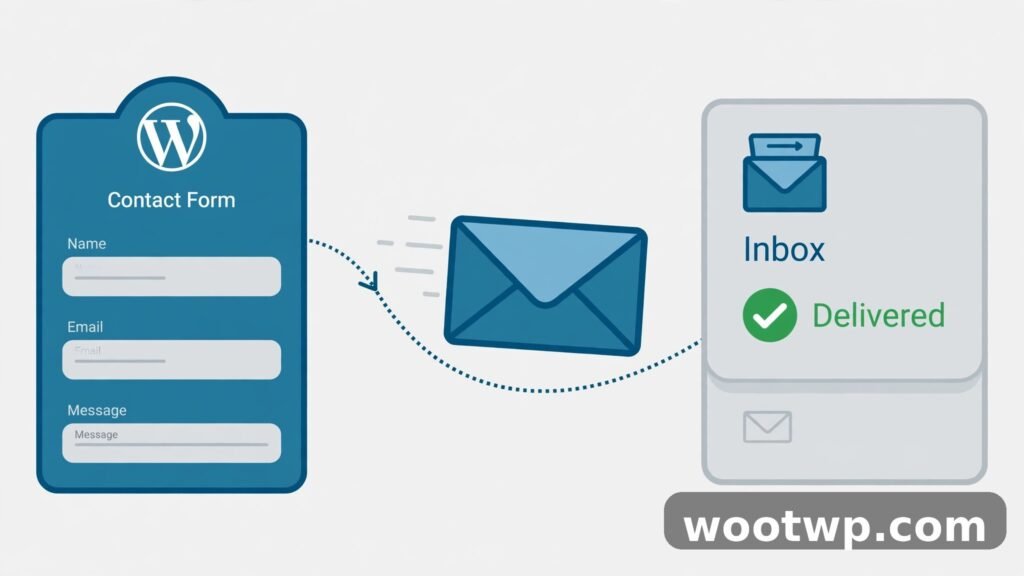
This is the most common contact form complaint, and the form is rarely the cause. When you learn how to create a contact form in WordPress that actually delivers its messages, email delivery is the part that needs the most attention. WordPress sends form messages through your server’s built-in mail function by default. Many hosts restrict that function, and receiving mail services often treat those messages as spam or reject them outright, because nothing proves the message really came from your domain. The result: the visitor sees a success message, you see nothing, and nobody knows a message was lost.
First, Find Out Where the Message Went
- Send yourself a test message from the live Contact page.
- Check your inbox, your spam or junk folder, and your form plugin’s entries screen in the dashboard.
- If the message is in the entries screen but not in your inbox, the form works and email delivery is the problem. Fix delivery, as described next.
- If the message is in neither place, check the notification settings in the form builder. Confirm the “Send To” address is correct and spelled right. One wrong letter is enough to lose every message.
- If the message is in spam, mark it “Not spam” and add the sender address to your contacts. That helps future messages, but it does not fix the root cause for other recipients.
Fix Delivery With SMTP
The reliable fix is to send WordPress mail through SMTP, using a real mail service, instead of the server’s built-in mail function. A plugin such as WP Mail SMTP connects WordPress to your mail provider — your host’s email service, Gmail, or a dedicated sending service — and authenticates each message properly.
- Install WP Mail SMTP from Plugins, Add New.
- Open the plugin’s setup wizard and choose your mail provider.
- Enter the SMTP details from your mail provider: server address, port, encryption, username, and password or app password. If you use Gmail, you will need an app password, not your normal Gmail password.
- Send a test email from the plugin’s test screen.
- Send a test form message again and confirm it arrives in your inbox, not in spam.
SMTP alone is not the whole story. Your domain also needs the email authentication records that receiving services check: SPF, DKIM, and DMARC. These are DNS records, set where your domain’s DNS is managed, usually at your host or domain registrar. Your mail provider’s setup guide lists the exact records to add. If DNS records sound intimidating, ask your host’s support to add them — this is a routine request, and most hosts will do it or walk you through it. Without these records, even SMTP mail can land in spam.
For a deeper look at the email side of WordPress, including the SMTP steps above, see the official WordPress.org plugin directory for the current versions and documentation of the plugins named in this guide. Plugin settings change over time, and the directory page for each plugin is the most reliable place to check what the current version supports.
Check Caching After Changes
If you change a form and the live page still shows the old version, caching is the likely cause. Clear your caching plugin’s cache, and clear any server or CDN cache your host provides, then test the page in a private browser window. Our guide on how to clear the WordPress cache walks through the plugin, server, and CDN levels in order, which saves a lot of guessing when a change does not appear.
How to Create a Contact Form in WordPress Without a Plugin
You can build a contact form without a plugin, but it takes more work and more care, and for most sites it is not worth it. A plugin handles validation, spam protection, and email delivery for you. The no-plugin path means you write the form markup, write the code that processes it, sanitize and validate every input, protect against spam and abuse, and handle email delivery yourself. One missed check can leave your site open to spam or abuse.
That said, there are two cases where the no-plugin path makes sense: a developer building a highly custom form that no plugin fits, or a site owner who wants zero extra plugins and is comfortable editing theme files. If that is you, the outline below shows what is involved. Do this in a child theme, not by editing your main theme directly, or your changes will vanish at the next theme update. Our guide to fixing the 500 internal server error in WordPress is worth reading first if you have never edited theme files, because a small PHP error can take the whole site down until it is fixed.
- Add the form markup to a page template or a Custom HTML block. Use standard form fields for name, email, subject, and message, with labels for each field and a submit button.
- Write a handler that runs when the form is submitted. The handler must check a security nonce, sanitize every field, and validate the email address before it does anything else. WordPress provides functions for this, including sanitize_text_field and the email validation helpers.
- Send the message with wp_mail. Set the recipient, subject, and headers, and use an address on your own domain as the sender, for the same delivery reasons covered above.
- Add spam protection yourself. A honeypot field and a captcha service are the minimum. Without them, a public form will be found by bots quickly.
- Show a confirmation and log failures. If wp_mail fails, log the failure so you know messages are being lost, instead of showing visitors a success message for a message that never arrived.
If any of those steps sound unfamiliar, use a plugin. A form that looks simple but handles input badly is worse than no form at all, because it can leak spam, lose messages, or open a security hole. The plugin path in the first half of this guide gives you a working, protected form in under half an hour, and you can spend the time you saved answering the messages it brings in.
Contact Form Best Practices That Get More Replies
A form that works is only half the job. A form that people finish is the other half. Knowing how to create a contact form in WordPress covers the building; these habits cover the finishing. These habits come from watching what visitors actually do on contact pages, and they apply no matter which plugin you use.
- Keep it to four or five fields. Name, email, subject, and message cover most needs. Add one more field only when the answer changes how you reply.
- Label every field clearly. “Your email” beats “Email address (required).” “What can we help with?” beats “Subject.” Plain labels feel human, and humans answer human forms.
- Put the form above the fold on the Contact page. Visitors should see the first field without scrolling on a phone. Long introductions, maps, and address blocks can go below the form.
- Tell visitors what happens next. “We reply within one business day” is a promise. Keep it, and visitors will trust the form enough to use it again.
- Answer from the same thread. When you reply, keep the visitor’s original message in the thread so they remember what they asked. A reply without context reads like a cold email.
- Check the form every month. Send yourself a test message after every WordPress, plugin, or theme update that touches the Contact page. Forms break quietly — usually through email delivery or a plugin conflict — and a monthly test catches the break before a month of messages is lost.
- Make it work on a phone. More than half of contact form visits come from phones on most sites. Test the form on your own phone, with your thumb, before you call it done. If a field is hard to tap or the keyboard covers the submit button, fix the layout before you publish.
Frequently Asked Questions About WordPress Contact Forms
How do I create a contact form in WordPress for free?
Install a free form plugin such as WPForms Lite or Contact Form 7, create a form from the built-in contact template, set the notification email address, and add the form to your Contact page with a block or shortcode. Test it with a real message before you announce the page. No paid plan is needed for a basic contact form.
Does WordPress have a built-in contact form?
No. WordPress core does not include a contact form block or a built-in form builder. You need a plugin, the Jetpack Form block, or custom code to add one. The block editor alone cannot collect and email form submissions without help from a plugin or custom code.
Which is better: WPForms or Contact Form 7?
WPForms Lite is easier for beginners because it uses a visual drag-and-drop builder and stores entries in the dashboard. Contact Form 7 is completely free and very light, but it uses form tags in a text editor, which suits users who are comfortable with a little markup. For a simple contact form, either works well — pick the one whose editor you prefer.
Why is my WordPress contact form not sending emails?
WordPress sends mail through your server’s built-in mail function by default, and many hosts restrict it or receiving services treat it as spam. Check the form’s notification address first, then set up SMTP with a plugin such as WP Mail SMTP and add your domain’s SPF, DKIM, and DMARC records. Send a test message after each change so you know which step fixed it.
How do I stop spam on my WordPress contact form?
Turn on the honeypot option in your form plugin, then add reCAPTCHA or Cloudflare Turnstile if spam still gets through. Keep the form short, require a valid email address, and review entries weekly. One captcha plus a honeypot stops most spam without annoying real visitors.
Can I add a contact form to WordPress without a plugin?
Yes, but it takes custom code: form markup, a handler that sanitizes and validates input, spam protection, and email delivery with wp_mail. For most site owners, a free plugin is faster, safer, and easier to maintain. Use the no-plugin path only if you are comfortable editing theme files and maintaining the code yourself.
Conclusion: A Short Form That Actually Delivers
Now you know how to create a contact form in WordPress that does the whole job: it collects the right details, lands in your inbox, resists spam, and tells visitors what happens next. The steps are short — install a free plugin, build a four-field form, set notifications and confirmations, add it to your Contact page, and test it with a real message. The extra ten minutes you spend on SMTP and spam protection are what separate a form that works from a form that only looks like it works. Build it, test it, and check it monthly, and your contact page will quietly do its job for years.