

How to Remove Background From Image Free: 5 Easy Best Ways
Learning how to remove background from image free is one of those edits that sounds hard and turns out to be a one-click job on most devices today. Product photos, profile pictures, logos, stickers, and presentation graphics all look cleaner with the background gone, and you no longer need paid software or sharp selection skills to get there. Windows, Mac, iPhone, and Android all include a built-in remover, and a free web tool covers everything else.
This guide compares the five best free methods, shows the exact steps for each one, and explains how to fix the rough edges that automatic tools leave behind, especially around hair, glasses, and busy backgrounds. It also covers the one mistake that ruins most first attempts: saving the result as a JPG, which throws the transparency away.
Table of Contents
- Which Free Background Remover Should You Use?
- How to Remove Background From Image Free in Paint on Windows 11
- How to Remove Background From Image Free in Preview on Mac
- How to Remove the Background on iPhone and Android Without an App
- How to Remove Background From Image Free Online With Adobe Firefly
- How to Remove a Background With Manual Control in Photopea
- How to Fix Rough Edges, Hair, and Leftover Background
- How to Save a Transparent Background the Right Way
- Common Mistakes When You Remove a Background for Free
- FAQs About Removing Image Backgrounds for Free
- Conclusion
Which Free Background Remover Should You Use?
Pick by device first, then by how much control you need. For a quick cutout, the built-in tool on the device you already use wins every time. For a tricky photo, a web tool or a manual editor gives you the control to fix it.
- Windows 11: Use Paint. It is already installed, it works offline, and the one-click remover handles most product and portrait photos well.
- Mac: Use Preview. Open the image, click Remove Background, and save as PNG. No download and no account needed.
- iPhone or Android phone: Use the Photos app subject lift. Touch and hold the subject, then copy or share the cutout. It is the fastest route for stickers and social posts.
- Any browser, any device: Use Adobe Firefly's free background remover. It works on Chromebook, Linux, and shared computers where you cannot install software, and it downloads a full-size transparent PNG.
- Tricky edges or a logo: Use Photopea. It is a free browser editor with selection tools that let you clean up what the automatic tools miss.
In my experience, the first method you try succeeds about eight times out of ten for a clear subject on a plain background. The failures cluster around the same subjects: fine hair against a busy background, transparent objects such as glasses or bottles, and subjects whose colours match the background. When the first try fails, switch methods instead of repeating the same click. A different tool often reads the same photo in a completely different way.
Before you start, work on a copy of the photo. Keep the original safe, especially for a photo you cannot retake. Every method below either works on a copy by default or lets you save under a new name, so use that habit and you will never lose the original.
How to Remove Background From Image Free in Paint on Windows 11
Microsoft added a one-click background remover to Paint in Windows 11, and it is the simplest free option on a PC. It runs on your computer, so your photo is not uploaded anywhere, and it needs no account.
- Find the image in File Explorer, right-click it, and choose Open with, then Paint. You can also open Paint first and use File, then Open.
- Click Remove background in the toolbar at the top. Paint selects the main subject and deletes the rest in a few seconds.
- Check the edges at full zoom. Press Ctrl and the plus key to zoom in, and look at hair, hands, and the gaps between arms and body.
- If Paint kept a patch of background, or removed part of the subject, use the eraser or the selection tools to tidy it. Paint also lets you select a smaller area first and remove the background only inside that selection.
- Save the result as a PNG. Click File, then Save as, choose PNG picture, and give it a new name so the original stays untouched.
Paint works best on photos with one clear subject and a background that looks different from the subject. A person in a dark jacket against a dark wall, or a white product on a white table, will confuse it more often. In those cases, try the Adobe Firefly method below before you give up.
One Paint quirk to know: if your image opens on a white canvas and the background removal looks patchy, check that you opened the image itself rather than pasting it onto a blank canvas. Opening the file directly gives Paint the full image to work with, and the result is cleaner.
How to Remove Background From Image Free in Preview on Mac
Preview on Mac has a Remove Background button that is easy to miss, because it only appears for images where Preview can find a clear subject. It is the fastest free route on a Mac, and it keeps your photo on your own computer.
- Open the image in Preview. Double-clicking an image usually opens it in Preview by default.
- Look for the Remove Background button in the toolbar. If you do not see it, click the markup toolbar button first, or check the Tools menu.
- Click Remove Background. Preview cuts the subject out and shows it against a transparent background.
- If Preview asks whether to convert the file to PNG, click Convert. PNG is the format that keeps transparency, so accept the conversion.
- Save with File, then Save, or File, then Duplicate first if you want to keep the original file unchanged.
Preview handles portraits, pets, and products well. It struggles with the same hard cases as every automatic tool: wispy hair, fur against a similar colour, and objects with holes, such as a chair back or a mug handle. For those, export the Preview result as PNG and finish the edges in Photopea, rather than fighting Preview's one-click result.
If the Remove Background button never appears, your macOS version may be too old, or the image may be in a format Preview cannot edit. Convert the image to PNG or JPG first, or use the browser method below, which works on any Mac with an internet connection.
How to Remove the Background on iPhone and Android Without an App
Phone Photos apps can lift the subject straight out of a photo with a long press. This method is built for quick sharing: stickers, profile pictures, and cutouts pasted into messages and documents. It is not built for print work, but for phone-sized use it is hard to beat.
Lift a Subject on iPhone
- Open the photo in the Photos app.
- Touch and hold the subject, such as a person, pet, or product, until a glowing outline appears around it.
- Lift your finger. A menu appears with Copy, Add Sticker, and Share.
- Tap Share to send the cutout to another app, or Copy to paste it into a message, note, or document.
- To save it as a file, share it to the Files app and save it as a PNG. Saving to Photos directly may flatten it onto a background, so use Files when you need true transparency.
This feature needs a fairly recent iPhone and iOS version, and it works best on photos where the subject stands out clearly. It handles one subject at a time. If your photo has two people, lift them one at a time, or use a browser tool for the whole group.
Lift a Subject on Android
Android does not have one identical feature on every phone, but most current phones offer a close match:
- Samsung Gallery: Open the photo, long-press the subject, and tap Copy or Save as image when the outline appears. The saved image keeps a transparent background.
- Google Photos: Open the photo and look for editing tools, but for a reliable cutout, use the browser method below in Chrome on your phone instead.
- Pixel: Long-press a subject in Google Photos on newer Pixels to copy it, or use the Adobe Firefly browser method, which works well on Pixel phones.
If your Android phone has no lift feature, do not install a random background remover app. The browser method in the next section works in Chrome on any Android phone, needs no install, and gives you a proper PNG file to keep.
A phone photo in HEIC format can cause trouble in some editors, because not every tool reads HEIC well. If an editor refuses your iPhone photo, convert it first. Our guide on how to convert HEIC to JPG on Windows and Android shows the free routes, and a converted JPG works in every background remover in this guide.
How to Remove Background From Image Free Online With Adobe Firefly
Adobe's free background remover runs in the browser through Adobe Firefly, and it is the best free option when you are on a shared computer, a Chromebook, or a phone without a lift feature. You need a free Adobe account to download the result, and the tool accepts JPG, PNG, and WebP files up to 50 MB.
- Go to Adobe Firefly and sign in with a free Adobe account, or create one. The background remover lives in the Image section.
- Upload your photo. Drag it onto the page or use the upload button.
- Choose Remove Background from the quick actions or edit options.
- Wait a few seconds while the tool cuts the subject out. Check the edges at full zoom before you download.
- Click Download and save the transparent PNG. Give it a clear name, such as
product-cutout.png, so you can find it later.
Firefly's result is usually the cleanest of the free web tools, especially for product photos and portraits. It returns the cutout at full size, which matters if the image will go on a website or into a print layout. Some other free tools cap the free download at a small preview size, which looks fine on a phone screen and blurry everywhere else. Always check the downloaded file's pixel size before you use it for anything larger than a social post.
Privacy note: any web tool uploads your photo to someone else's server. Do not use a web remover for sensitive photos, identity documents, or private images of other people. For those, use Paint, Preview, or the phone lift feature, which all run on your own device.
The Firefly page itself is the authoritative place to check the current free limits, because daily allowances change. Adobe's background remover features page describes what the tool does and what file types it accepts, and the remove.bg website is a useful comparison point, though its free downloads are limited to preview size unless you buy credits.
How to Remove a Background With Manual Control in Photopea
Photopea is a free browser editor that feels like a lighter Photoshop. It needs no account and no install, and it is the right choice when an automatic tool keeps making the same mistake on the same photo. Use it when you need to decide exactly what stays and what goes.
- Go to Photopea in your browser and choose Open from Computer to load your photo.
- Try the automatic route first: use Select, then Magic Cut, and let Photopea find the subject. Download the result as PNG if it looks clean.
- If the automatic cut misses, use the Magic Wand tool from the left toolbar. Click the background to select areas of similar colour, hold Shift and click to add more areas, and delete the selection.
- For fine edges, use the Eraser tool at a small brush size and zoom in to 200 percent or more. Work slowly around hair, fur, and thin objects.
- Add a temporary solid colour layer behind the cutout, in a bright colour such as red, to spot leftover background patches you missed against transparency.
- Delete the colour layer, then choose File, then Export as, then PNG, and save the file.
Manual cleanup is slower, but it is the only reliable fix for a logo on a coloured background, a product shot with reflections, or a portrait where the automatic tool keeps eating part of a hairstyle. Do the automatic pass first, then spend your manual time only on the edges that need it. Cleaning a whole photo by hand when the automatic tool got 95 percent right wastes time for no better result.
Photopea also handles layered files, so if you plan to place the cutout onto a new background later, save the Photopea project file as well as the PNG. That way you can reopen the cutout, move it, and resize it without starting over.
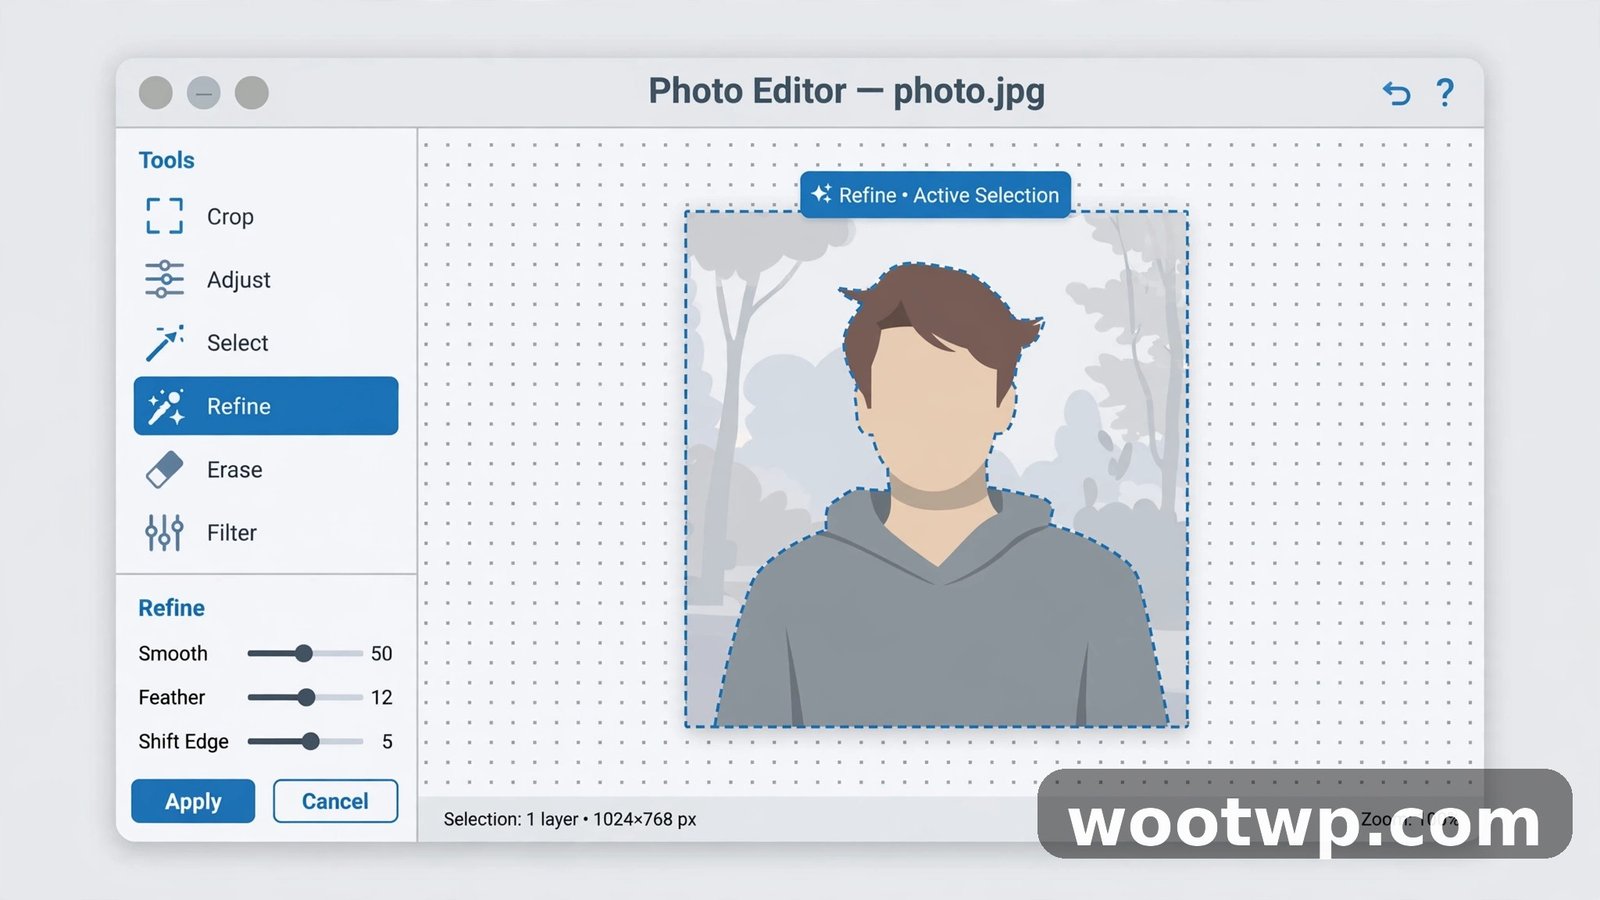
How to Fix Rough Edges, Hair, and Leftover Background
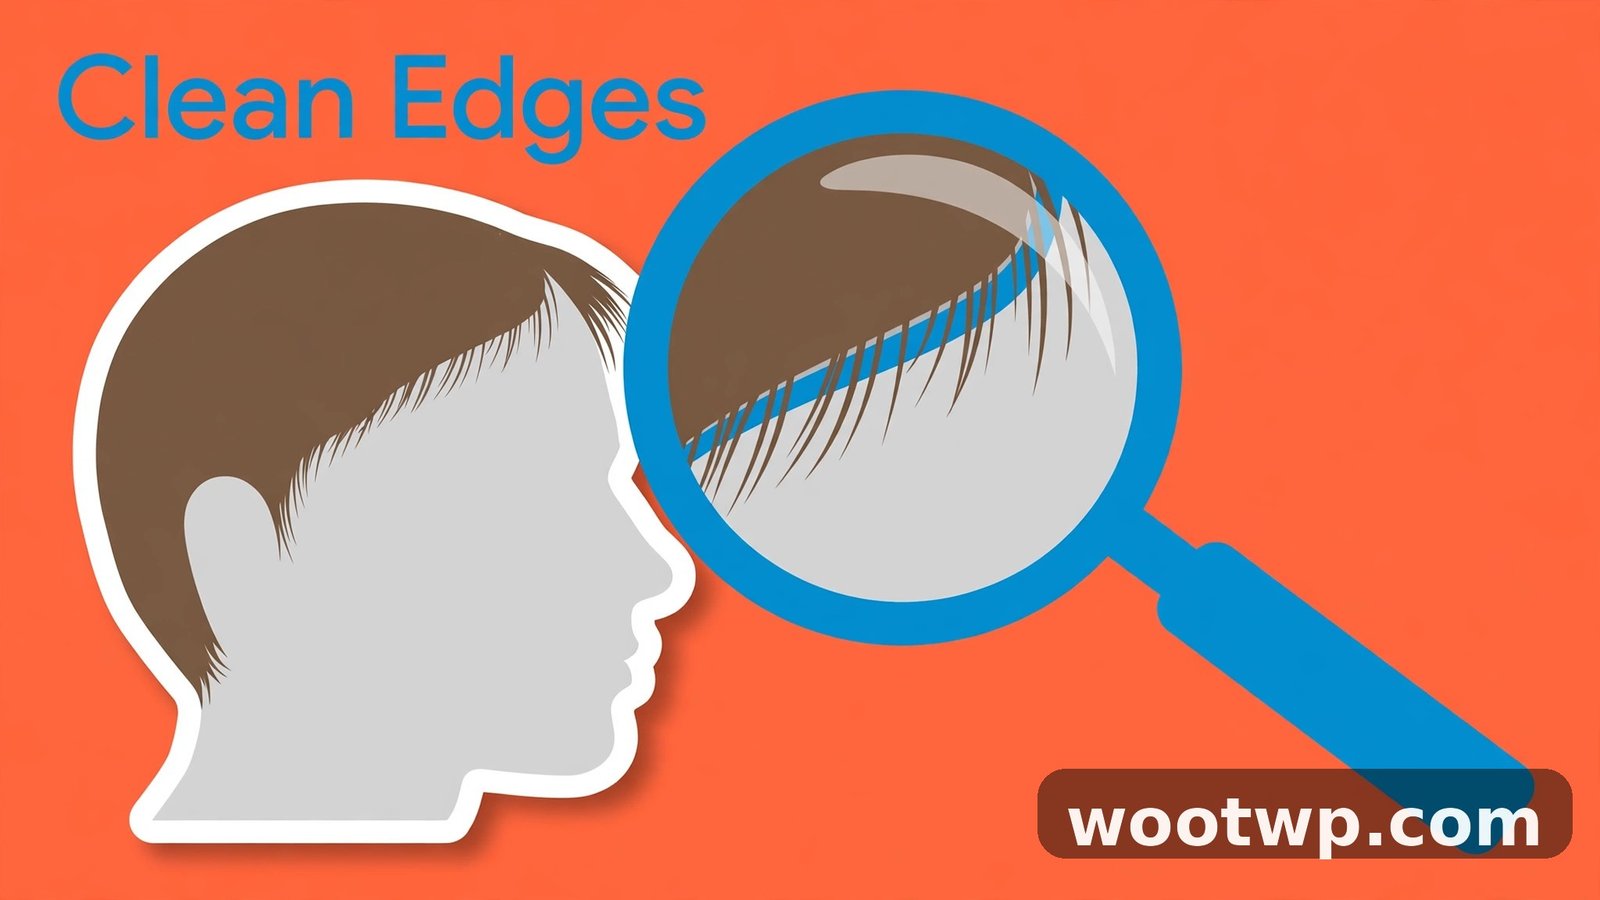
Every automatic remover leaves some trace of the old background, usually a thin coloured fringe around the subject. That fringe is the old background showing at the edge pixels, and it becomes obvious the moment you place the cutout on a dark background. Fix it before you publish the image.
- Zoom in before you judge. A cutout that looks perfect at phone size can show a white halo at full size. Check edges at 100 percent zoom or higher.
- Feather the edge by 1 to 3 pixels. A tiny feather softens the hard cut and hides single-pixel errors. More than 3 pixels starts to look blurry, so stay light.
- Shrink the selection by 1 pixel. In an editor, contracting the selection slightly before you delete removes the fringe without touching the subject.
- Treat hair separately. Do not erase around hair with a hard brush. A soft brush, low opacity, and several light passes keep strands looking natural. If hair is hopeless against a busy background, place the cutout on a similar-coloured background instead of a stark one, which hides edge errors.
- Check the gaps. The spaces between arms and body, under chins, and inside handles and straps hide leftover background patches. Look at each gap on its own.
- Match the new background. A cutout shot in warm sunlight looks wrong on a cold blue background. Adjust brightness and colour slightly so the subject and the new background feel like one photo.
For product photos, the edge standard is higher than for social posts. A marketplace listing will be viewed large, and buyers notice a halo. Spend the extra two minutes on product edges, and skip the fine work for a sticker or a chat message where nobody will zoom in.
How to Save a Transparent Background the Right Way
The file format decides whether your hard work survives. Transparency only exists in some formats, and picking the wrong one silently undoes the whole edit.
- PNG: The safe choice for cutouts. PNG keeps transparency, keeps full quality, and opens everywhere. Use PNG for logos, product cutouts, and anything you will place on another background.
- JPG: JPG has no transparency. Saving a cutout as JPG fills the transparent area with white or black, and you lose the cutout. Use JPG only after you have placed the subject on a final solid background and no longer need transparency.
- WebP: WebP supports transparency and makes smaller files than PNG, which helps on websites. Use it for web pages when your site and audience support it, but keep a PNG master copy.
- Check the result: Open the saved file on a dark background, or in an editor that shows transparency as a grey-and-white checker pattern. If you see solid white instead of the checker pattern, the file was saved without transparency.
After you remove a background, the PNG file can be large, especially for a big photo. A cutout does not need to stay at full camera size for a website listing. Compressing the finished PNG keeps the transparency and shrinks the file a lot. Our guide on how to compress images without losing quality shows free tools for that step, and our image compressor tool handles the same job in the browser without installing anything.
Name your files clearly. blue-shoes-transparent.png tells you what the file is six months later. final-v2-new.png does not. Keep the original photo, the cutout PNG, and any version placed on a new background in the same folder, so you can redo the edit without hunting for files.
Common Mistakes When You Remove a Background for Free
- Saving as JPG. The most common mistake, and the most painful, because the edit looks right until you open the file somewhere else and the background is back, now solid white.
- Trusting a preview-size download. Some free tools give you a tiny preview for free and charge for the full-size file. Check the pixel size of every download before you use it.
- Uploading private photos to a web tool. If the photo is sensitive, keep it on your own device and use Paint, Preview, or the phone lift feature.
- Using a cutout on a clashing background. A subject lit by warm light on a cold background, or a soft photo on a sharp background, looks pasted on. Match light and sharpness, or pick a background close to the original.
- Over-cleaning hair and fur. Erasing too hard around hair removes the strands themselves and leaves a helmet shape. Feather lightly and stop early.
- Removing the background from a document photo. Do not use background removers on passport, ID, or official document photos. Those photos have strict rules, and an edited version may be rejected.
FAQs About Removing Image Backgrounds for Free
How do I remove the background from an image for free without Photoshop?
Use Paint on Windows 11, Preview on Mac, the Photos lift feature on iPhone, or Adobe Firefly in any browser. All four are free, and all four save a transparent PNG. Paint and Preview run on your own computer, while Firefly needs a free Adobe account and an internet connection.
What is the best free background remover online?
For most photos, Adobe Firefly's free background remover gives the cleanest full-size result in a browser, with no install. For privacy-sensitive photos, the best free option is a built-in tool on your own device, such as Paint or Preview, because the photo never leaves your computer.
How do I remove a background and keep it transparent?
Save the result as a PNG or WebP file. JPG cannot hold transparency, so it fills the empty area with a solid colour. After saving, open the file in an editor or on a dark background and confirm you see the checker pattern or the dark background through the empty area, not solid white.
Can I remove the background from a picture on my phone for free?
Yes. On iPhone, touch and hold the subject in Photos, then share or copy the cutout. On Samsung phones, long-press the subject in Gallery and save the cutout. On other Android phones, use Adobe Firefly in Chrome, which works without installing an app.
Why does my cutout have a white edge around it?
The white edge is a fringe of the old background left on the edge pixels. Fix it by feathering the edge by 1 to 3 pixels, shrinking the selection by 1 pixel before deleting, or cleaning the edge with a soft eraser at high zoom. Placing the cutout on a background close in colour to the original also hides the fringe.
Is it safe to upload photos to a free background remover website?
It depends on the photo. Reputable tools process the image on their servers, which means the photo leaves your device. That is fine for a product photo or a public social post, but do not upload private, sensitive, or identity photos to any web tool. Use an on-device tool for those.
Conclusion
To remove background from image free, start with the tool already on your device: Paint on Windows, Preview on Mac, or the Photos lift feature on your phone. Move to Adobe Firefly in the browser when you need a full-size result on a shared computer, and use Photopea when the edges need manual work. Save as PNG, check the edges at full zoom, and keep the original photo safe. Done that way, a clean cutout takes a minute, not an afternoon.