
How to Detect AI-Generated Images: 7 Proven Checks That Work
If you need to know how to detect AI-generated images, start with an honest warning: no single check proves an image is real or fake. The visual clues that gave away early generated images — extra fingers, melted faces, garbled text — are far less reliable now, because current image generators handle hands, faces, and short text far better than the first ones did. The images that fool people today are usually plain ones: a flooded street, a damaged car, a selfie in a cafe. The reliable approach is to combine checks. Look at where the image came from first, check for provenance labels second, and look at the pixels last. Two checks that agree are worth far more than one check on its own.
This guide gives you seven checks, in the order that works best. The first three take seconds and settle most cases. The last four help when the easy checks find nothing. At the end, you will know what each check can and cannot prove, so you do not overclaim — calling a real photo fake is just as harmful as sharing a fake as real.
In this guide:
- Why Looking at the Image Is No Longer Enough
- Check 1: Where Did the Image Come From?
- Check 2: How to Detect AI-Generated Images With Reverse Image Search
- Check 3: Content Credentials and Provenance Labels
- Check 4: Visible and Invisible Watermarks
- Check 5: Visual Clues That Still Catch Careless Generations
- Check 6: Metadata and File Clues
- Check 7: AI Image Detectors — Useful, Never Proof
- A Simple Workflow for Checking Any Suspicious Image
- Frequently Asked Questions About Detecting AI-Generated Images
- Conclusion: Combine Checks, Then Decide
Why Looking at the Image Is No Longer Enough
Image generators work by predicting pixels from patterns they learned, not by capturing light with a camera. Early versions left obvious traces because they struggled with fine detail. Current models have improved a lot at the details people used to check first: hands, eyes, text on signs, and background objects. That does not mean generated images are perfect. It means the errors moved. They now show up in physics, consistency, and context — shadows that point the wrong way, reflections that do not match, text that looks right at a glance but reads wrong when you zoom in — rather than in obvious anatomy mistakes.
There is a second problem with looking alone. People are not good at this task. Studies that test people on spotting generated images consistently find accuracy only a little above guessing, and it drops further for high-quality images. That is not a personal failing. It is what happens when the fakes look like ordinary photos. The checks that work best do not rely on your eyes at all. They rely on the file’s history, its labels, and where it first appeared. Treat your eyes as one clue among several, never as the verdict.
It also helps to separate two different problems. One is an image that was generated from scratch and passed off as a real photo. The other is a real photo reused out of context — an old flood photo shared as last night’s storm, or a stock photo used as a profile picture. Reverse search and source checks catch the second problem well, and they are the right first move for both. A generated image that is brand new will have no history to find, and that absence itself is useful information when combined with the other checks.
Check 1: Where Did the Image Come From?
Before you inspect a single pixel, ask where the image came from and who posted it first. Source tells you more than pixels do, because a fake image and an old photo reused out of context both fall apart once you see the original context.
- Look at the account that posted it. Is it a real account with a history, or a new account with few posts, stock-style photos, and a feed full of dramatic images? Check when the account was created and whether its other posts look consistent. A brand-new account posting only viral disaster or celebrity images deserves extra care.
- Read the caption and comments. Does the caption make a specific claim — a place, a date, a name? Vague captions such as “unbelievable” or “must see” with no details are a warning sign. Check the comments for people pointing out the original source or a fact-check.
- Check the date and the story around it. Does the image match a real event you can verify in news coverage? Search for the event by name and date, separately from the image. If no reputable outlet covers an event that supposedly happened in a major city, be sceptical.
- Ask for the original file. If someone sent you the image directly, ask them where they got it and whether they have the original file. Screenshots and re-uploads strip the labels and metadata that would help you check it. The original file is always more useful than a screenshot of it.
If the source checks out — a known photographer, a news outlet, an official account, with a consistent history — the image is more likely genuine, but still not proven. Move on to the provenance and reverse-search checks to confirm. If the source is thin, anonymous, or inconsistent, treat the image as unverified until the other checks say otherwise. Do not share it while it is unverified. Sharing is what gives a fake image its reach.
Check 2: How to Detect AI-Generated Images With Reverse Image Search
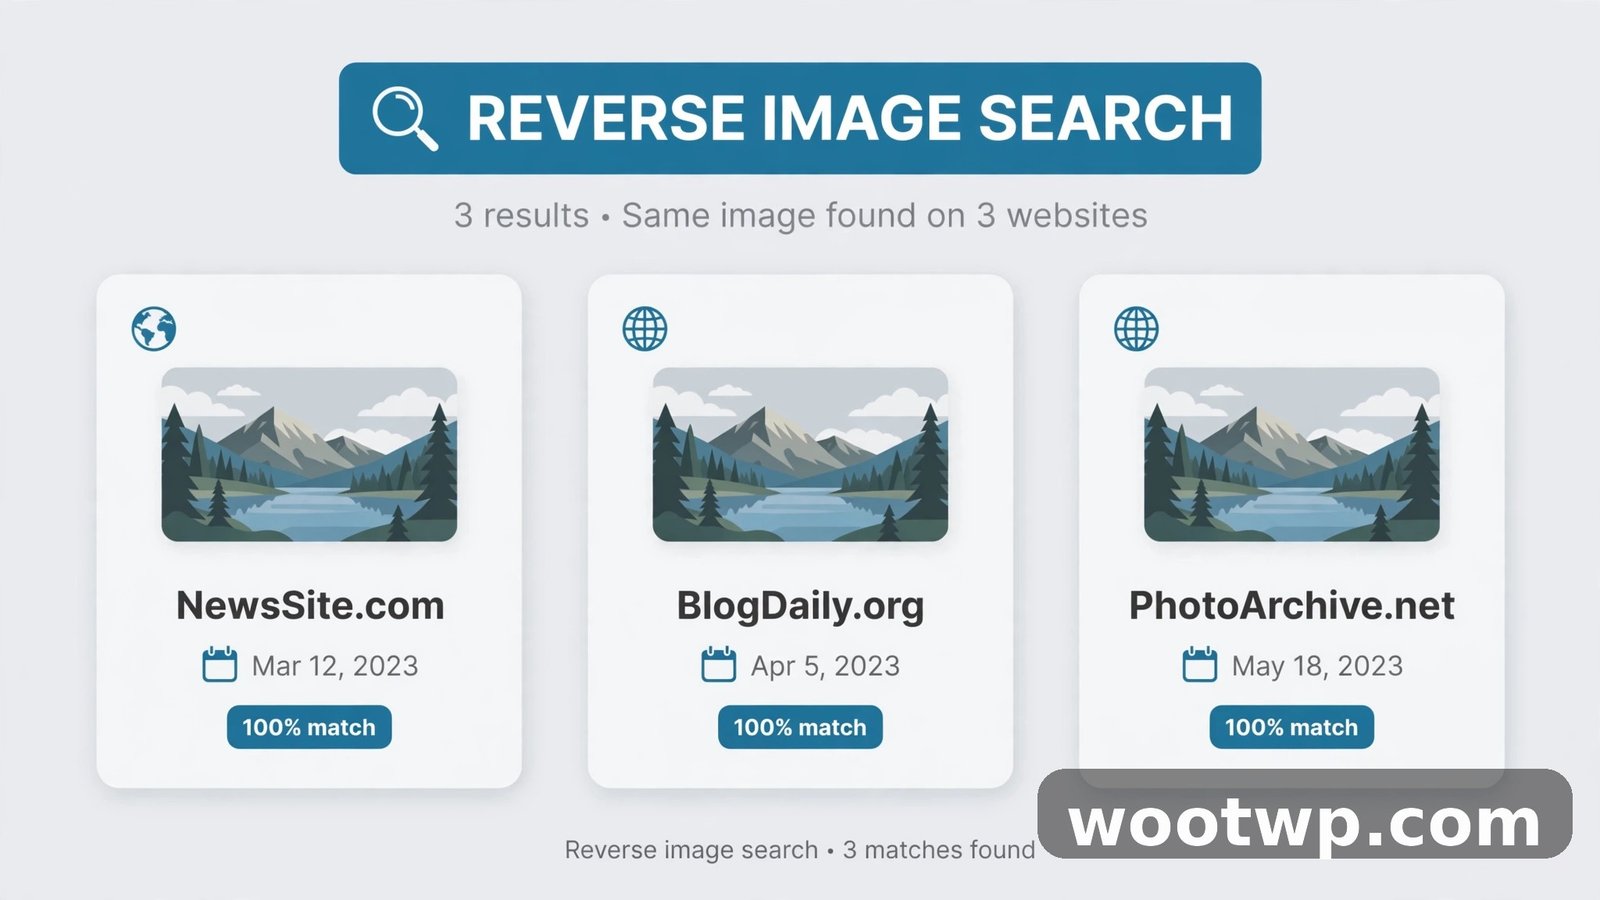
Reverse image search finds where an image appeared before, and whether anyone has already fact-checked it. It is the best tool for catching a real photo reused out of context, and it costs about a minute.
- Save the image, or copy its address if it is on a web page. Use the highest-resolution copy you can get. A compressed thumbnail gives the search less to match.
- Open Google Lens at lens.google.com, or use the Lens button in Google Search and the Google app. Upload the image.
- Look at the results. Google Lens shows visually similar images, pages that use the image, and, where available, an About this image panel with the earliest appearance and fact-checks.
- Repeat the search on TinEye and Bing Visual Search if Google Lens finds nothing. Different search engines index different pages, and one may find an older copy the others missed.
- Read the earliest result carefully. Note the date, the page, and the caption. An image claimed to show last night’s storm that first appeared three years ago is not evidence of last night’s storm, whatever the pixels look like.
What the results mean:
- An older copy with a different caption: The image is real or generated, but the current story is false. The reuse is the problem, not necessarily the pixels.
- A fact-check already exists: Trust the fact-check over your own visual judgment, and check whether the fact-checker found the original source.
- No results at all: The image may be brand new, heavily cropped or edited, or generated. No history is not proof of generation — a genuine photo from a private phone also has no history — but it means reverse search cannot help, and you need the other checks.
- Results showing the same image on many low-quality sites with no original: Treat the image as unverified. Viral copying without a source is how both fakes and mis-captioned real photos spread.
Crop and rotation can defeat a reverse search. If the image looks cropped, search with the fullest version you can find. If you only have a screenshot, crop out the screenshot borders and interface elements before you upload it, so the search matches the image itself.
For a broader guide to staying safe online, including how to check links before you click them, see our guide on how to check if a link is safe before clicking. The same habit — verify the source before you trust the content — protects you from fake images, phishing links, and scam sites alike.
Check 3: Content Credentials and Provenance Labels
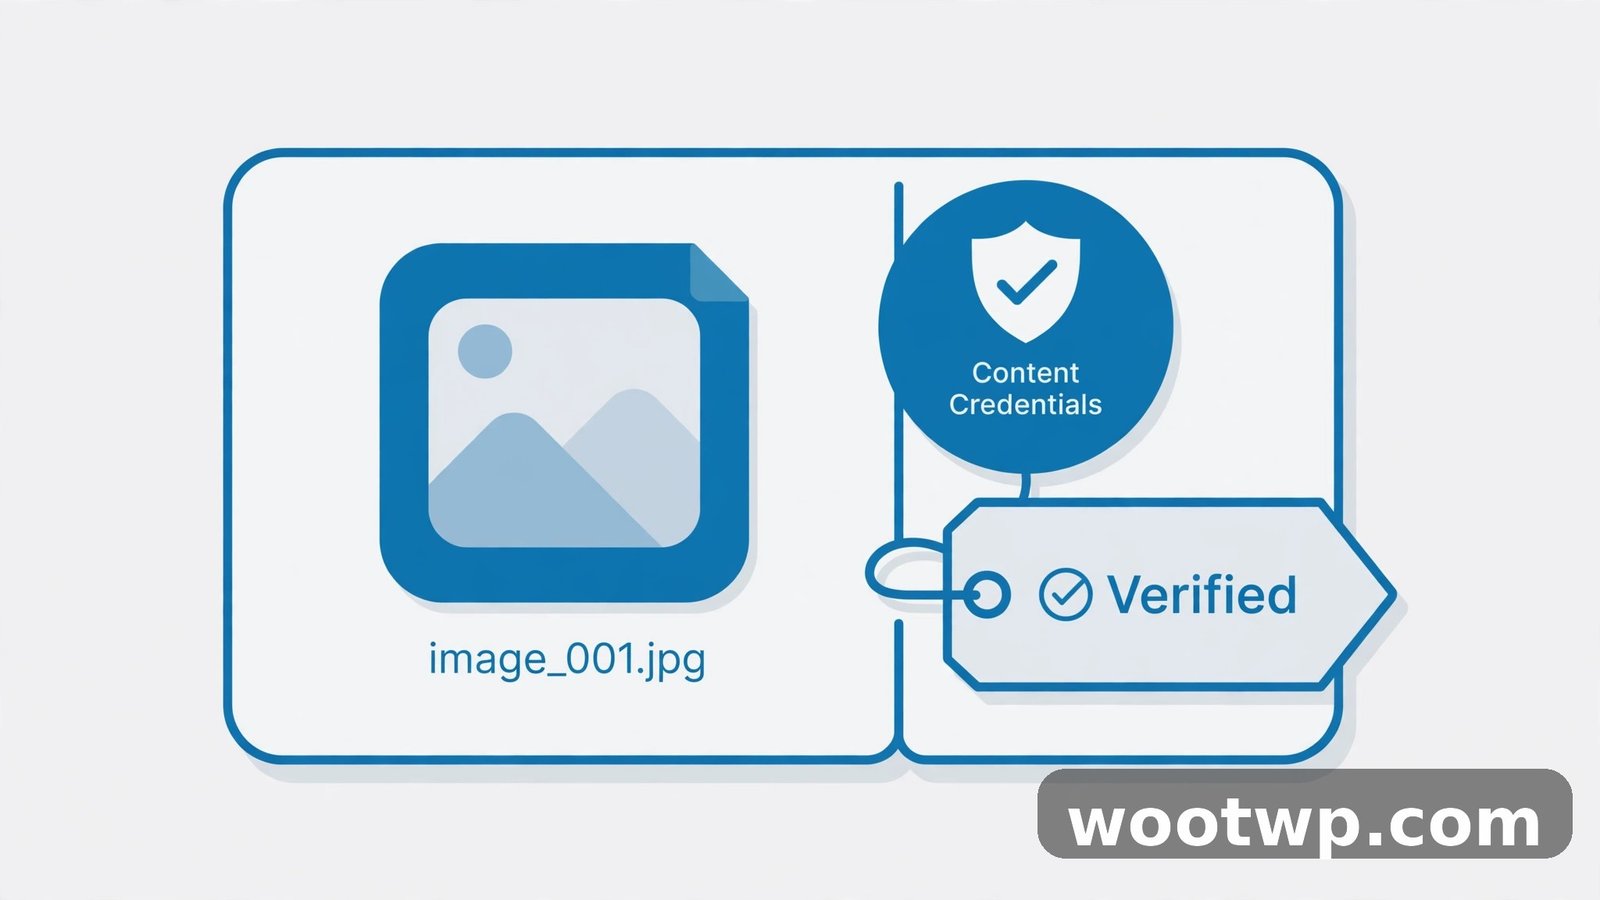
Content Credentials, based on the C2PA open standard, are like a signed label attached to a file. The label can record which tool created the file, whether generative tools were used, and how the file was edited. It is backed by a coalition that includes Adobe, Google, Meta, Microsoft, OpenAI, and camera makers, among others. When a label is present and valid, it is the strongest single check you have, because it comes from the tool that made the image, not from guessing at pixels.
How to Check for Content Credentials
- Get the original file if you can. Screenshots, downloads from some social apps, and re-saves usually strip the label. The check needs the file as it was first shared.
- Open the free Content Credentials Verify tool at verify.contentauthenticity.org and upload the image. You can also check the Content Authenticity Initiative site for the current list of tools that read and write these labels.
- Read the result. A valid label may say the image was generated with a named tool, edited with generative fill, or captured with a camera that supports the standard.
- Check that the label is valid and unbroken. A label that fails validation may mean the file was edited after the label was applied, or the file was tampered with. Treat a broken label as a warning, not as proof either way.
What the result does and does not mean:
- A label saying the image was generated: Strong evidence. The tool that made it said so, in a signed record.
- A label saying the image is a camera capture with no generative edits: Good evidence for that file, as long as the label validates. It does not prove the scene itself is un-staged — a real photo can still mislead through its caption.
- No label at all: Proves nothing. Most images online carry no label yet, because most tools and platforms do not attach one, and many platforms strip labels on upload. An unlabeled image can be real, generated, or edited. Move on to the other checks.
Provenance labels are still new, and coverage is patchy. Treat them as a bonus when present, not as a test you can rely on for every image. As more cameras, phones, and editing tools adopt the standard, this check will get stronger. For now, its absence is normal and means nothing on its own.
Check 4: Visible and Invisible Watermarks
Some generators add watermarks to their output. Some are visible, such as a small logo in a corner. Others are invisible marks embedded in the pixels, which only the maker’s own tools can read. Watermarks are easy to check and easy to defeat, so they sit in the middle of the reliability scale.
- Look in the corners and edges. Check all four corners at full size for a small logo, a label, or a strip of text. A visible watermark that says the image was made with a named generator settles the question. A cropped image may have had the watermark cut off, so also check whether the composition looks cropped — a tight crop that cuts off a corner is itself a small warning sign.
- Look for a platform label. Some social platforms add their own label when an image is known to be generated or edited with their tools, or when the poster discloses it. The label may appear above or below the image rather than on it. Its absence means nothing, but its presence is useful.
- Check Google’s SynthID where it applies. Google marks content made with its own tools with an invisible SynthID watermark. Signed-in users can ask the Gemini app whether an image carries a SynthID mark. A positive result is strong evidence that Google’s tools made it. A negative result does not prove the image is real — it may have been made with another generator, or the mark may not survive cropping and recompression.
- Check Adobe’s tools for Firefly content. Images made with Adobe’s generative tools can carry Content Credentials, covered in the previous check. The same logic applies: a label found is useful, a label missing proves nothing.
Never rely on a watermark check alone. Watermarks can be cropped out, painted over, or stripped by re-saving. A clean image with no watermark is the normal state of most images online, real and generated alike. Use watermarks as one more clue in the pile, not as the test.
Check 5: Visual Clues That Still Catch Careless Generations
Visual clues are the check most people start with, and they should be the check you trust least. Still, they catch careless generations, older models, and images that were generated quickly without cleanup. Zoom in to full size — or at least 200 percent on the detail you are checking — before you judge anything. Compressed social media thumbnails hide both errors and evidence.
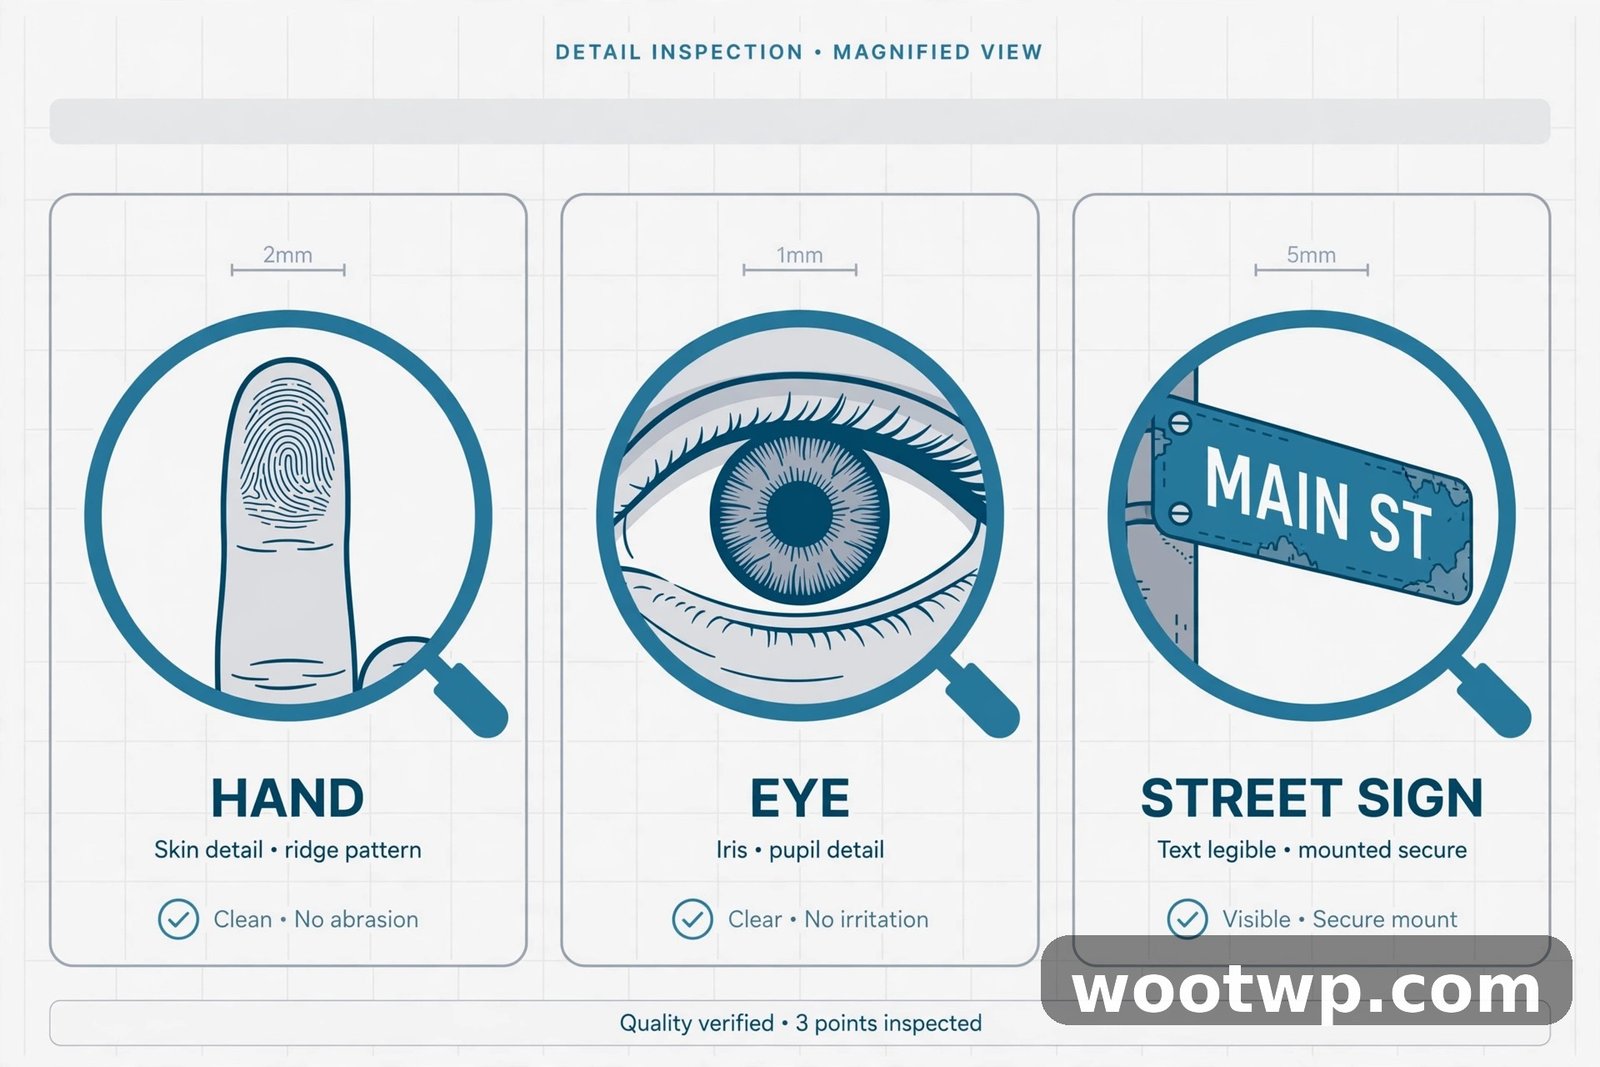
Hands, Faces, and Bodies
Hands are better than they were, but they still reward a close look. Count fingers and check how fingers bend. Look for fingers that merge into each other, a thumb in the wrong place, or a hand holding an object with a grip that does not make sense. Check ears and jewellery, too: an earring that melts into skin, glasses with arms that vanish, or a watch face with nonsense markings are all signs of a generated image. Faces deserve the same care. Compare the catchlights — the small reflections — in both eyes. In a real photo with one light source, the catchlights should be consistent in shape and position. In a generated face, they often differ between eyes or fail to match the visible light source. Skin that looks too smooth, with no pores or fine texture even in a close-up, is another soft sign, though good phone cameras and beauty filters can produce the same look in real photos.
Text, Signs, and Logos
Text is still one of the most reliable visual checks, because generators predict letter shapes rather than rendering real characters. Zoom into every sign, label, book spine, shirt print, and screen in the image. Look for letters that repeat, merge, or turn into shapes that are not letters at all. Short words in large type are often correct now, so check the small text in the background instead — that is where errors survive. Brand logos are a useful test for the same reason. A logo that is close but wrong, with a misspelled name or a shape that is almost right, points to generation. A real photo of a real brand will show the real logo, unless the image is too blurry to read.
Light, Shadows, and Physics
Generators predict what a scene should look like, and they sometimes get the physics wrong in ways a camera cannot. Check that shadows fall in the same direction from a single light source, and that their length matches the time of day the image claims. Check reflections in mirrors, windows, and water: a reflection should show what is actually in front of the surface, not a different scene or a distorted copy. Check objects that should touch the ground — a chair, a person, a car — and look for floating edges or missing contact shadows. Check background people and objects for the same errors. A background figure with a half-formed face, or a car with wheels that do not quite meet the road, is a strong sign, because generators spend their effort on the main subject and let the background slip.
Consistency Across the Whole Image
Step back and look at the image as a whole. Does the style stay consistent from foreground to background? A sharp, detailed main subject with a background that turns soft, smeared, or oddly patterned in a way that does not match camera depth of field is a warning sign. Does the scene make sense as a place? A street where shopfronts repeat, a crowd where faces blend into each other, or a room where the furniture does not fit the floor plan all point to generation. If you are learning to make images yourself, comparing your own results helps here: our guide on how to create AI images for free shows what current free generators produce, and seeing their typical strengths and weaknesses makes the clues above easier to spot in the wild. And if you want to understand how the words used to create such images shape the result, our guide on how to write better AI prompts explains why some generations look polished and others fall apart on detail.
None of these visual clues is proof on its own. Each one can also appear in a real photo that is blurry, compressed, or heavily edited. A visual clue is a reason to run the source, provenance, and detector checks — not a verdict. That limit is why knowing how to detect AI-generated images means knowing what visual clues cannot settle on their own. If an image passes every visual check, it may still be generated. If it fails one, it is probably generated, but you still need a second check before you say so in public.
Check 6: Metadata and File Clues
Metadata is information stored inside the image file. A camera records its make and model, lens, focal length, aperture, shutter speed, ISO, and timestamp when it takes a photo. Editing software adds its own records. Generated images often have thin, missing, or inconsistent metadata, because they were never captured by a camera. Metadata is easy to strip or fake, so it is a supporting check, never a verdict.
How to Read Image Metadata
- On Windows: Right-click the image file, choose Properties, then the Details tab. Look for camera make and model, and the date the photo was taken.
- On a Mac: Open the image in Preview, choose Tools, then Show Inspector, and look at the EXIF tab.
- Online: Upload the original file to a metadata viewer such as FotoForensics or an EXIF reader. Do not upload private images to a site you do not trust — use the built-in file properties for anything personal.
- Compare the parts. A camera model with plausible settings and a matching date supports a real capture. A file with no camera data at all, or with a “created with” field naming a generator, points the other way. A modification date far later than the claimed event date is worth noting, but it does not prove fakery — re-saving and editing change that date too.
File Clues Worth Noting
- File name and format. A file named with a camera’s numbering pattern is a soft sign of a real capture. A file named with a long string of numbers and letters from a generator or a chat app is a soft sign of generation. Either can be renamed, so treat this as context only.
- Resolution and compression. A very high-resolution image with no camera metadata is unusual for a real photo shared straight from a phone. A screenshot of a generated image will be lower resolution and carry screenshot metadata instead. Neither pattern proves anything alone.
- Repeated patterns and texture. Some forensic viewers offer Error Level Analysis, which highlights areas of a JPEG that were compressed differently from the rest. A pasted or separately processed area may stand out. This does not detect generation directly — a fully generated image has no pasted area — but it can reveal edits, composites, and replaced backgrounds. Read the result as “this area was processed differently,” not as “this image is fake.”
If metadata is missing entirely, the most likely explanation is that the image passed through a social app, a messaging app, or a screenshot, all of which strip metadata routinely. That is normal. Only a full, consistent camera record counts as positive evidence, and even that can be faked by someone determined to do so. Use metadata to support the source and provenance checks, not to replace them.
Check 7: AI Image Detectors — Useful, Never Proof
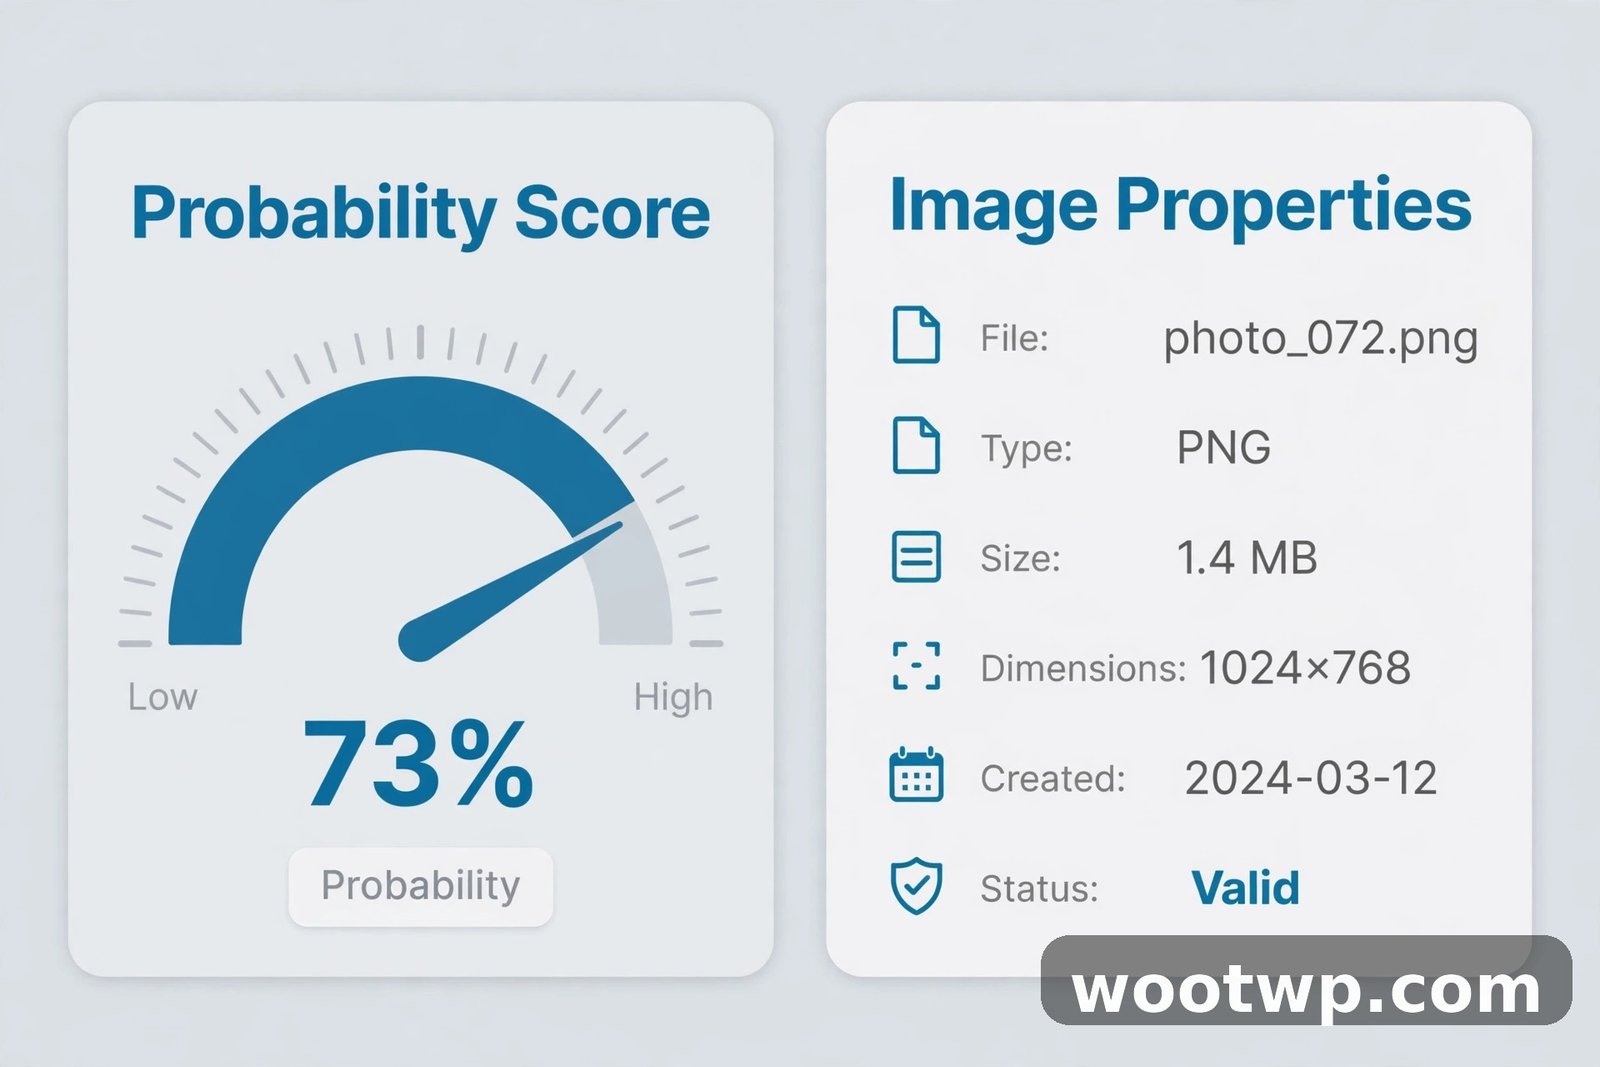
An AI image detector is a classifier that looks at the pixels and estimates how likely the image is to have been generated. It is the only check that works on a screenshot of a brand-new image with its labels stripped, which is why it is worth using — with clear limits. A detector gives a probability, not a fact. Detectors perform well on generators they were trained on and worse on new models, and real photos are sometimes flagged as generated, especially heavily edited or unusual ones.
How to Use a Detector Properly
- Use the highest-resolution copy you have. Detectors need detail, and a compressed thumbnail gives them less to work with.
- Run the check on a detector that explains its result, such as one that shows a score band rather than a bare yes or no. Free options include Hive Moderation’s detector, Illuminarty, and the detector built into some provenance tools. Use more than one detector if the result matters.
- Compare the scores. If two independent detectors both give a high score, and the source and provenance checks also point the same way, you have a reasonable basis for treating the image as generated. If the detectors disagree, or one gives a middle score, treat the image as uncertain.
- Never present a detector score as proof. Say “a detector scored this image as likely generated, and no original source or provenance label was found,” not “this image is fake.” The difference matters, because a wrong public accusation harms a real photographer just as much as a wrong share spreads a fake.
What Detectors Miss
Detectors struggle with new generators, with images that were generated and then heavily edited, and with real photos that look unusual — extreme lighting, heavy filters, or rare camera effects. That weakness is part of learning how to detect AI-generated images honestly: no detector result, on its own, should be presented as a fact about an image. They also struggle when the image is small or heavily compressed, because the pixel patterns they look for are washed out. If you run a detector on a screenshot from a social feed and get a middle score, that result tells you almost nothing. Get the original file, run the source and provenance checks, and treat the detector as the last voice in the discussion, not the first.
A Simple Workflow for Checking Any Suspicious Image
When an image matters — you plan to share it, report on it, or act on what it claims — run the checks in this order. This workflow is the practical answer to how to detect AI-generated images when a quick glance is not enough. It takes about five minutes, and it keeps you from overclaiming.
- Source (1 minute). Who posted it first? Is the account real and consistent? Does the caption make a checkable claim?
- Reverse search (1 minute). Upload the best copy to Google Lens, then TinEye or Bing Visual Search. Note the earliest appearance and any fact-check.
- Provenance (30 seconds). Upload the original file to Content Credentials Verify if you have it. Note any label, or note that there is none.
- Watermarks (30 seconds). Check the corners, edges, and platform labels at full size.
- Visual clues (1 minute). Zoom in on text, hands, eyes, shadows, and reflections. Note anything that fails, without deciding yet.
- Metadata (30 seconds). Check file properties for camera data. Note whether it is present, missing, or names a generator.
- Detector (30 seconds). Run one or two detectors on the best copy. Note the score band, not just the headline.
Then decide. If two or more checks point the same way, act on that: treat the image as generated, or as a real photo misused out of context, and say which one. If the checks disagree or find nothing, say the image is unverified and do not share it as fact. “Unverified” is a complete and honest answer, and it is far better than a confident wrong one.
Frequently Asked Questions About Detecting AI-Generated Images
How can you tell if an image is AI-generated?
Combine checks: find where the image first appeared with reverse image search, check for Content Credentials or a watermark, look closely at text, hands, shadows, and reflections, and run an AI image detector. No single check proves an image is generated. Two checks that agree — for example, a provenance label plus a high detector score — are a reasonable basis for calling an image generated.
Can you detect AI-generated images by looking at them?
Sometimes, but not reliably. Current generators handle hands, faces, and short text far better than early ones did, and people score only a little above guessing when tested on high-quality images. Visual clues such as garbled background text, mismatched eye reflections, and impossible shadows still catch careless generations, but a clean-looking image can still be generated. Always back a visual judgment with a source or provenance check.
What is the most reliable AI image detector?
No detector is reliable enough to use alone. Detectors give a probability, and they perform best on generators they were trained on and worst on new models. Use a detector that shows a score band, run a second detector to compare, and combine the result with reverse search and provenance checks. Never present a detector score as proof that an image is fake.
Do Content Credentials prove an image is real?
A valid Content Credentials label is strong evidence about how a file was made, because it is signed by the tool that created or edited it. But most images online carry no label at all, and a missing label proves nothing. A label can also be stripped by screenshots and re-uploads. Treat a valid label as good evidence and a missing label as no evidence either way.
Can AI-generated images be detected after editing or cropping?
Editing and cropping make detection harder. They strip metadata and provenance labels, remove watermarks, and wash out the pixel patterns detectors look for. Reverse search also struggles with heavy crops. If you only have an edited copy, the source check matters most: find the earliest, fullest version you can, and check that one instead of the cropped copy.
Are AI image detectors free to use?
Many detectors offer a free first check or a free tier, including Hive Moderation and Illuminarty, and some provenance tools include a detector. Free checks usually limit the number of images per day or the resolution you can upload. For a single suspicious image, a free check is usually enough, especially when combined with the free source and reverse-search checks in this guide.
Conclusion: Combine Checks, Then Decide
Learning how to detect AI-generated images is less about training your eye and more about building a habit. Check the source first, reverse-search second, and look for provenance labels before you study the pixels. Use visual clues and detectors as supporting evidence, never as the verdict on their own. That order protects you twice: it stops you sharing a fake as real, and it stops you calling a real photo fake on the strength of one shaky clue. The next time an image stops you mid-scroll, run the five-minute workflow, and share only what the checks support.